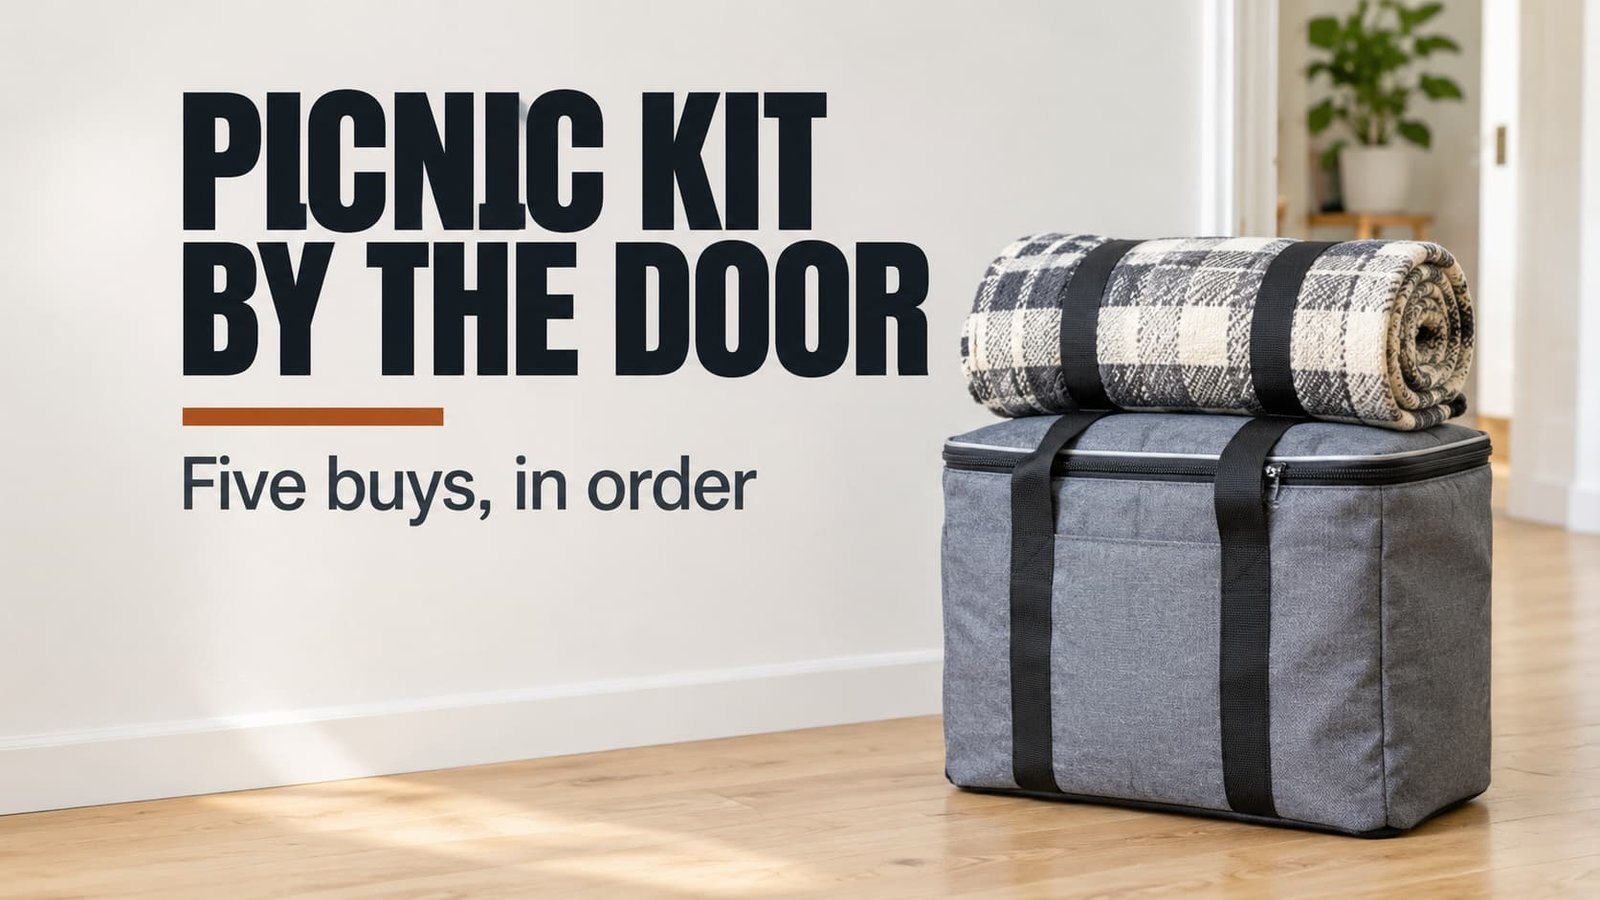
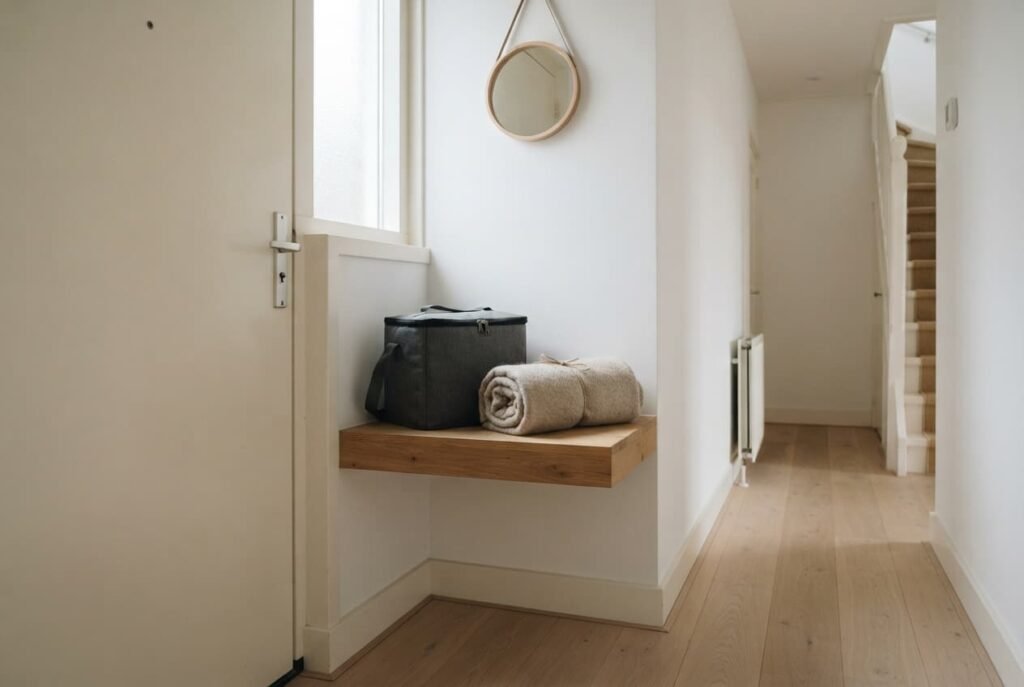
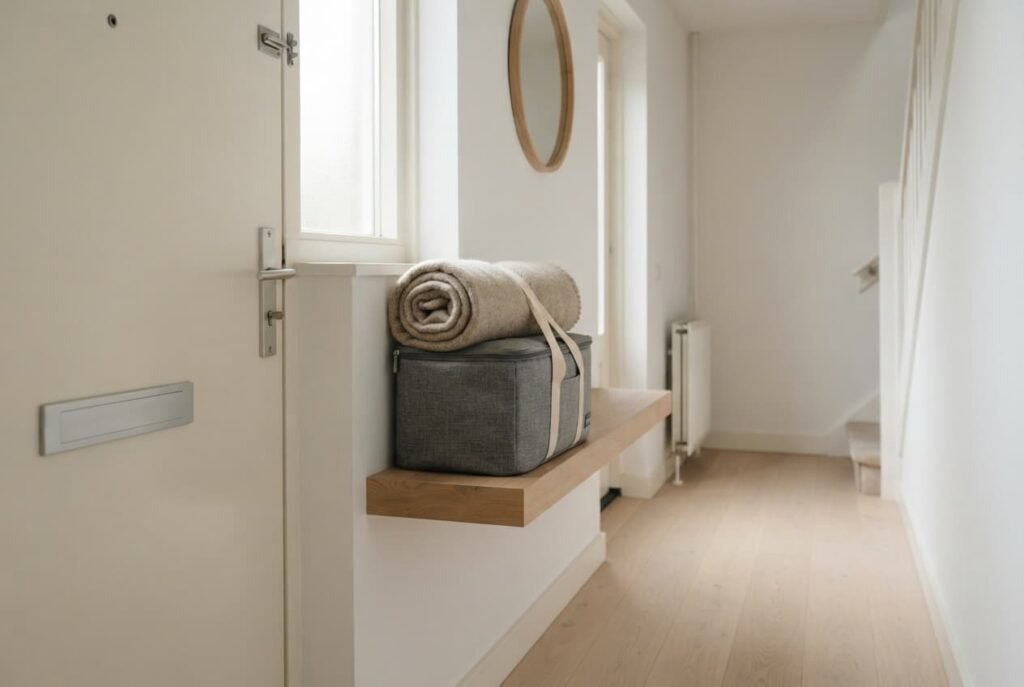
What to buy for a picnic kit is settled by one limit on weight and the order of five purchases. The sample household is a couple in a Haarlem flat who walk 20 minutes to a park. Their kit lives on a hallway shelf by the front door, which offers 40 cm of width and 30 cm of depth. These numbers are samples only. Your own shelf and walk will give different ones. A kit by the door only gets used when one person can lift it without a plan. Everything below is built around that.
What to Buy for a Picnic Kit Starts With the Carry Limit
Two limits shape the kit. The shelf sets its footprint, and the walk sets its weight. A bag that fits the shelf but can’t be carried for 20 minutes will stay in the hallway.
Start from the load. One adult can carry about 7 kg on a short walk, which is a sample limit to be replaced by your own. Food for two weighs 2.0 kg. Two flat ice packs of 0.3 kg each add 0.6 kg, and 1.5 L of drink adds 1.5 kg. That makes 2.0 + 0.6 + 1.5 = 4.1 kg of contents. Subtract it from the limit and the kit itself may weigh 7 − 4.1 = 2.9 kg.
This figure turns a shopping list into a budget, because each piece spends part of the 2.9 kg. The order of purchase then follows how much each piece earns for what it weighs. The bag carries everything else and therefore goes first. A heavy item bought early squeezes every later one.
Weight also explains why nesting matters. Plates and a knife that ride inside the bag add no footprint to the shelf. A loose item claims one hand for the whole walk, and a busy hand can’t hold a map.
What to Buy, in Order, for a Picnic Kit
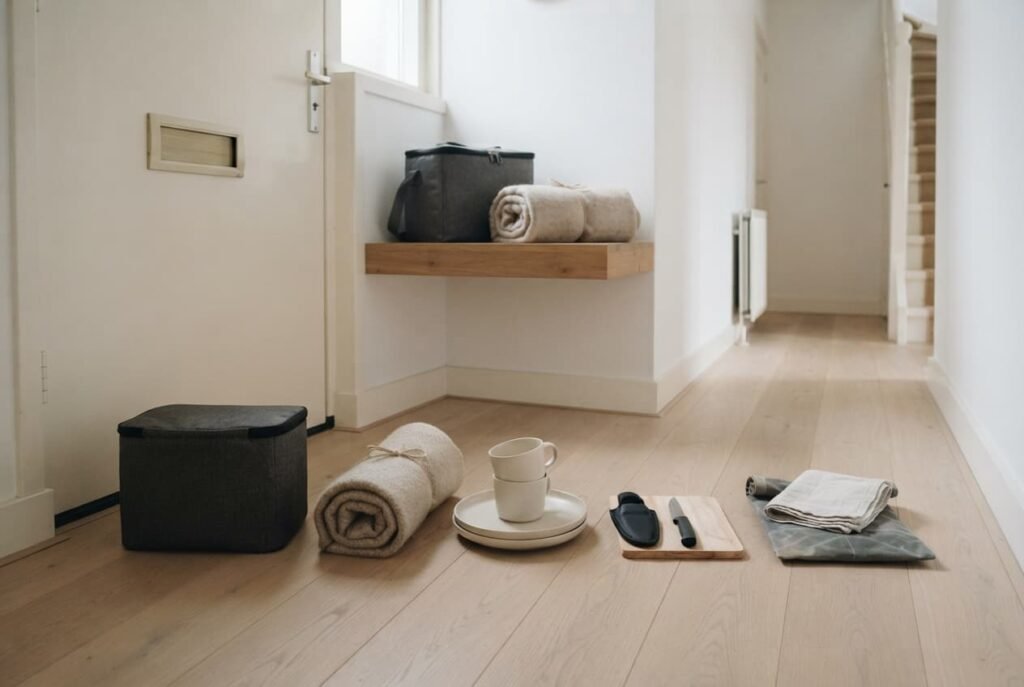
1. A cool bag of 15 L with a zip lid and 10 mm of closed-cell foam in the walls. It leads the order because the rest must fit in or on it. At 0.9 kg it takes 31% of the 2.9 kg budget, and its 15 L hold the food together with the plates and the knife. Tier: BUY MID. A welded inner lining keeps melt water inside, and a thicker wall costs extra weight. Weak point: a lining stitched through, since each needle hole lets water reach the seams.
2. A blanket of 150 × 140 cm with a bonded waterproof backing. That is 2.1 m², and two adults sitting at a sample 0.8 m² each use 1.6 m², which leaves 0.5 m² for the bag. It weighs 0.8 kg and rolls into a tube 12 cm across. Tier: BUY ONCE. A tight weave on top and a bonded backing survive years of folding. Weak point: a loose plastic film that cracks along the fold lines after a few seasons.
3. Two plates of 20 cm and two cups of 250 ml in rigid plastic marked for the dishwasher. Together they weigh 0.4 kg and nest into one stack that rides inside the bag. Tier: BUY CHEAP. A plate doesn’t need to do more than hold food level, and a plain pressed one does that as well as a dear one. Weak point: cups with thin rims that crack when stacked under load.
4. A knife with a 10 cm blade and a hard sheath, plus a board of 20 cm by 15 cm and 5 mm thick. The pair weighs 0.2 kg. Tier: BUY CHEAP. A short blade slices bread and fruit well enough, and a thin board doesn’t need to be more than flat. Weak point: a blade with no sheath, which forces you to wrap it in a cloth before every outing.
5. A roll-top bag of 3 L for rubbish and a cloth for wiping, 0.1 kg in all. Tier: BUY CHEAP. Welded seams hold a wet wrapper for an afternoon, and the cloth needs no special material. Weak point: stitched seams that open when a wrapper leaks.
Together the five weigh 0.9 + 0.8 + 0.4 + 0.2 + 0.1 = 2.4 kg, which leaves 0.5 kg of the budget unspent.
Why the Blanket Is the Item to Drop a Tier
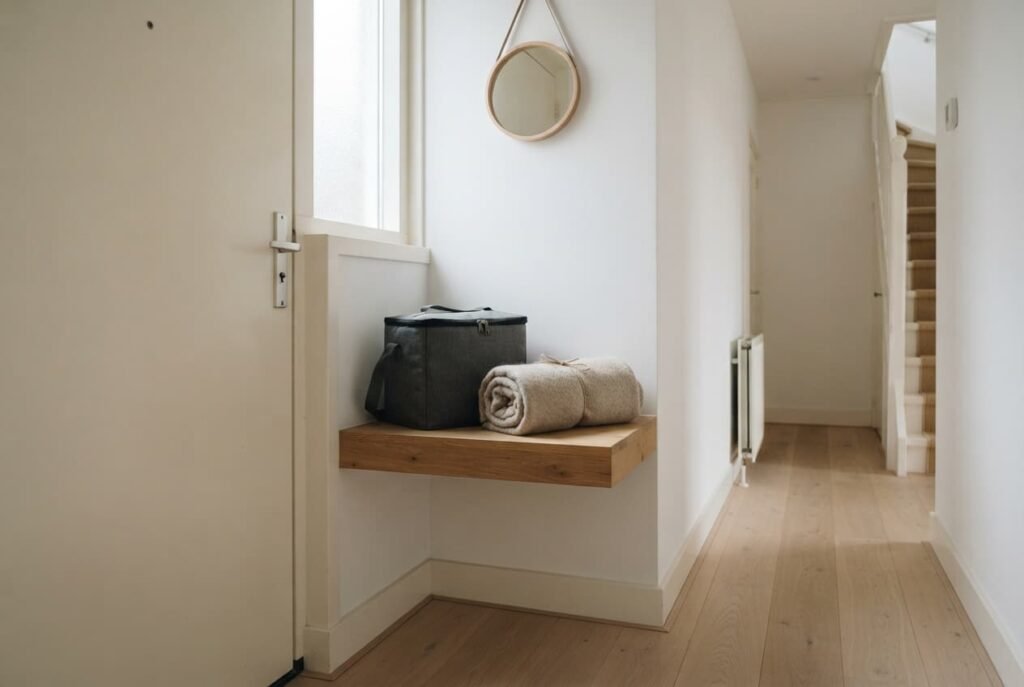
The blanket is the piece to question, because it’s the item that carries the most weight for the least work. When deciding what to buy for a picnic kit, the BUY ONCE tier suits the bag. The blanket only has to keep you off wet grass, and a lighter sheet does that job for a lower outlay.
Run the figures. A thin coated sheet of the same 150 × 140 cm weighs about 0.4 kg against 0.8 kg. Swapping it takes the kit from 2.4 kg to 2.0 kg and lifts the unspent budget from 0.5 kg to 0.9 kg. That is room for a 1 L bottle.
Weight is the only real argument for the downgrade.
The cost is comfort and age. A thin sheet gives less cushioning, and its backing may flake after two or three summers, which is a guess rather than a measurement. Replace it when the backing starts to peel. One exception stands. If your walks end on sand or on a long slope of wet grass, keep the heavier tier, because a thin sheet punctures more easily there.
When to Buy Each Piece and When to Pack It
Spread the shopping over three weeks. For what to buy for a picnic kit, late winter is a good moment to begin. Stock is plentiful and the first warm weekend is still some way off.
Week one belongs to the bag. Put a full bottle inside it at home. Shut the lid and look along the edge for daylight. Hold it by the handle for a minute to judge whether it feels light enough for a 20-minute walk. Week two brings the blanket. Roll it, strap it to the bag and see whether the pair fits the shelf, whose 40 cm width leaves some margin.
Week three covers the plates, then the knife, then the roll-top bag. Pack all five, then weigh the lot on bathroom scales. A reading near 2.4 kg matches the sample, and any gap shows which piece is heavier than its label claims. Freeze the ice packs the night before an outing and add them last. Keep the kit packed between trips. The only job on the day is then adding food.
What to Skip
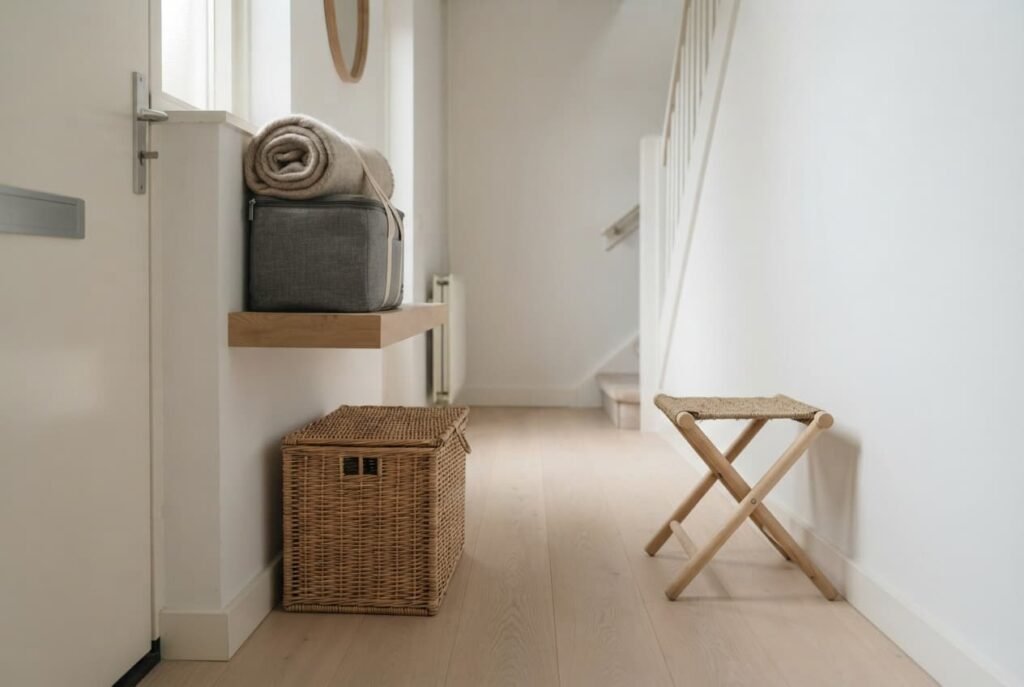
For what to buy for a picnic kit, the skip list deserves as much attention as the purchase list. Skip a wicker hamper: at a sample 1.5 kg empty it triples the 0.5 kg of spare budget before any food goes in. Glass bottles stay behind, because a full one weighs far more than a flask of equal volume. Even a light table and chairs run to several kilograms. Gas stoves and speakers go the same way, along with a spare blanket for “just in case”. Anything that needs a second trip to carry undoes the point of a kit by the door.
Each one adds weight you’ll notice by the second stretch of the walk, and a kit that feels heavy stops being grabbed.
Pack the kit once and weigh it. Then park it on the shelf. If it lifts easily with food and ice added, the order was right. Take one walk before the first warm weekend and note which piece you never touched, because that piece is the next candidate to drop. A kit that stays light is the one you’ll pick up on a whim, and that’s the whole point of keeping it by the door.
Questions and Answers
Can I start with fewer than five pieces?
Yes. The bag and the blanket cover most outings, and a carrier bag can stand in for the rubbish bag. Add plates and a knife once you’ve seen what you actually use. Fewer pieces also leave more of the 2.9 kg for food and drink, which is often the better trade.
When should I assemble the kit before the season?
Late winter or early spring works well because stock is plentiful and nothing is rushed. Buy one piece a week. Test it at home, then park it on the shelf. By the first warm weekend the whole kit should already sit packed by the door and waiting for food and ice.
How do I judge a cool bag before buying it?
Put a full bottle in the bag and see whether the lid closes flat. Look for a welded or taped lining instead of stitched seams, and press the foam wall: it should spring back. Weigh the bag against your own budget, since 0.9 kg is a sample, not a rule.