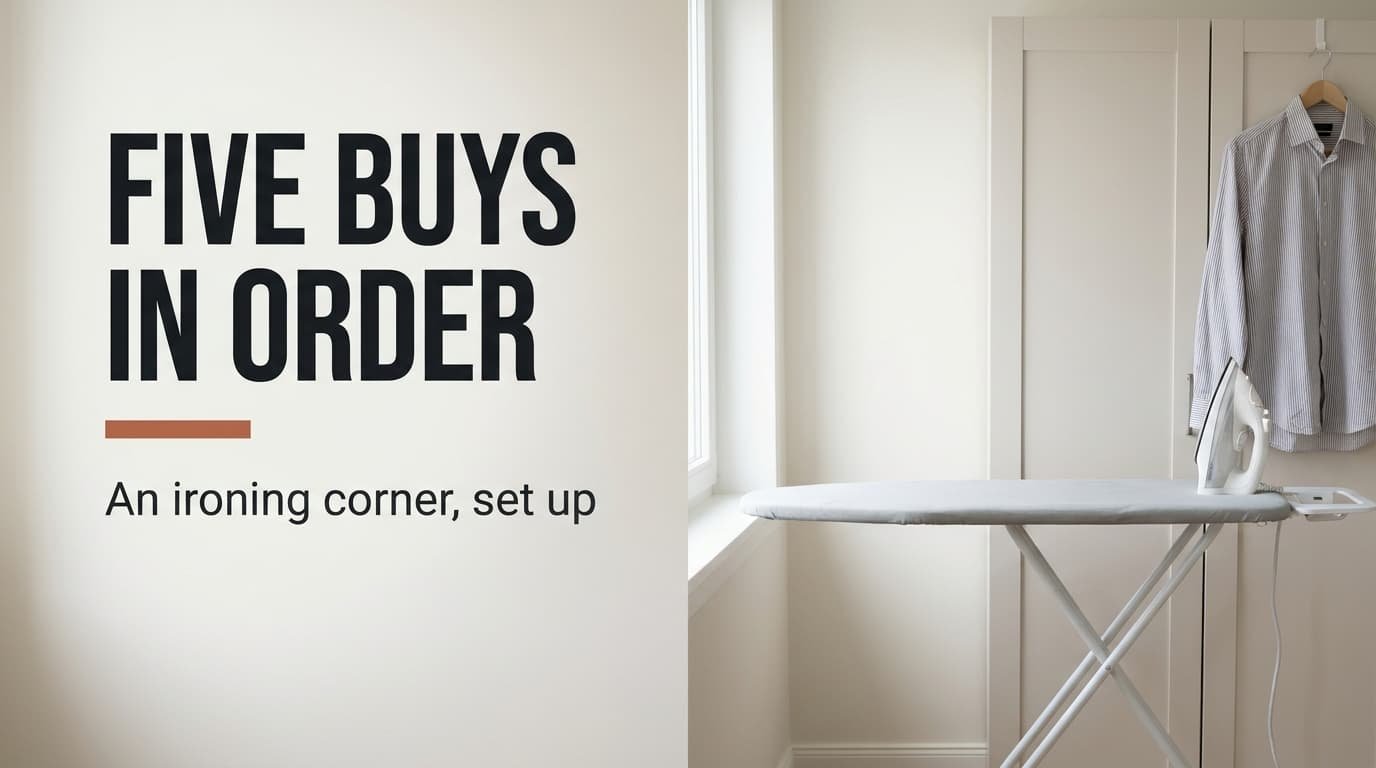
Ironing gets put off until the last clean shirt has gone, so the corner has to be ready before the mood is. An ironing corner for a small flat comes down to five purchases, and the board outweighs the other four put together. Our example is a bedroom in a Haarlem flat. It has 150 cm of free wall beside the wardrobe and one socket 180 cm away. You already own the iron. Buy in the order below, and stop the moment a shirt takes six minutes instead of ten.
What Decides an Ironing Corner for a Small Flat
Ironing is standing and pushing, so the height of the board sets how the job feels. Take a person 172 cm tall. Their elbow sits near 107 cm. A top 15 cm below that, at 92 cm, lets the forearm drive the iron without a lift of the shoulder. A top 10 cm too low bends the back on every pass. Seven shirts at six minutes each come to 42 minutes a week, and a bad height stretches each shirt to ten, which adds 28 minutes weekly. Over a year that’s about 24 hours of avoidable stooping.
Next comes stability. A board that rocks sends the iron off its line and lets the cloth slip sideways. Rigidity has to come before every extra, because a wobbling board turns each pass into a re-do and nothing you add later repairs it.
A rented flat adds two limits. The corner must disappear when you stop, so the folded board has to stand about 8 cm thick against a wall. Screws are out of the question, which means everything rests on the floor or hangs from something you own.
Settle the board’s height before any other purchase.
Five Purchases for a Small Flat’s Ironing Corner, Dearest Mistake First
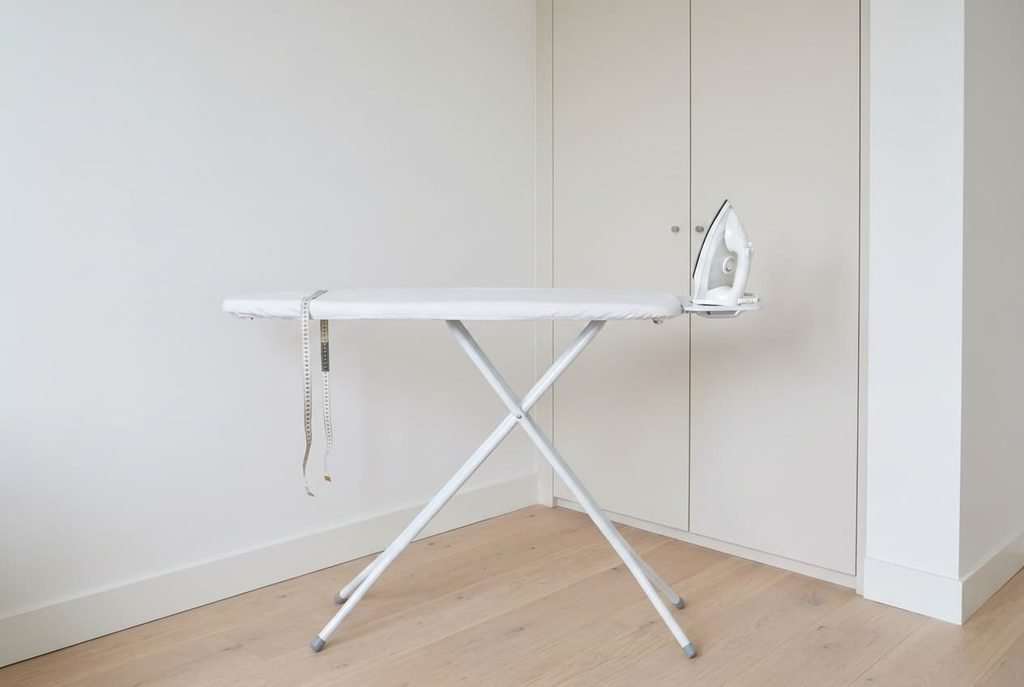
1. An adjustable board with a top of 120 × 38 cm that reaches 92 cm comes first, since each later purchase rests on this one. Tier: BUY ONCE. A steel frame with cross-braced legs keeps the top steady, whereas legs joined only under the top rattle loose within a year. In the shop, press a palm onto one corner and look for sway. Reject any board that moves, or whose height lock slips under that push. A mesh top lets steam escape and dries cloth quicker than a solid one, and the folded thickness should be 8 cm or less.
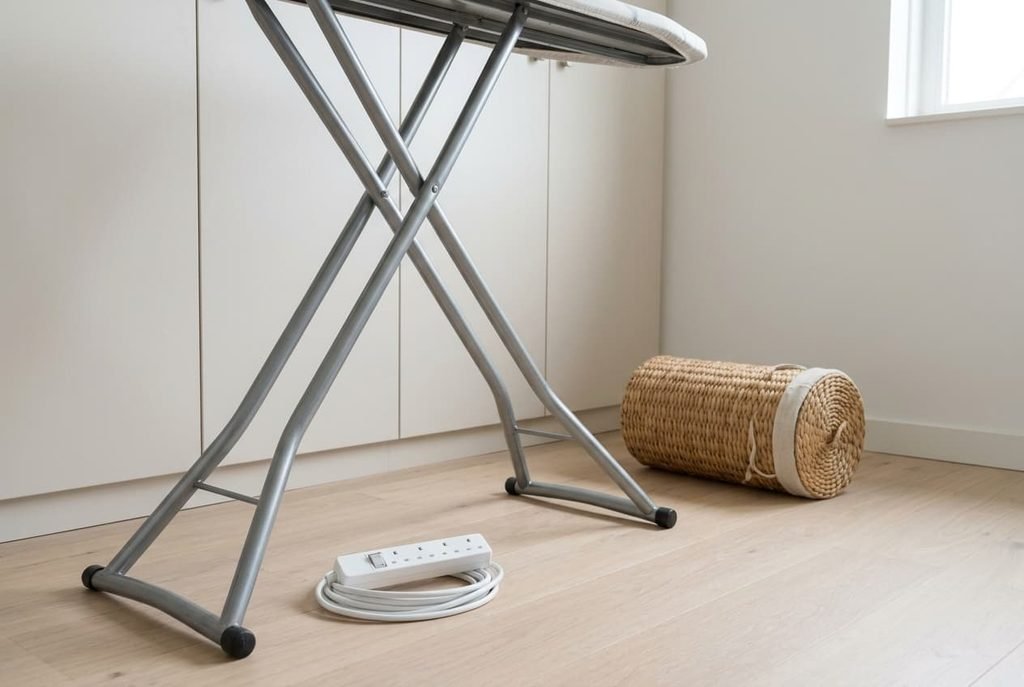
2. A switched extension lead comes second. It should be 3 m long and rated for at least 3,000 W. The socket is 180 cm away and the iron’s own cable adds 2 m, so a lead keeps the cable off the floor. An iron draws about 2,400 W, which is 10.4 A at 230 V, so a flimsy lead runs close to its limit. Tier: MID. Thick copper cores stay cool where thin ones warm up. Read the rating on the label, and unwind the lead fully in use, because a coiled cable holds its heat. Choose a switch with a lit indicator, which shows immediately whether the iron is live.
3. A freestanding rail 90 cm wide takes third place for the finished shirts. Seven shirts need 35 cm of rail at 5 cm apiece. Tier: MID. A steel tube on a flat base carries the weight, while a thin plastic-coated tube bows. Hang 3 kg on it in the shop and see whether the bar stays level. Castors let a rail roll out of its spot, so choose fixed feet.
4. A replacement board cover of 130 × 45 cm is fourth. Tier: BUY CHEAP. A foam layer of 5 mm under a heat-reflecting top stops seams printing through. The drawstring is the weak part, so give it a hard tug before paying. Replace the cover once the foam stays dented after a thumb press.
5. A lidded basket of 30 litres, which holds the unironed pile, ranks last. Tier: BUY CHEAP. A moulded body with a rolled rim has no seams to split. Lift it full of towels at home and check the handles for creaks. A basket that nests in the corner beside the board saves a trip.
Why the Rail Is the Item to Scale Down
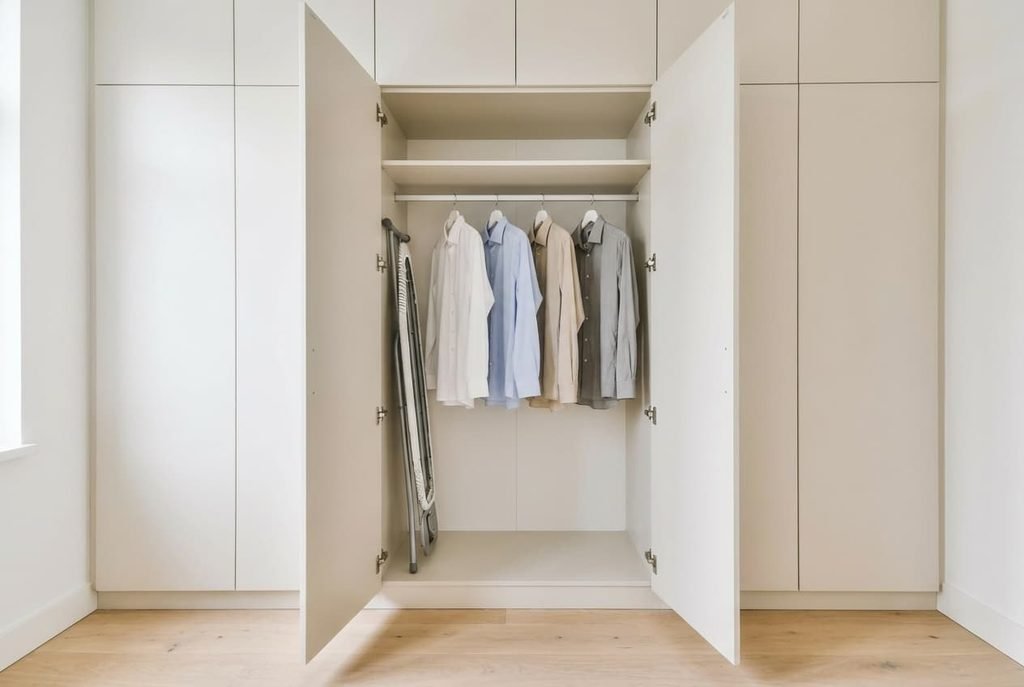
In an ironing corner for a small flat the rail is the easiest item to skip. Forty centimetres of your wardrobe rail, cleared on ironing day, will hold seven shirts with space to spare. You own it already and it costs nothing. A freestanding rail takes 90 × 45 cm of floor, which is 0.4 m² of the 1.5 m² in use. In our bedroom the gap between bed and wall is 85 cm, so a rail 45 cm deep leaves 40 cm, too narrow to walk through. Even where you can still squeeze past, the corner becomes an obstacle course.
It also stays out all week. That defeats a corner meant to vanish. A wardrobe rail goes back to normal the moment the shirts are worn. Hang the pressed shirts with 5 cm between neighbours, because crowding creases the shoulders you’ve just flattened.
Buy the rail only if the wardrobe is truly packed, and wait until a month shows the same crush of creased shirts. Until then the money belongs with a steadier board or a better lead.
Habits That Keep the Corner From Taking Over
An ironing corner for a small flat shares air and floor with a bedroom, so habits matter as much as kit. Let the iron cool for 20 minutes before it goes into any cupboard. Put felt pads under the board’s feet, since a hot iron’s weight on thin legs scuffs a wooden floor.
Press dark clothes inside out, because a hot plate leaves a shine on the outside of dark cloth.
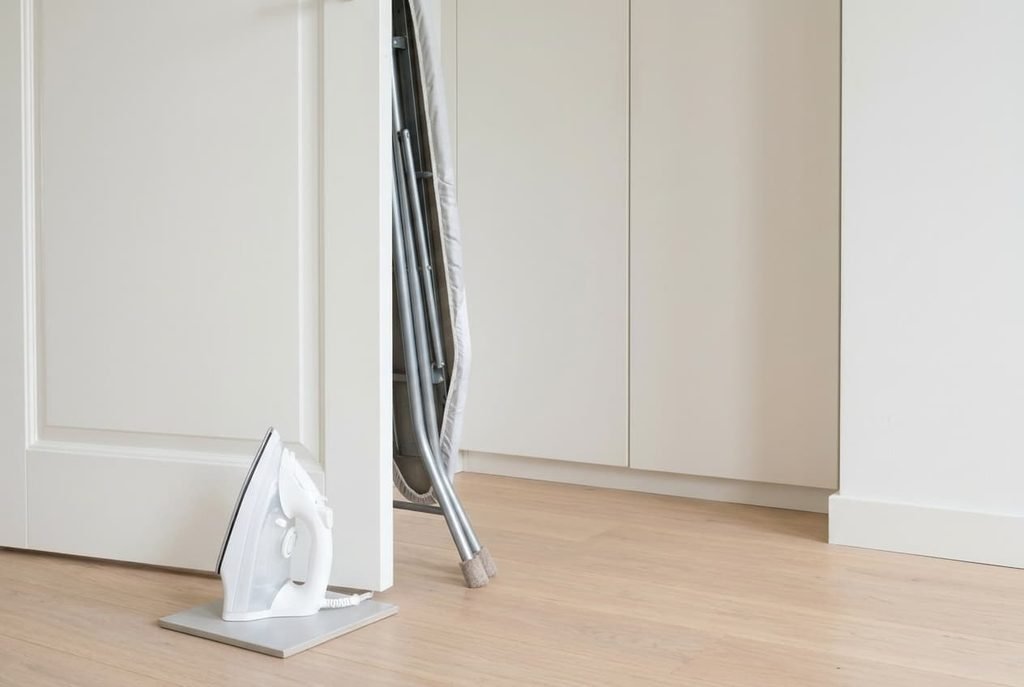
Fold the board after each session and lean it behind the bedroom door. That takes thirty seconds, and the corner is gone. Do the week’s seven shirts in one 42-minute slot. Heat-up and cool-down cost the same 20 minutes whether you press one shirt or seven. Switch the lead off at its own switch, then glance at the indicator light before you leave the room. Empty the iron’s tank over the sink so no water sits in it for a week.
What to Skip
Skip the wall-mounted fold-down board, because it needs four screws through a rented wall and a two-hour fit for a job the freestanding board does without tools. A landlord will notice the holes. The freestanding board folds to 8 cm anyway, so it hides behind a door with no bracket.
A steam generator with its own base takes 40 × 30 cm of floor and adds little for an ordinary shirt. Hand-held steamers tempt too, but they only freshen light cloth, and a cotton shirt still needs the board. Travel boards with a 90 cm top force you to turn each shirt twice. Leave out an ironing blanket too, since the cover already provides the padding.
Stop buying once the shirts come out smooth. Test it with the shirt you wear most. For most flats the board and the lead come first, and the cover can wait. An ironing corner for a small flat earns its keep by disappearing in thirty seconds, a fact that outweighs any single piece you could buy. Put the savings into a board that doesn’t rock, then mark a date in the calendar for checking the cover’s foam.
Questions Readers Keep Asking
How many items do I need before I start?
Two: the board and the lead. They let you iron safely at a comfortable height. Everything else is a convenience that you can add as the shirt pile grows. Begin with those two and note what annoys you before spending more.
In what order should I buy them?
By the damage a wrong choice does. A bad board hurts every shirt, so it comes first, then the lead. The cover wears out and needs replacing when its foam goes flat. The basket and the rail come last, if they come at all.
How do I judge a board in a shop?
Press hard on a corner and check for sway. Fold and unfold the board twice. A good board folds smoothly and locks firmly at three heights. Look at the legs, because cross-bracing in a steel tube means the board will stay steady for years.