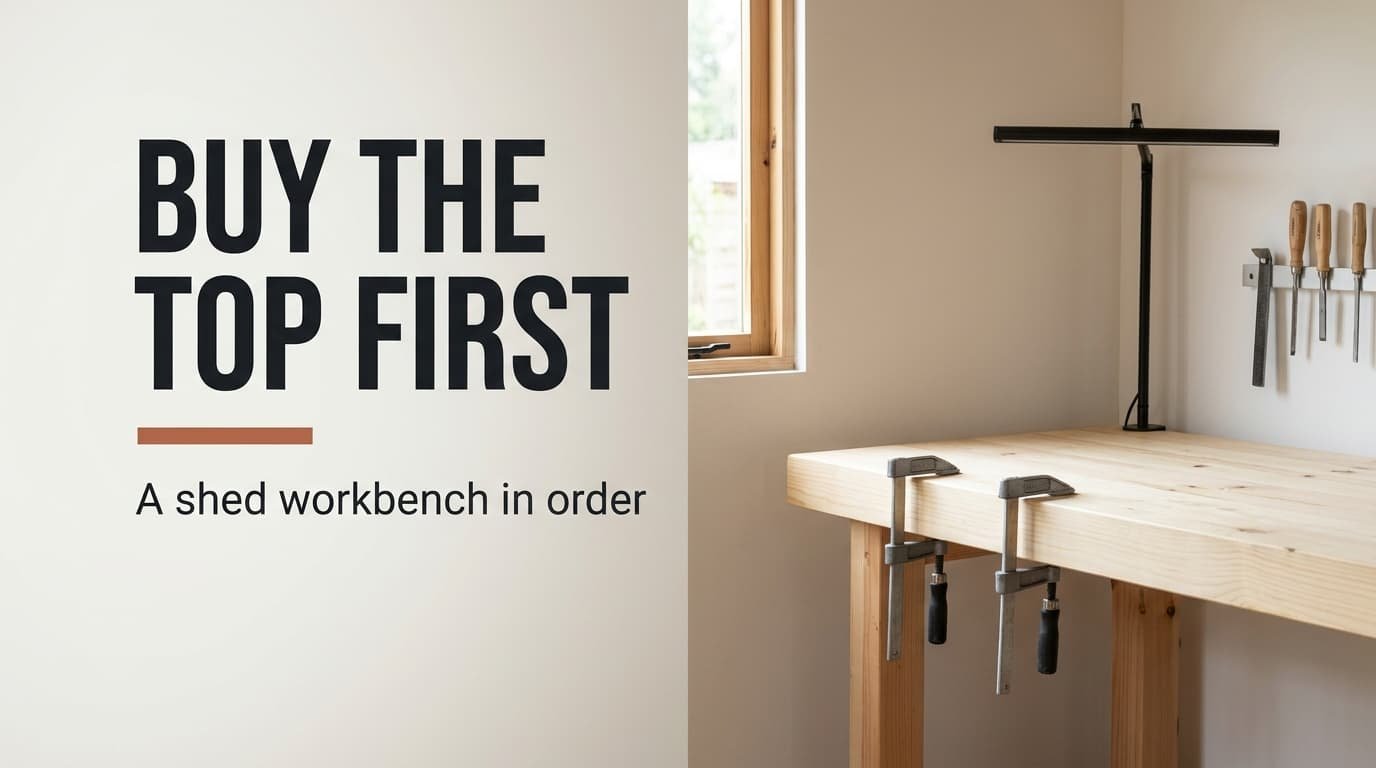
A small shed workbench goes together best when each part rests on the one bought before it. Our shed measures 250 × 320 cm, which is 8.0 m², and the bench corner takes 150 × 60 cm of that. Five purchases fill the corner, moving from the part that carries the load to the part that only tidies. Go through the list in order, and halt once the bench does what you need. Every figure is a sample, so measure your own shed and your own height before buying anything.
What a small shed workbench needs before anything else
Buy what everything else is fixed to before you buy what needs fixing. The top takes every clamp and every hammer blow, so it leads.
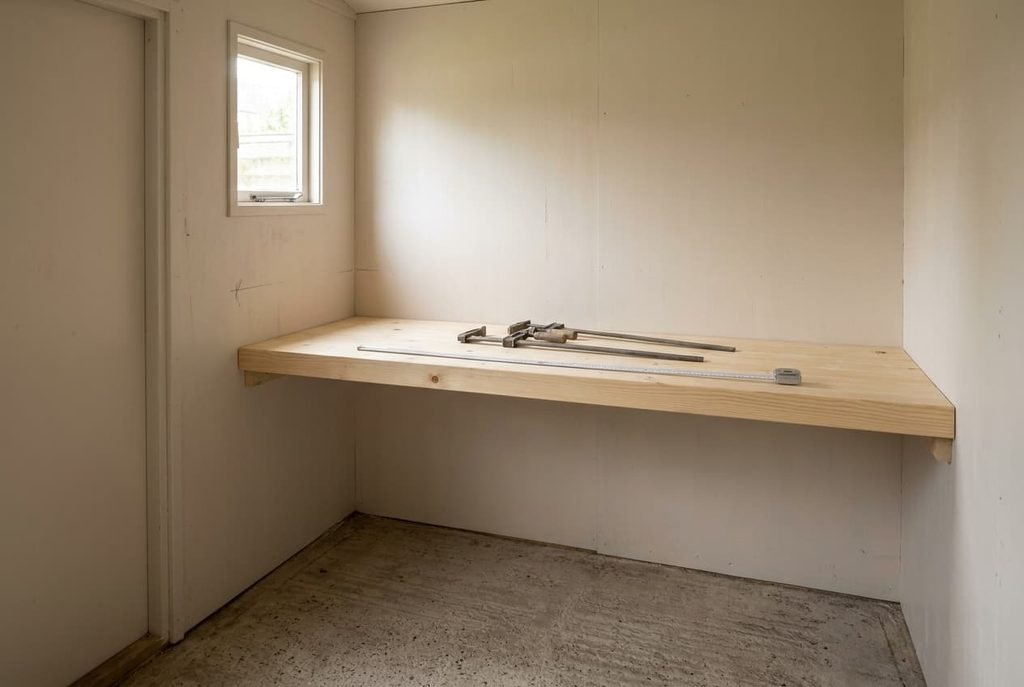
A top of 150 × 60 cm covers 0.90 m², or 11% of the floor. You stand at it, so leave 90 cm of space ahead of it, and the shed’s 250 cm width leaves 190 cm of aisle. Height matters more than length. A comfortable top sits near half your body height, which puts it at 89 cm for a person of 175 cm. Call it 90. Test the figure with your arms hanging: the top should meet the crease of your wrist. Measuring it with a tape and marking the wall in pencil takes a minute.
The obvious first buy is the vice or a big tool, since they feel like the point of the bench. Bolt either to a thin top and the top flexes with every squeeze. The work then shifts, and the screws work loose within a month. A beam bends in proportion to its length cubed, and in inverse proportion to its thickness cubed.
Double the thickness and the top is eight times stiffer.
That single relation decides the order of everything below, and it comes back when we scale one item down.
Five purchases for a workbench in a small shed
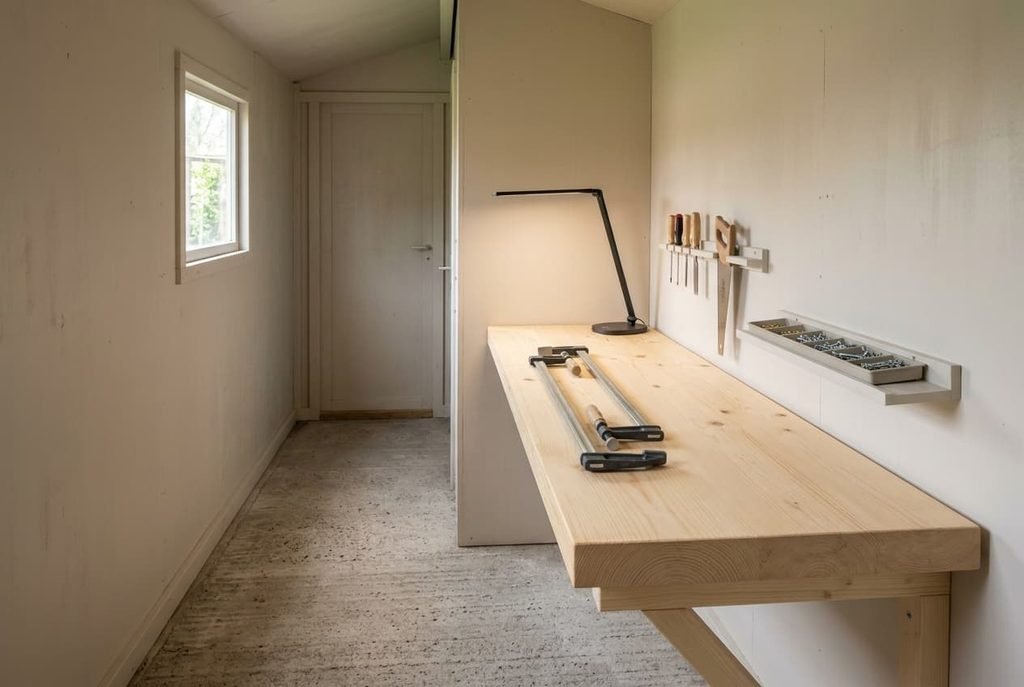
1. A bench top of laminated softwood, 150 × 60 cm and 38 mm thick, set at 90 cm for a person of 175 cm. It leads because every clamp and blow ends up in it, and a 38 mm top is about 9.4 times stiffer than one of 18 mm (38³ ÷ 18³). Tier: BUY ONCE, as thickness is built in and can’t be added later. The usual fault is a thin core under a thick-looking edge, so check that the edge shows solid wood to the full depth.
2. Two bar clamps with a 60 cm reach and deep, flat jaws. Second place goes to them since holding work comes before measuring or cutting it. Tier: MID, because a cast bar stays straight under load, whereas a pressed channel bends and opens the jaws. Close one on a scrap and rock the pad. A wobble means the screw is loose in its shoe.
3. A task lamp of 1,200 lumens on an arm that reaches 60 cm over the top. Spread across 0.90 m², with 60% landing on the bench, it gives about 800 lux, near the 750 often asked for detailed hand work. Tier: BUY CHEAP (an LED lamp has nothing inside to wear). Placement is the fault to watch, because a lamp in front of you casts your own shadow on the work. Mount it at one side.
4. A wall rail 100 cm long at 140 cm above the floor, with hooks 6 cm apart, which puts 16 tools inside a 60 cm reach. Tier: BUY CHEAP (a rail is a board with hooks). It fails when the screws bite only into thin cladding, so fix it to the frame behind with one screw every 50 cm.
5. A shelf, 60 cm by 15 cm, plus a 2 cm lip and shallow trays for fasteners. Last place suits it, as screws can live in jars for a month. Tier: BUY CHEAP (nothing about a shelf rewards extra money). The fault is a deep bin. Parts pile up, and the one you need sits underneath, so keep the trays under 4 cm deep.
The top is the item to scale down
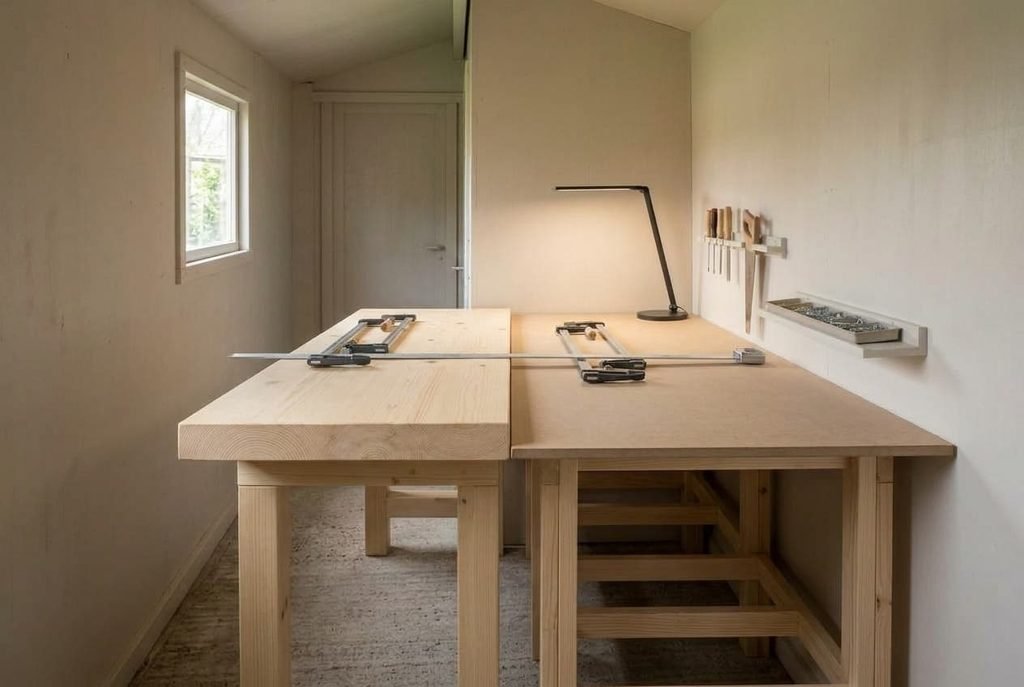
Thickness isn’t the sole route to stiffness, and that’s where the first purchase can shrink. An 18 mm top on rails every 50 cm out-stiffs the 38 mm slab on a 150 cm span. To a first approximation, the bend under one blow grows with span cubed over thickness cubed. That gives 150³ ÷ 38³ = 61.5 for the slab and 50³ ÷ 18³ = 21.4 for the thin top, so the framed sheet is about 2.9 times stiffer.
The sheet also weighs about 9.7 kg against 17.1 kg for the slab, before the rails, and it costs less. For a small shed workbench that counts, because every part has to come in through an 80 cm door.
The price is labour, and you can check the arithmetic against your own span: halve it and the bend drops to an eighth, which is why closer rails beat thicker sheet. Three extra rails need cutting and screwing, perhaps an hour of work. The thin top also dents sooner, since each blow lands on 18 mm of material. Keep the slab if you won’t build a frame, or if a heavy vice will be bolted to it later.
What a damp shed changes about the order
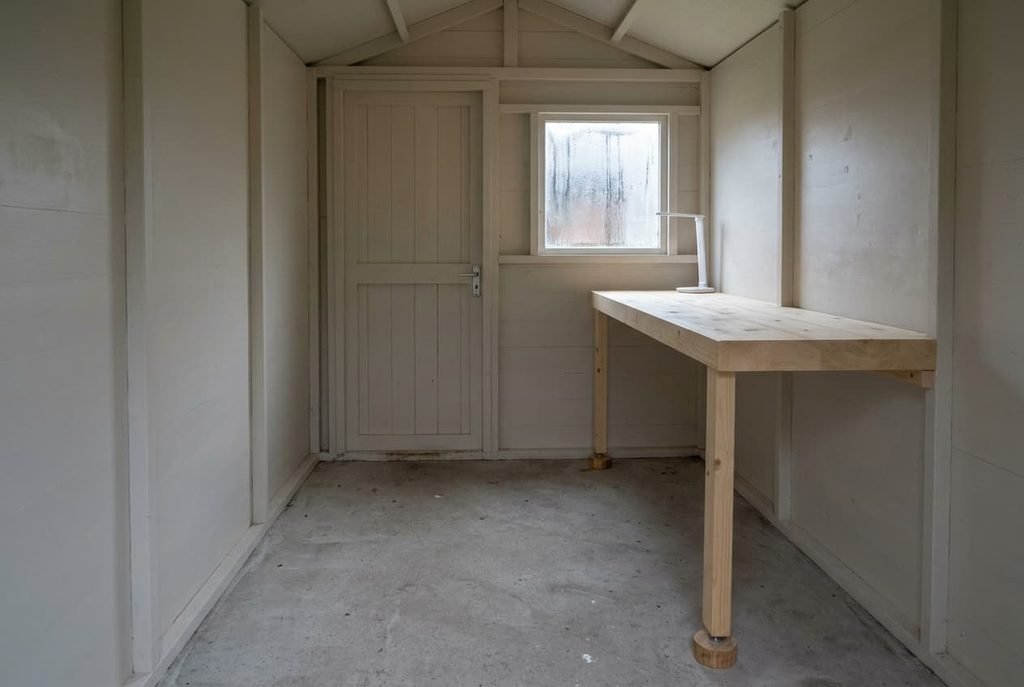
A shed brings three conditions that a spare room doesn’t, and each one nudges the list. Damp comes first. A small shed workbench stands on a cold slab, so lift the legs 5 cm on feet, which stops water wicking up into the timber. Steel rusts too, so the rail moves up the order if you own good hand tools and drops down if you don’t.
Power is second. Many sheds have no socket, or one far from the bench. Measure the distance and see whether the lamp’s lead will reach it, because a 1.8 m lead that stops 2.5 m short is a wasted purchase. A battery lamp solves it at the cost of recharging.
Ownership is third. If the shed belongs to a landlord, a rail screwed into its frame needs permission. Ask before drilling, and keep the work-holding items as your first two purchases, since they need no fixings at all.
What to skip entirely
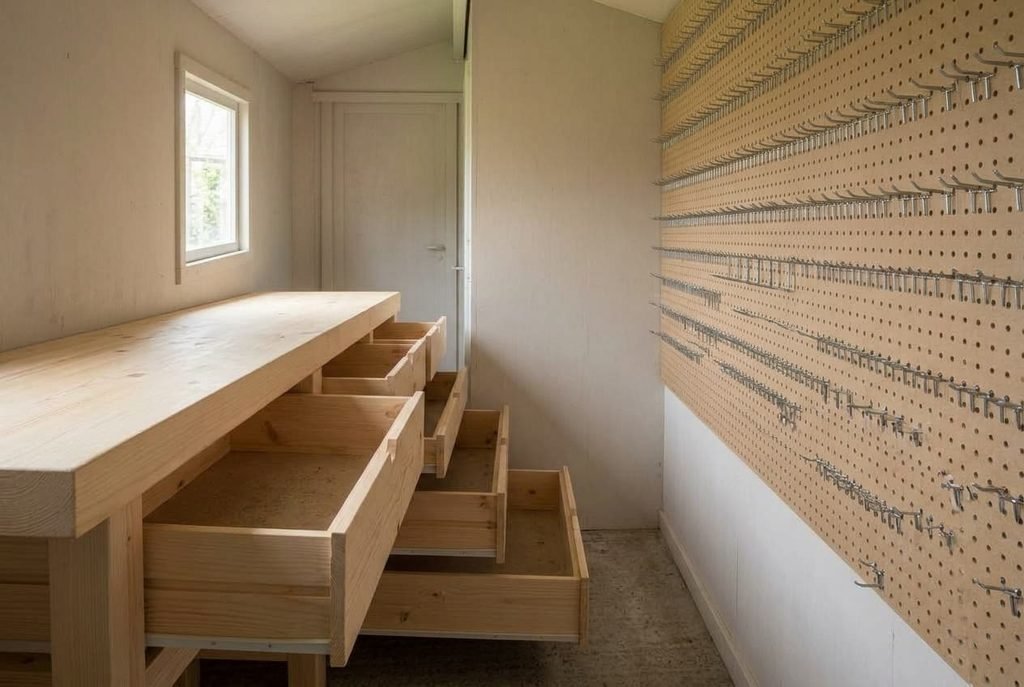
First, skip a bench with built-in drawers. A drawer needs 45 cm of clear floor to open, so the 190 cm aisle shrinks to 145 cm, and drawers hide the tools you’d rather see on the wall.
Skip a full pegboard wall as well. The 100 cm rail already puts 16 tools within reach, and a board covering the whole 320 cm wall holds more than you’ll ever hang.
Skip a heavy storage cabinet for the first month of use. Its footprint of 0.24 m² would sit exactly where you want to stand, and you can’t judge what to store until you’ve worked there.
Skip extra clamps too. Two do nearly everything at this size, and a third stays on the shelf until a job needs it.
Buy the top and the clamps first. Add the lamp after a few working evenings, once you’ve seen where the shadows fall. A small shed workbench rewards patience, and the cheap tiers cost little to replace. A corner of a garage works the same way, since the order follows the load path and not the building. Each later purchase leaves the earlier ones untouched, so you can pause anywhere and own a better bench than you began with.
Questions readers keep asking
How many pieces do I need to start?
Two: the top and a pair of clamps. Together they let you hold and work on anything in the shed. The lamp and the rail make the corner pleasant, but the bench already works without them. Five items complete the corner, and two are enough to begin.
Should the lamp or the rail come first?
The lamp, usually. Poor light makes every cut and measurement worse, while a rail only saves walking. If the shed has a window facing the bench, daylight covers the first weeks, and the rail can take third place in the order instead.
How do I judge a bench top in a shop?
Look at the edge for solid wood through the full thickness, and press down in the centre with your weight. It shouldn’t flex. Then lay a straight edge across the surface, since a top that rocks never settles on its legs.