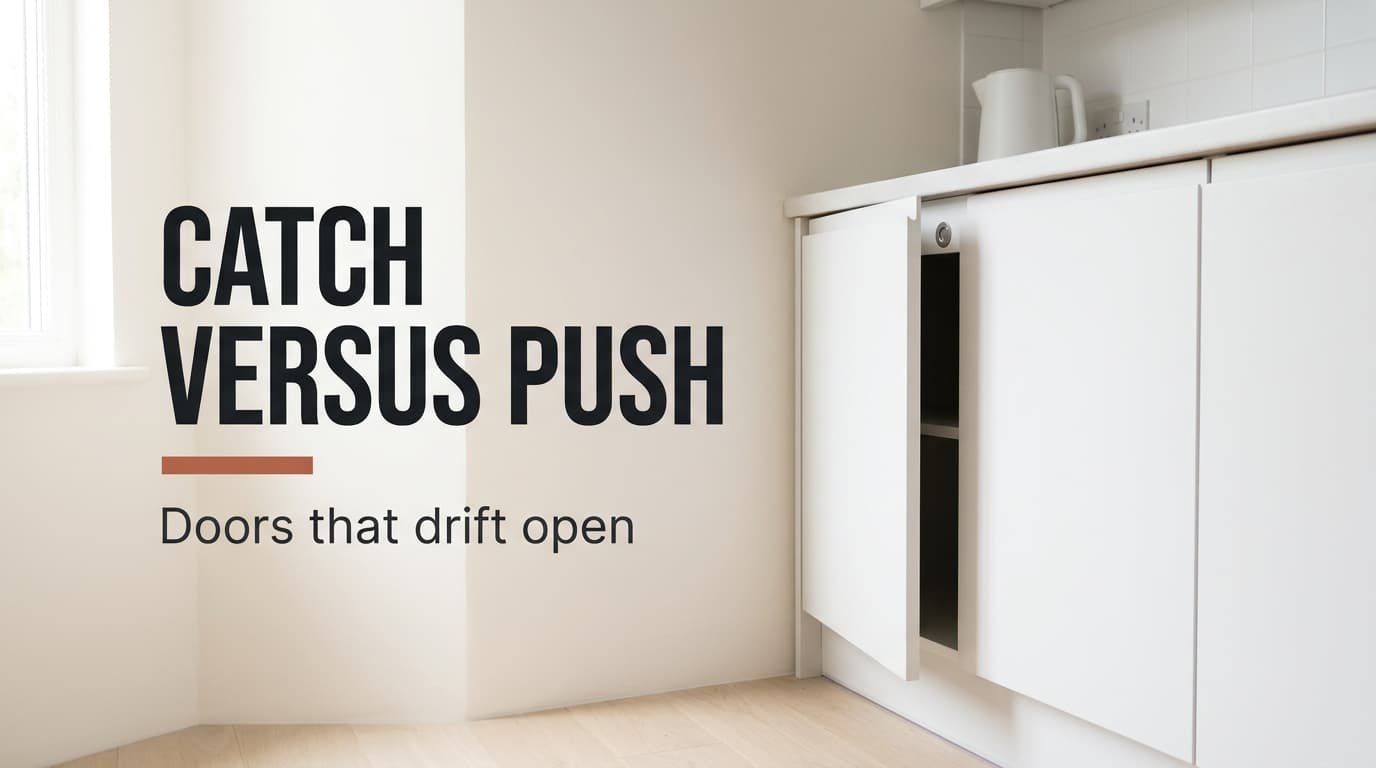
You shut the cupboard beside the hob and walk to the sink. Behind you, it drifts open again. Nearly every kitchen with a few years behind it has one such door, and the habit of nudging it shut becomes automatic. To fix kitchen cupboard doors that won’t stay closed, compare how hard the catch pulls with how hard the door pushes back. The model kitchen is Dutch. Its base-unit door has a face of 45 × 71 cm, a thickness of 18 mm and a weight of 3.6 kg. Every force below is invented for the example. Use the method, then take readings at your own door.
What is actually happening when you fix kitchen cupboard doors
A door stays shut when the catch holds harder than the door shoves. A magnetic catch loses its grip very quickly as the gap opens. Assume it pulls 30 N at contact, 18 N across 1 mm, 11 N across 2 mm and 8 N across 3 mm. The door pushes back as well, because chipboard bows a little and a hinge springs a little. Assume 12 N at the catch. Those two numbers are all the physics you need, and you can measure both with a kitchen scale and a strip of paper.
The comparison that decides everything is the catch’s pull at the real gap against the door’s own push. With a 1 mm gap, 18 N beats 12 N and the door stays put. With 2 mm, 11 N loses by a hair. The door hangs from its hinges, and 3.6 kg is about 35 N of weight, so loose screws let the free edge drop. A fall of 3 mm, where the catch sits, leaves 8 N against 12 N, and the door wins the argument. A 2 mm change is all it takes for the balance to tip.
That is why a door that shut smoothly in spring wanders open by autumn.
Confirm which version of the kitchen cupboard doors problem you have
To fix kitchen cupboard doors properly, first work out which version you have. Three tests sort the causes. None needs more than a minute. First, fold a sheet of paper into ten layers, which makes a stack about 1 mm thick. Lay it on the catch plate and close the door. If it still latches, the gap measures less than 1 mm and the catch is doing its job. Add layers until it refuses to latch. The layer count gives you the gap in tenths of a millimetre.
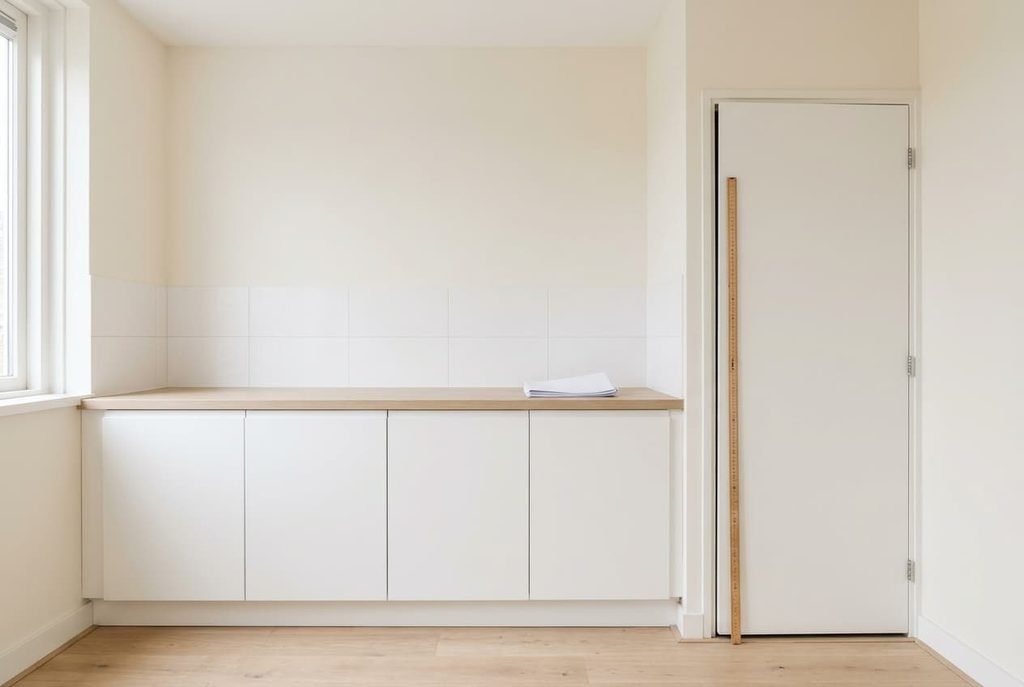
Second, check the seam beside the door. Hold a ruler against the closed free edge and read the seam at the top, then at the bottom. A difference above 2 mm means the door has sagged. An even seam rules sag out.
Third, lay the ruler across the inside face of the open door. Daylight under the middle shows a bow. A bow above 2 mm means the push is the culprit, rather than the pull. Most kitchens show a sag and a tired catch together. Work down the list of fixes and stop once the door stays shut.
The fixes, in order
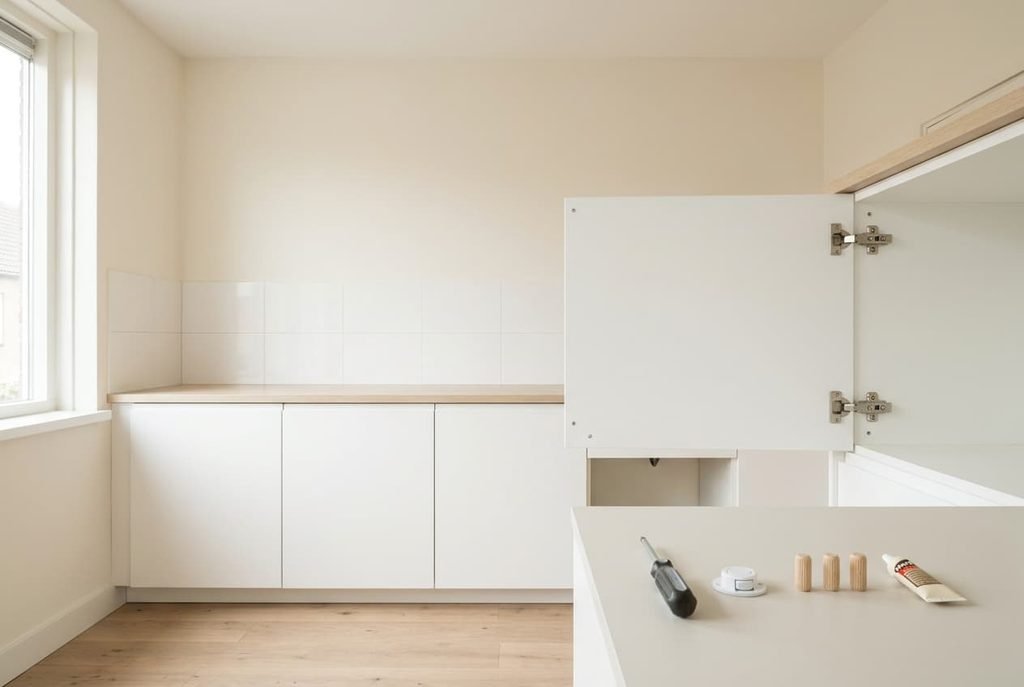
Re-level the door on its hinge screws, which closes the gap. Turn the height and side screws until the free edge lifts 2.5 mm and the gap falls to about 0.5 mm, where the catch pulls roughly 24 N. Time needed: ten minutes and one screwdriver. The mechanism is the gap, and the gap is the one number you can change for nothing. The limit is the range of the screws. A door that has already used all of its adjustment has nothing left to give, and a second sagging door nearby usually means the same thing.
Fit a stronger catch, which raises the pull. Assume the new one pulls 60 N at contact and 16 N across 3 mm, so it beats the 12 N push even when the door has dropped. This is a small fitting job with two screws, so it counts as a modest purchase. Force is the mechanism, because a bigger pull outvotes the push. Its limit is the door itself. A strong catch fights a bow without curing it, and the hinges feel that strain every time you pull the door open, which can speed up the next sag.
Repair the stripped screw holes, which stops the door sinking again. A hinge screw that has spun loose in chipboard lets the hinge tilt a little more each month. Glue a wooden dowel into each hole and wait a night. Next, bore a fresh pilot hole and refit the screw. Plan for one evening and one night’s wait, plus a small purchase of dowels and glue. The mechanism is the fixing, since the gap can’t stay closed on a loose hinge. The limit is the board. If the whole edge crumbles, a dowel has nothing to grip, and the door needs another answer.
Have the warped door replaced or planed flat, which removes the push. A joiner takes the bow from 12 N to almost nothing, so even the old catch holds. It’s the slowest and dearest option, and it needs a visit from a professional. The mechanism is shape, because a flat door has no push left to defeat the catch. The limit is the finish. A laminated door can’t be planed without showing bare board, and a new one has to match the neighbouring fronts.
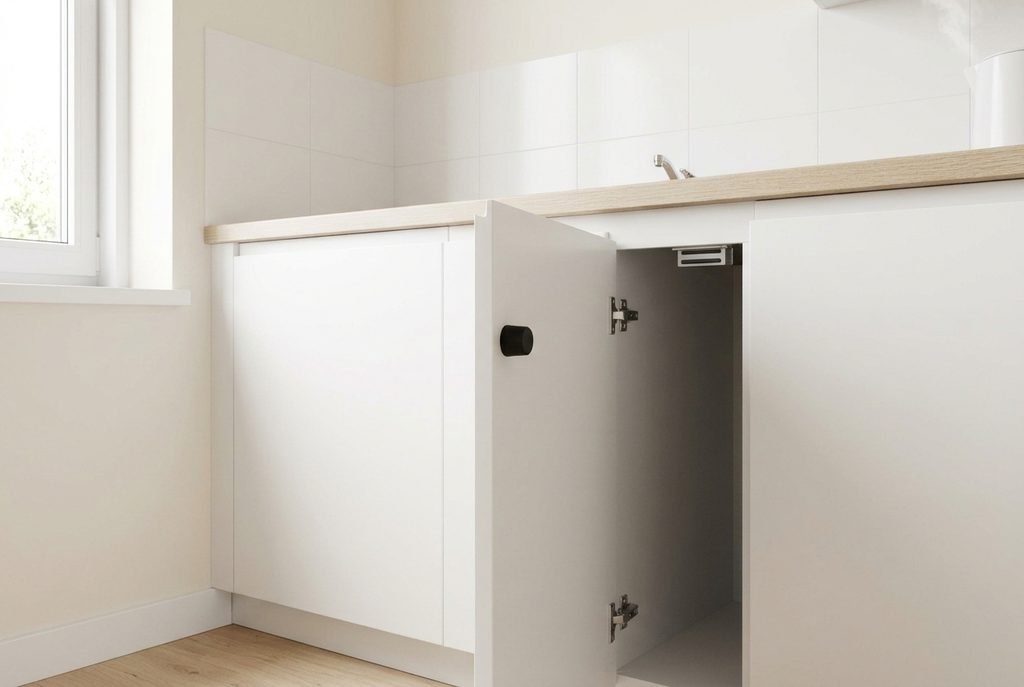
What this kitchen’s own layout means for you
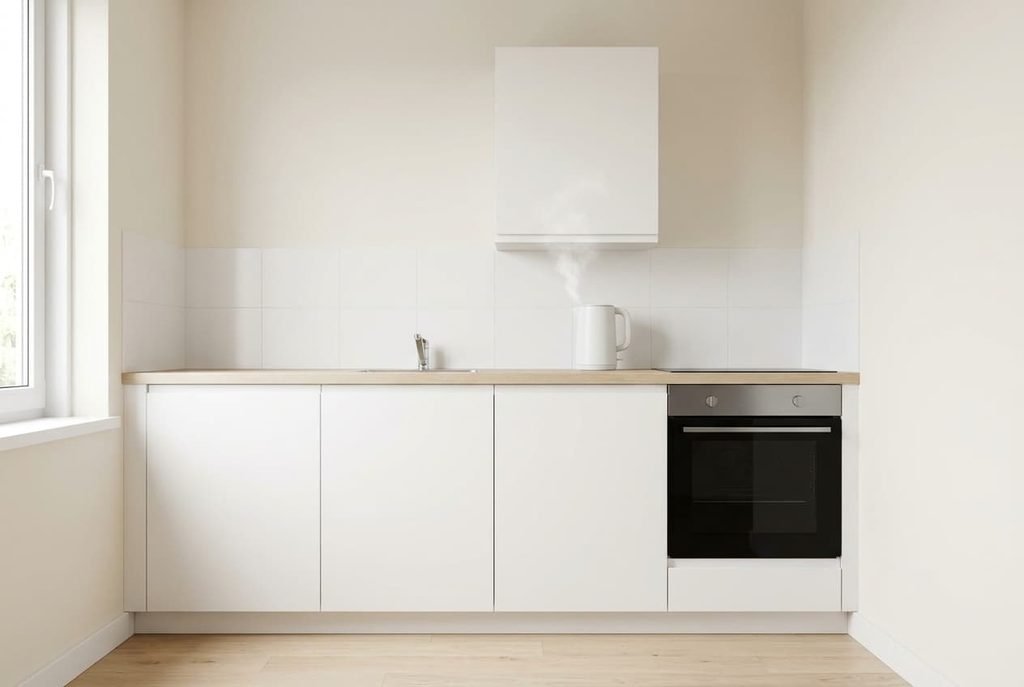
Some parts of this kitchen can change and others never will. You can alter the door and its catch, and the kettle can move along the worktop. Meanwhile the carcass stays put. So does the oven. The tests above show which of them matters when you fix kitchen cupboard doors in this room.
Two fixed features limit the options. First, a door beside the oven shares its carcass side with a source of heat, which dries one face of the 18 mm board faster than the other and bows it. You can’t move the oven, so a stronger catch is the sensible remedy there.
Second, the seam between neighbouring doors is 3 mm. Planing more than 1 mm off the free edge leaves a visible stripe, so a joiner’s pass is limited by that seam. Measure the seam and note where the oven sits before you order anything.
The fix that doesn’t work
Sticking a rubber dot on the frame is the common mistake, and it backfires. A 2 mm dot pushes the door further from the catch, so the 1 mm gap becomes 3 mm and the pull falls from 18 N to 8 N. The door then drifts open more readily than before. Dots are meant to quiet a door that already latches, not to cure one that doesn’t. Used that way they save the frame from a knock and do no harm to the catch.
A second dead end is stuffing folded card behind the hinge. It props the door for a month. Then the board compresses and the sag returns. A third is gluing the catch plate on thicker, which has the same effect as the dot: the gap grows and the pull drops.
None of them lastingly alters the balance between pull and push.
To fix kitchen cupboard doors that won’t stay closed, measure the gap first. Keep the tools in the drawer until you have. Then move from the free option towards the dearest, stopping where the pull finally exceeds the push. A door that stays shut through a full week of daily use after the change counts as solved, and one that drifts again needs the next fix on the list.
Questions readers keep asking
Can a door that has sagged for years be saved?
Usually, yes. Re-level it on the hinge screws first, then check whether the screw holes hold. If they have spun loose, dowel them. A door that still sags after both is a candidate for replacement, though most never reach that stage.
Is replacing a door always the expensive route?
It’s the dearest of the four, yet it isn’t always needed. A door with a bow under 2 mm often settles with a stronger catch. Try the cheaper fixes in order, and treat replacement as the last step once measurements show the door is truly warped.
Why does only the door above the kettle drift open?
Steam reaches the nearest door edge each time the kettle boils, so that board takes up moisture and swells unevenly. The bow then pushes harder than the others do. Move the kettle a short way along the worktop, then check the door again in a few weeks.