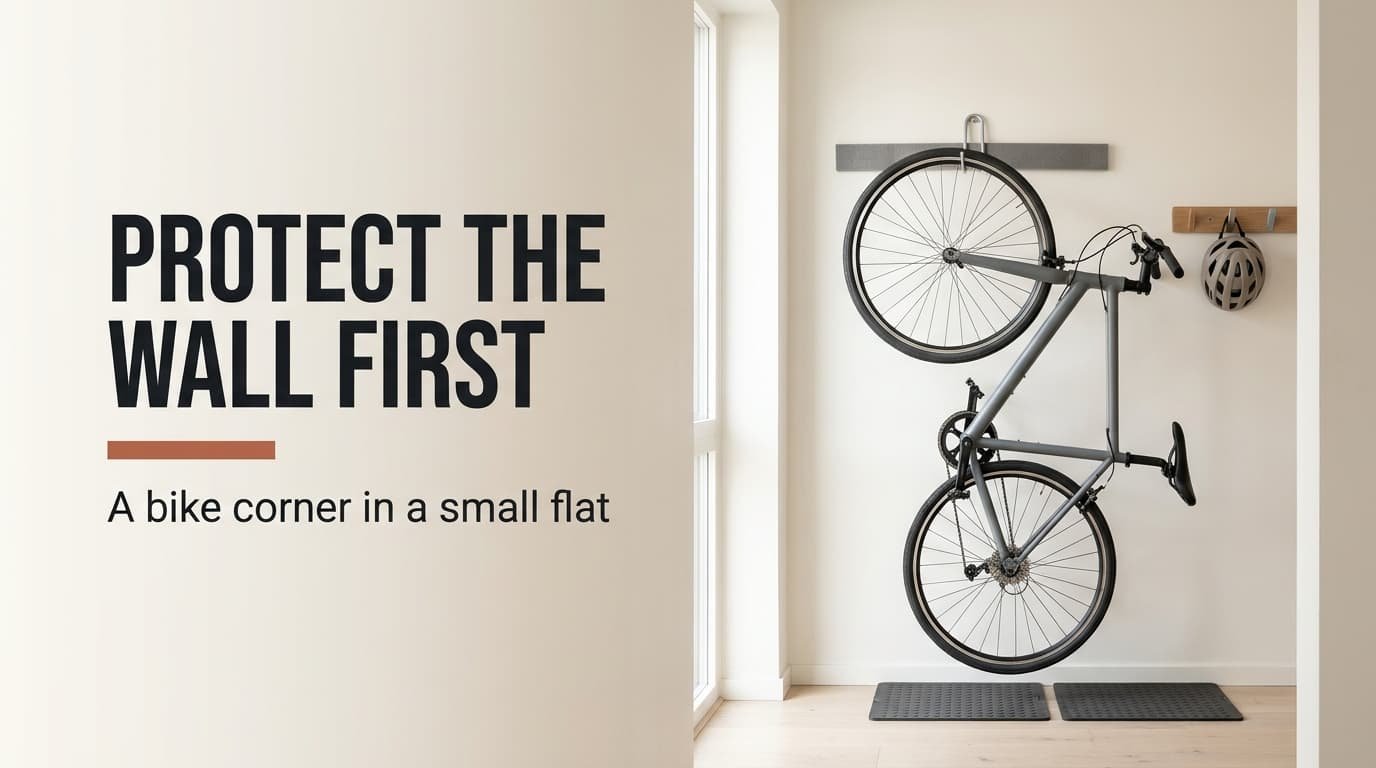
A bike corner that keeps a small flat tidy puts the wall ahead of the floor. Clutter comes last. The model is a Dutch hallway measuring 120 × 420 cm, which makes 5.04 m², and a city bike of 180 × 60 cm that weighs 17 kg. Left lying down, the bike takes 1.08 m², and that is 21% of the hall. Five purchases fix that, in an order set by the damage you can’t undo. Read the list from the top and stop when your hall stops needing more. Take each number as a sample and measure your own hallway before buying.
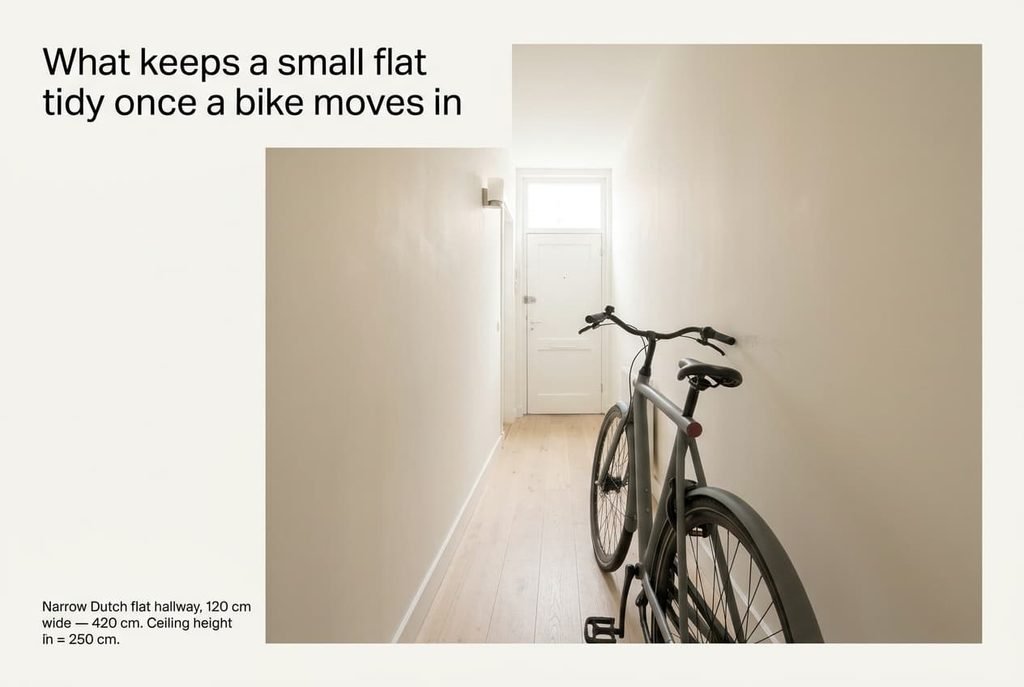
What keeps a small flat tidy once a bike moves in
The costliest damage comes first. A scuffed wall can’t be undone without paint. Wet boards may swell. Clutter only tests patience. Money goes to the wall before anything else, because one handlebar scuff of 10 cm usually means repainting the whole 420 × 250 cm wall, or 10.5 m², so the patch doesn’t show.
The tempting first purchase is a rack, because it seems to answer the whole question. A free-standing rack for one bike still occupies 180 × 60 cm of floor, exactly the 1.08 m² we want to give back, so it moves the problem without solving it.
Then run the width sum. A handlebar spans 60 cm and the hall is 120 cm wide. A bike laid along the wall leaves 60 cm to walk, and a person carrying shopping needs 80 cm. The floor fails the test before any question of style arrives.
A wall mount changes the answer. Hung by the front wheel and turned parallel to the wall, the bike projects only 40 cm. The reserved zone shrinks to 100 × 40 cm, or 0.40 m², which is 8% of the hall, and the path stays at 80 cm. That is the arithmetic behind the order that follows.
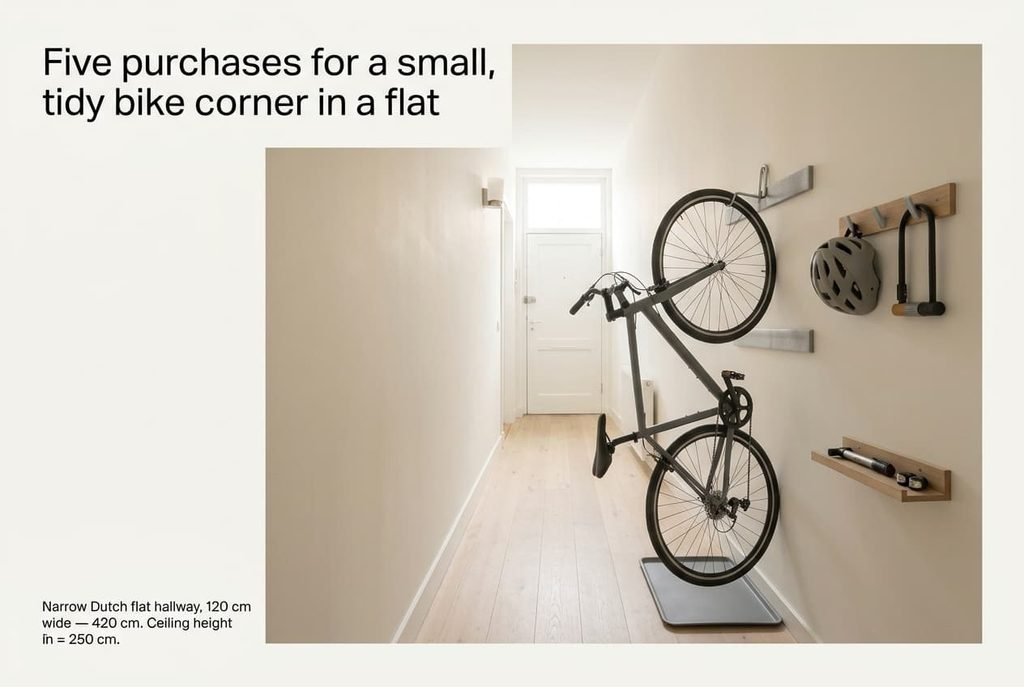
Five purchases for a small, tidy bike corner in a flat
1. A wall guard strip of 8 mm closed-cell foam, 70 × 10 cm, fixed at 100 cm where the handlebar meets the wall, plus a short strip at 25 cm for the pedal. Paint heads the list because a 10 cm scuff costs a repaint of 10.5 m² of wall. Tier: BUY CHEAP, because foam is a plain material with nothing to engineer. Watch for adhesive that lifts paint on removal, and stick a 5 cm corner for a week before fixing the full strip.
2. A floor tray of 3 mm PVC, 190 × 70 cm and fitted with a 2 cm lip. Water comes next, as a wet ride sheds about 0.2 L plus a spoonful of grit, enough to mark boards. Tier: MID, because thin sheet curls at the corners within a season and 3 mm stays flat. Failure shows as a cracked lip in a cold hall, and bending a corner gently in the shop reveals it.
3. A steel wall mount rated for 25 kg, held by two 8 mm anchors in brick. Tier: BUY ONCE, because a welded hook holds where a bent one opens under load. Position three suits it: the bike hangs by its front wheel and hands back 0.68 m² of floor. Test by hanging a 20 kg bag overnight, then measure the droop at the tip, which should stay under 3 mm.
4. A hook rail 50 cm long carrying two hooks at 150 cm. One holds the helmet and the other holds the lock. Small items cause the clutter, so the rail earns fourth place. Tier: BUY CHEAP (a board and screws do the whole job). Trouble starts when the rail is fixed to plaster alone. Use plugs rated for 10 kg. A stud is better still.
5. A shelf 30 cm wide by 15 cm deep with a raised lip, fixed at 120 cm to hold the pump. Last place suits it because the pump can live in a drawer while the rest settles. Tier: BUY CHEAP. A shelf without a lip fails fast, as a pump rolls off within a week.
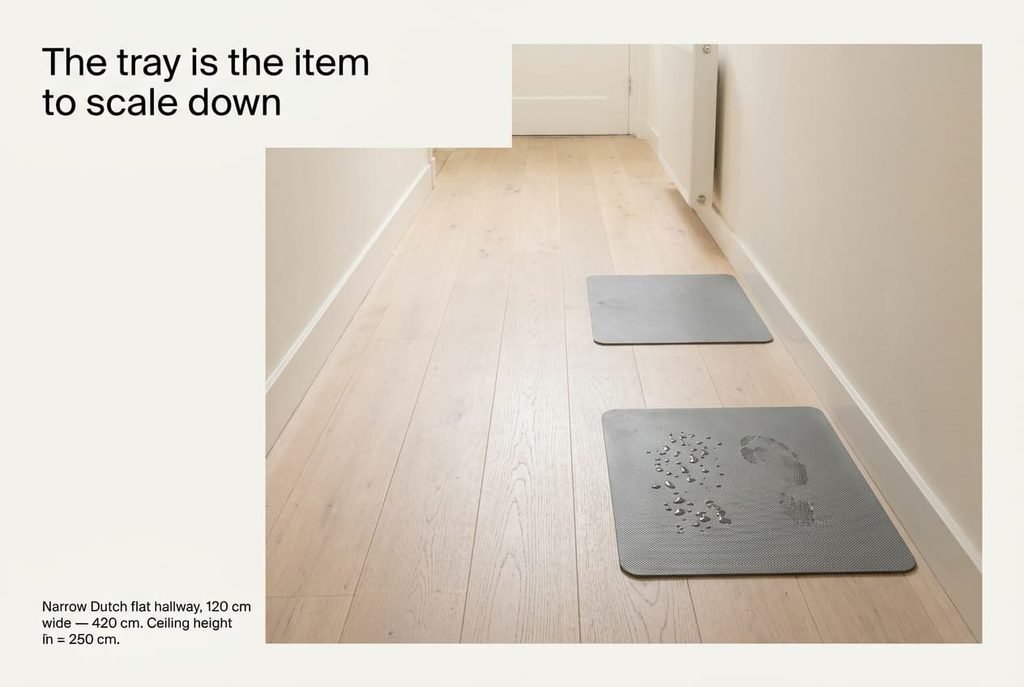
The tray is the item to scale down
The tray is the one purchase that shrinks without harm. It covers 190 × 70 cm, or 1.33 m², and its lip alone takes 2 cm off each side of a 120 cm hall, yet a bike drips only where the tyres touch and where the chain hangs. Two tyre mats of 60 × 25 cm do the work of the whole tray, because together they cover 0.30 m², which is 23% of its area.
Mats use less material and tuck away when the bike is out. That suits a hallway where the same square metre has to serve as the way in. A full tray also becomes the place where shoes collect, and a corner that keeps a small flat tidy can’t afford a catch-all floor.
Keep the tray only if the hall floor is wood and the bike comes in daily through rain. A tiled hall, or a bike that stays dry, needs nothing bigger than the mats. The 2 cm rim is the part that counts, since a pool needs an edge to be held.
Mats are enough for most halls.
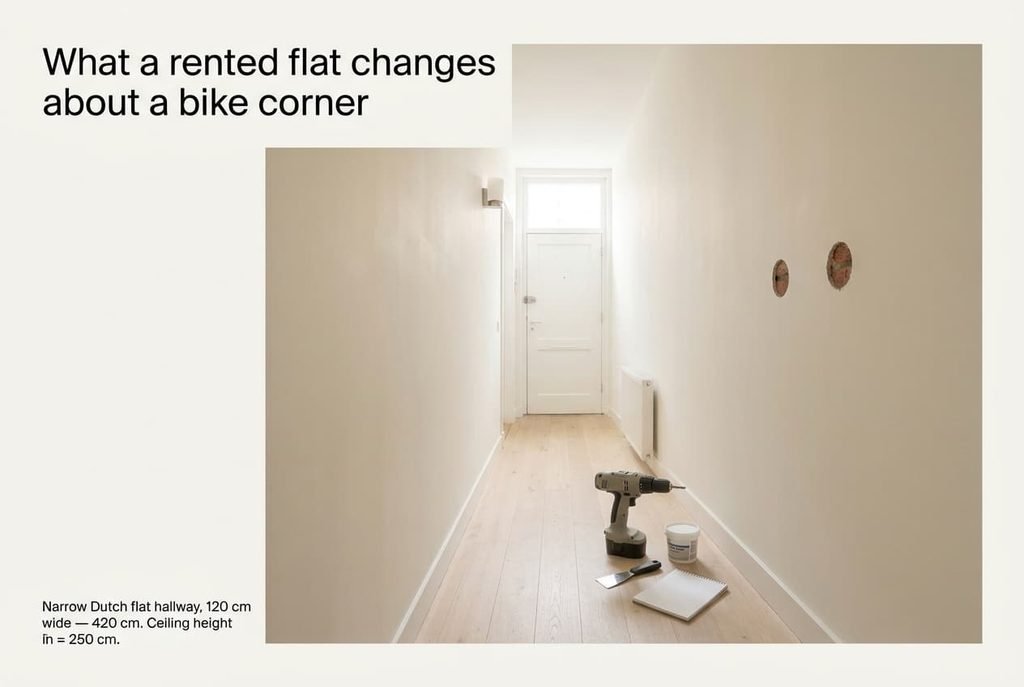
What a rented flat changes about a bike corner
A rented hall adds one question before any purchase: who owns the wall? Two 8 mm holes in brick can be filled at the end, whereas holes in plasterboard crumble and show.
Photograph the wall before you start drilling.
Plan around the lease, because a hallway that keeps a small flat tidy still has to return to its original state. Foam strips and mats need no permission, so buy them first. The mount and the rail need holes, so they wait for an answer. Many landlords agree when you offer to fill the holes yourself and name the filler you’ll use.
If the landlord refuses, a floor stand that grips the rear wheel holds the bike upright with no hole at all. It uses more floor, about 0.5 m², yet that still gives back more than a bike laid flat. The mats go under it, and the order of the first two items doesn’t change.
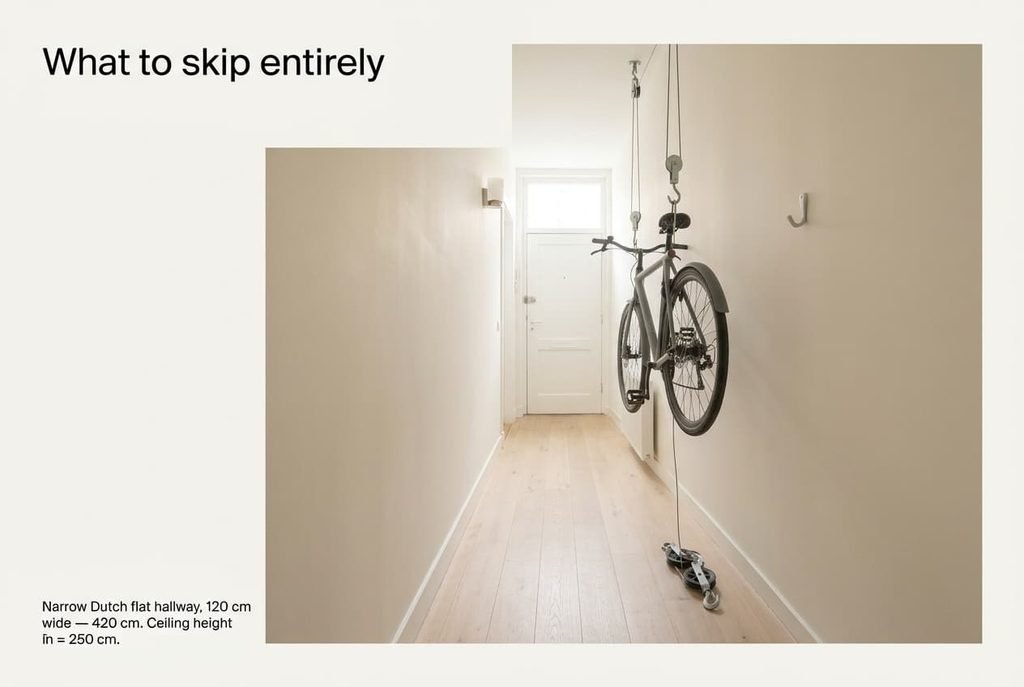
What to skip entirely
Skip the ceiling hoist. A pulley system needs two ceiling anchors plus a room height of 250 cm. It lifts the bike out of the way, but it also puts 17 kg overhead in a hall you walk under daily, and every use takes a minute of hauling.
Skip a full-length wall panel as well. A strip of 70 × 10 cm guards the two contact points, so panelling the whole 420 cm wall protects air.
Skip the second hook until a second bike exists. An unused hook only gathers coats, and a narrow hall that keeps a small flat tidy has no spare surface for them. A bike cover for the hall is also on the list, because the bike spends its nights indoors and a cover only traps damp.
Buy the wall guard and the mats first. Ask about the holes. The rest follows in the order above, and each purchase pays for itself in a wall that stays clean and a floor that stays dry. Every step also leaves the earlier ones in place, so you can stop at any point and still own a better hall than you started with. Measure first, buy the cheap protective layer, and test the heavier items before you commit.
Questions readers keep asking
How many pieces do I need to start?
Two: the wall guard strip and a pair of tyre mats. Together they cover the two damage points for a small outlay. The remaining three items need holes, so they wait for the landlord. A bike corner works with five items, but it begins to work with two.
Should the mount or the tray come first?
Neither. Paint can’t be undone, so the wall guard goes first. Wet boards swell, so floor protection comes second. The mount follows because it returns floor space, and it needs permission, so it waits for the landlord anyway. Between them sits a week of waiting, which the mats cover.
How do I judge a wall mount in a shop?
Look at the weld where the hook meets the plate, and check the rated load against your bike with a 1.5 margin, so 25 kg for a 17 kg bike. Press down on the hook with your hand. It shouldn’t flex. Count the screw holes, because two anchors are the minimum.