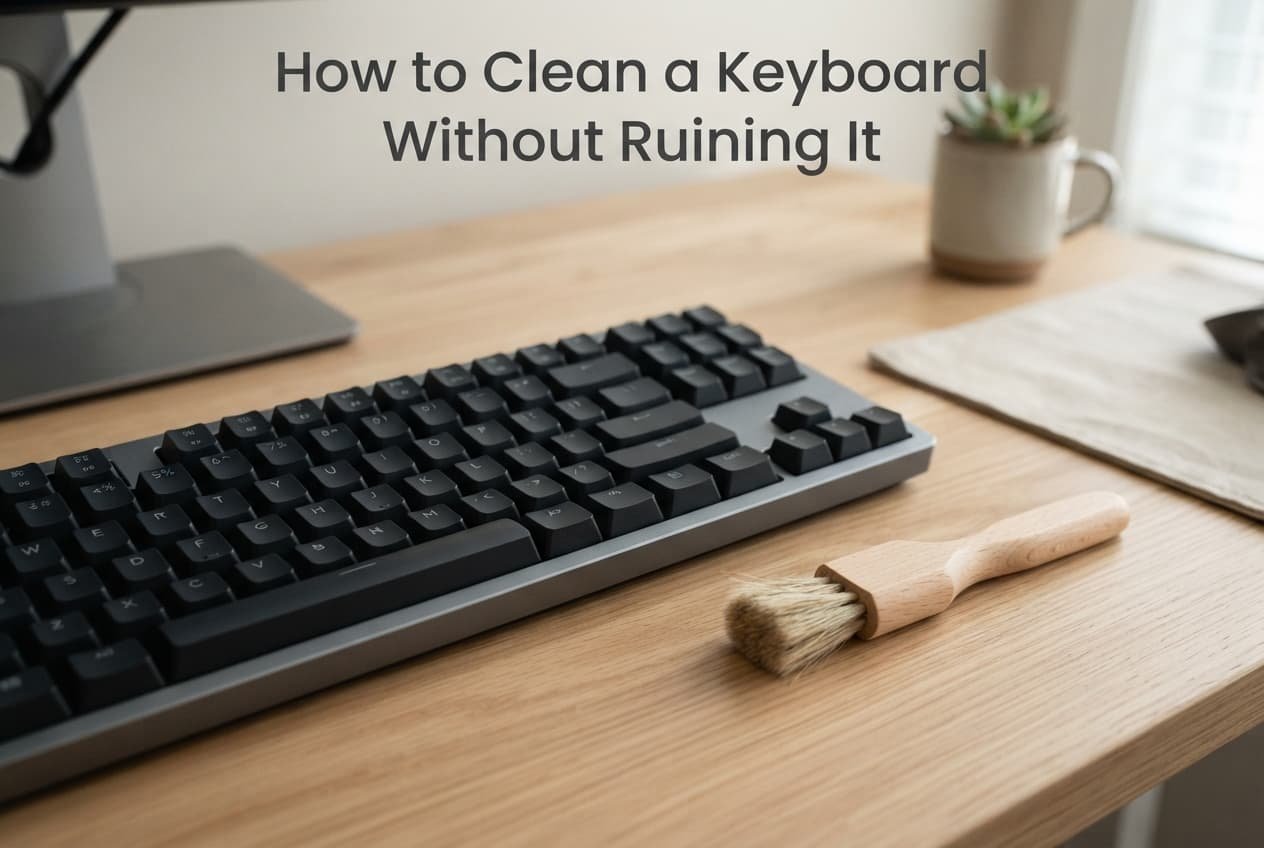
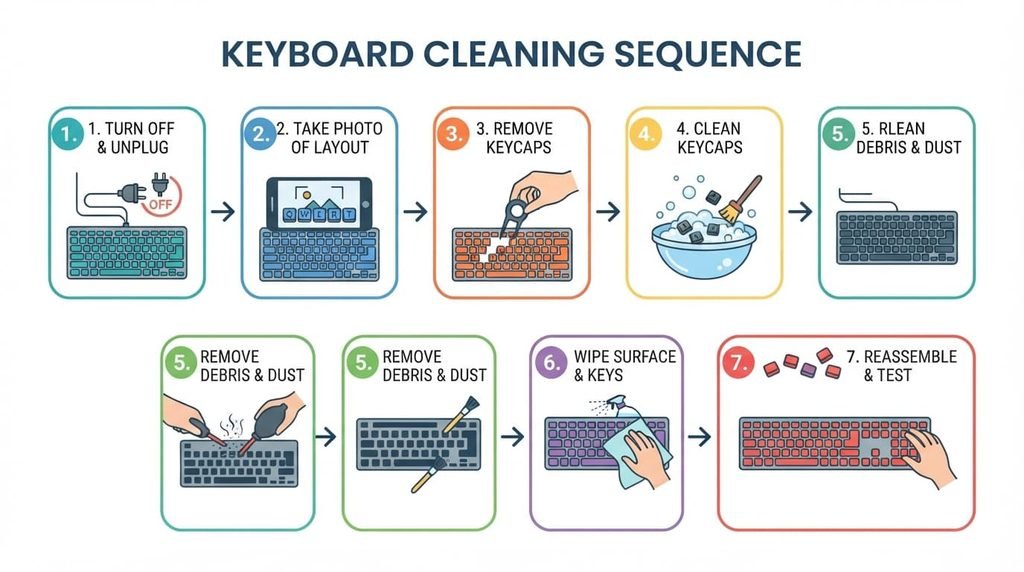
Cleaning a keyboard genuinely properly works best as a sequence of specific steps addressing different debris types and locations methodically, rather than simply wiping the visible surface and hoping that addresses everything actually accumulating beneath and between the keys themselves. This guide covers the steps in the order that genuinely gets a keyboard clean without risking damage careless cleaning methods can introduce.
Before you start
Power off and genuinely disconnect your keyboard before beginning any cleaning specifically, whether unplugging a wired keyboard or removing batteries from a wireless one, since cleaning a genuinely powered device introduces unnecessary risk that a few seconds of preparation entirely avoids.
Gather appropriate cleaning materials specifically – compressed air, a soft brush, genuinely appropriate cleaning solution if needed – rather than reaching for whatever’s nearby, since inappropriate materials can cause genuine damage rather than actually helping.
Step one: remove surface-level debris first
Turn your keyboard upside down gently and shake it lightly over a bin or surface specifically, since this simple first step removes loose debris – crumbs, dust – that’s merely resting on or between keys without requiring any more involved cleaning method yet.
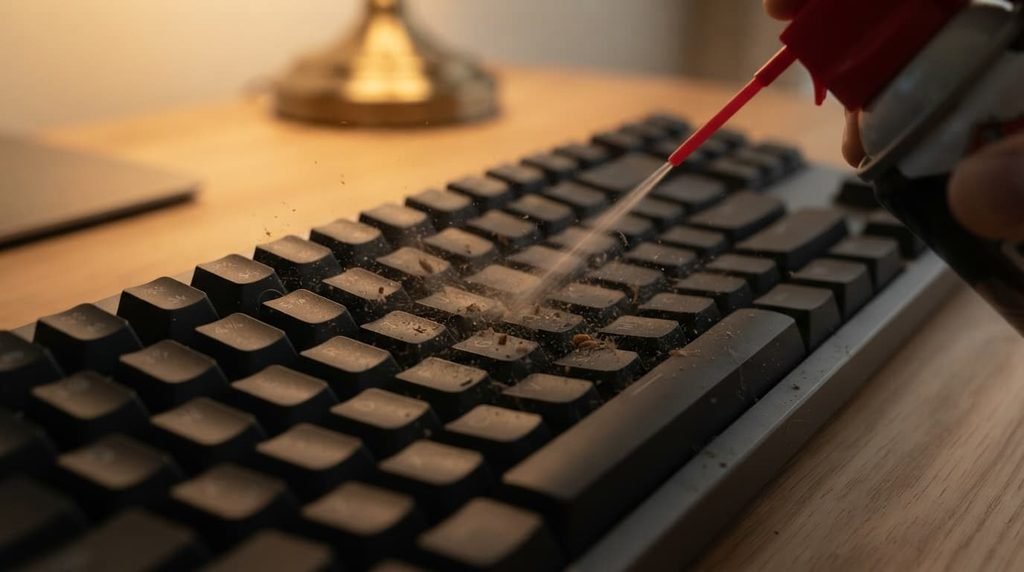
Use compressed air specifically, held at a genuine angle rather than straight down, to dislodge debris from between and beneath keys, since angled application helps guide debris out rather than simply pushing it deeper into the keyboard’s internal mechanism.
Step two: address the spaces between keys specifically
Use a soft, genuinely appropriate brush – a genuinely soft-bristled option, not anything stiff or abrasive – to gently clean between keys and along visible surface grooves, since this targets debris the shaking and compressed air steps alone may not have fully dislodged.
For debris genuinely stuck in harder-to-reach spots specifically, a cleaning putty or gel designed for this purpose can help, since these materials genuinely conform to and lift debris from tight spaces standard brushes and air alone sometimes can’t fully reach.
Step three: clean the actual key surfaces and visible areas
Dampen a genuinely soft cloth – not saturated, just lightly damp – with an appropriate cleaning solution specifically formulated for electronics, since household cleaners not intended for this purpose can potentially damage key surfaces or printed lettering.
Wipe key surfaces and the keyboard’s visible frame gently, avoiding any liquid genuinely pooling or dripping into the spaces between keys, since excess moisture is one of the more common ways keyboard cleaning attempts actually cause damage rather than helping.
Step four: consider deeper cleaning for genuinely accumulated buildup
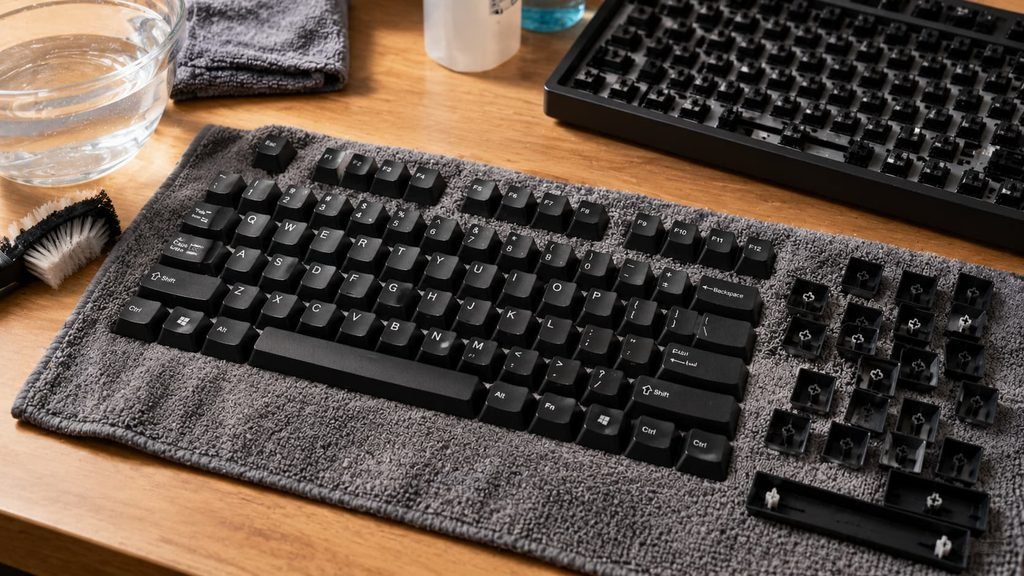
For keyboards with removable keycaps specifically, consider carefully removing individual keys for more thorough cleaning underneath, if your particular keyboard genuinely supports this and you’re comfortable with the process and correctly returning keys to their proper positions afterward.
Research your specific keyboard model’s own manufacturer guidance before attempting keycap removal specifically, since removal methods and keyboard designs genuinely vary, and using an inappropriate method risks damaging either the keycaps or the underlying switch mechanisms.
Step five: allow genuine drying time before reconnecting
Allow your keyboard to genuinely air dry completely before reconnecting or powering it back on, since reconnecting while any moisture remains risks the exact damage careful cleaning was meant to avoid in the first place.
Test your keyboard’s actual key responsiveness once fully dry and reconnected, confirming your cleaning process didn’t inadvertently affect any key’s genuine functionality before considering the cleaning process complete.
Step six: address specific spill situations differently
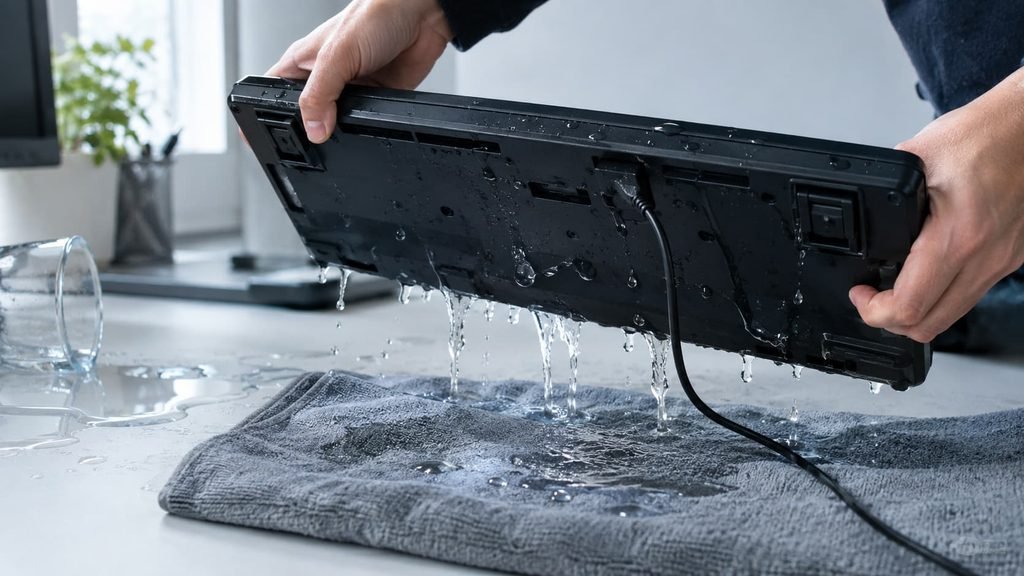
If your keyboard has genuinely experienced a liquid spill specifically, rather than simply accumulated everyday debris, immediately disconnect it and turn it upside down to help liquid drain away from internal components, since this immediate response matters considerably more for spill situations than the routine cleaning steps above address.
Allow a genuinely spilled keyboard considerably more drying time than routine cleaning requires – often at least a full day or two – before attempting to reconnect and test it, since spill-related moisture can penetrate more deeply than surface cleaning moisture typically does.
Step seven: maintain your keyboard’s surrounding environment too
Consider your keyboard’s genuine surrounding environment as part of ongoing maintenance specifically – eating or drinking near your keyboard regularly introduces more debris and spill risk than an environment where this is genuinely minimised.
Use a keyboard cover or similar protective accessory specifically if your environment genuinely involves frequent exposure to dust, debris, or spill risk, since prevention through this kind of protective accessory can meaningfully reduce how often more involved cleaning becomes actually necessary.
What isn’t worth doing
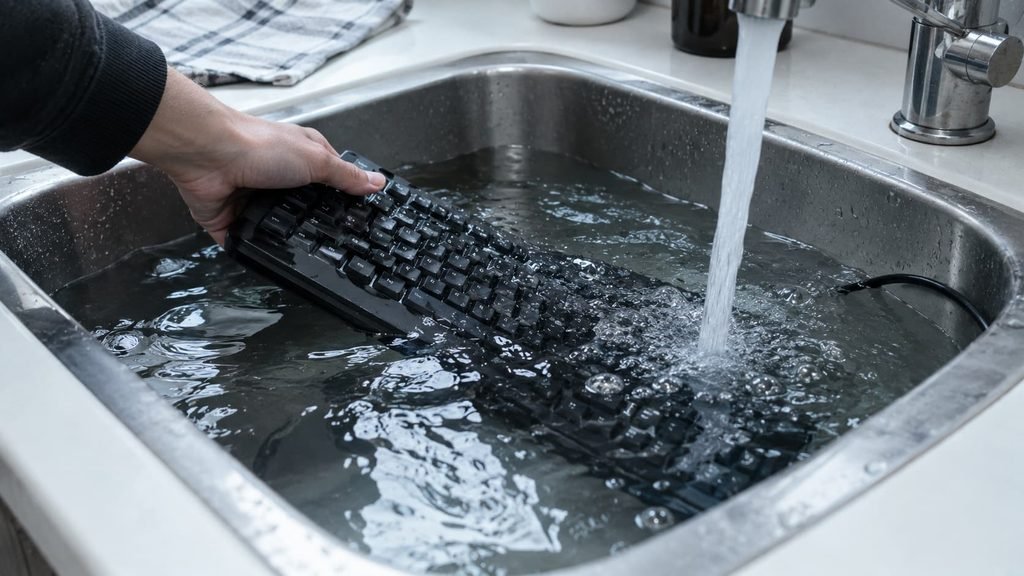
Submerging or heavily saturating your keyboard with liquid as a shortcut to thorough cleaning, isn’t worth the genuine risk this approach creates.
Excess liquid can seep into and damage the keyboard’s internal circuitry or switch mechanisms in ways that surface-level cleaning simply doesn’t risk, meaning this shortcut often causes considerably more harm than the debris it was meant to address.
If you’ve only completed some of these steps
If you’ve addressed surface debris and the spaces between keys but haven’t yet done a deeper clean of removable keycaps, this is genuinely solid progress worth continuing from, rather than needing every step completed simultaneously before your keyboard is meaningfully cleaner.
Making thorough cleaning genuinely worth the effort
The deeper cleaning step covered in step four, involving removable keycaps, provides genuinely the most thorough result of this entire sequence, since it directly addresses accumulated debris that surface-level cleaning simply cannot reach regardless of how carefully those earlier steps are performed. Nearly every other step in this guide addresses visible or easily-accessible debris, but only this deeper step genuinely resolves the accumulated buildup that develops specifically in spaces standard cleaning methods structurally cannot access.
This deeper cleaning doesn’t need to happen as frequently as the lighter routine steps above, making it a reasonable periodic undertaking rather than something requiring the same regular attention lighter surface cleaning genuinely benefits from on a more frequent basis.
Questions readers keep asking
How often should I actually clean my keyboard as a routine habit?
A light cleaning – shaking out debris, compressed air – every few weeks, with a more thorough cleaning every few months, is a reasonable routine for most typical use, though genuinely heavy use or a particularly dusty environment may justify more frequent attention.
Is it safe to use standard household cleaning wipes on a keyboard?
Generally not recommended specifically, since many standard household wipes contain chemicals not genuinely formulated for electronics that can potentially damage key surfaces or printed lettering over time, making electronics-specific cleaning solutions the more appropriate choice.
Is it worth using a keyboard cover, or does it genuinely affect typing feel negatively?
Many genuinely thin, well-fitted covers have quite minimal impact on typing feel while still providing genuinely meaningful protection, though checking reviews for your specific keyboard model can help confirm whether a particular cover genuinely maintains an acceptable typing experience for your own preference.
Can improper cleaning genuinely cause the same random key failures covered in keyboard troubleshooting?
Yes, genuinely – excess moisture or using inappropriate cleaning materials can actually introduce the very key registration issues you might otherwise be trying to prevent, making following appropriate cleaning methods specifically worth the extra care involved.