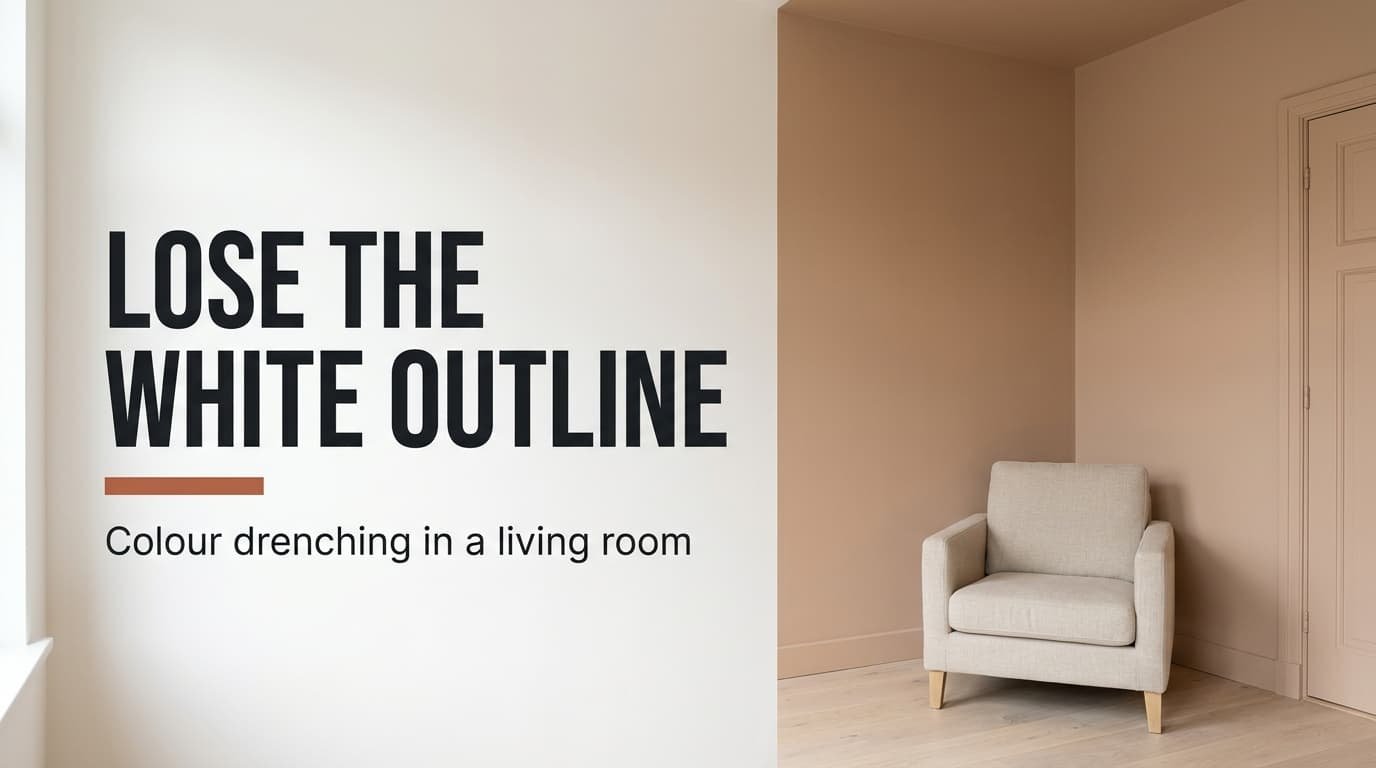
Match the trim to the walls, and think twice before matching the ceiling. That is the short verdict on whether colour drenching is replacing white trim in Dutch living rooms. It is, and the trim half is cheap to adopt while the ceiling half is where rooms go wrong. The change shows up as lines: a typical living room loses 44.7 m of white edges once everything shares one colour.
Here the sums assume a living room that measures 380 cm by 450 cm and stands 250 cm high. It has a 90 × 210 cm door and a 180 × 150 cm window. The paint reflectance figures are assumptions I chose.
Where white trim came from
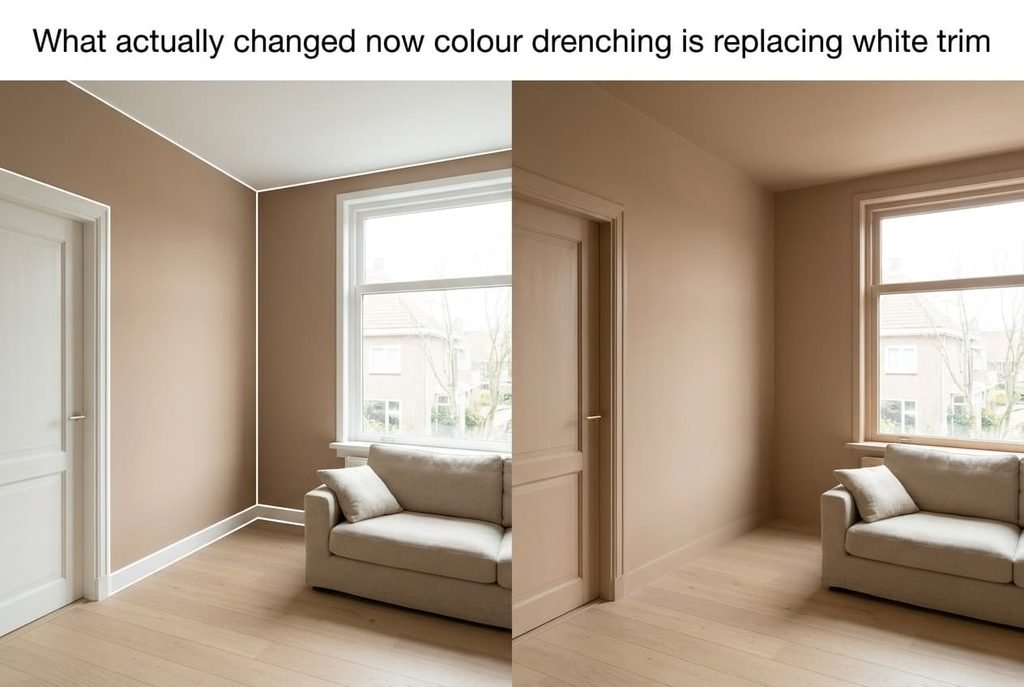
Through the 2000s, white woodwork was the default. Gloss white was a hard, wipeable finish for the parts of a room that took knocks, and it went with every wall colour on offer. Ceilings were white for a plain reason. A bright ceiling sent the light of a single pendant back down the room, and pale walls needed little help from the lamp.
Two things loosened that habit over the past decade. Water-based satin paints took pigment on wood without the brush marks gloss showed, so a coloured door stopped being a specialist job. Meanwhile many people tired of the white outline, which makes every wall look like a framed rectangle on a plain mat. The trim stayed because it was convenient, and the new paints removed the convenience.
What replaced it was a quieter room, with fewer places where the eye stops. The cause is mechanical and the proportions are easy to count, which the next section does.
What actually changed now colour drenching is replacing white trim
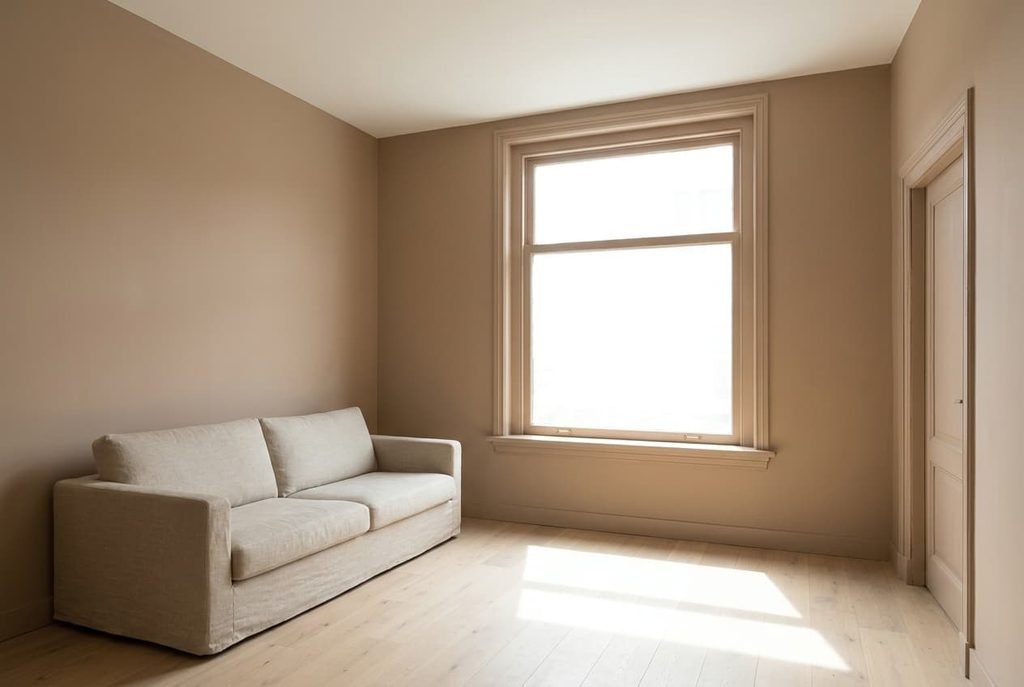
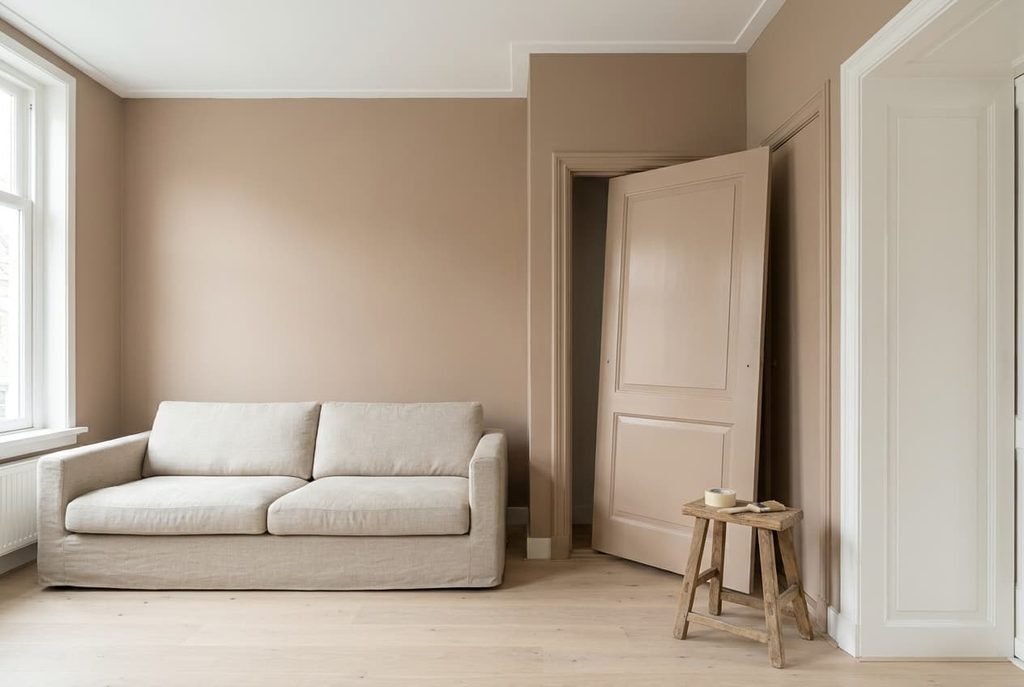
The old pattern drew lines. Walls in one colour with a white ceiling and white woodwork produce an edge wherever two colours meet. Along the ceiling the junction runs 2 × (380 + 450) = 1,660 cm, or 16.6 m. Skirting meets the wall along the same perimeter less the 90 cm door, which is 15.7 m. Then the door frame adds 5.4 m and the window frame adds 7.0 m. That totals 44.7 m of contrast edge in one living room.
Paint the woodwork the wall colour and 28.1 m of those lines disappear, since 15.7 + 5.4 + 7.0 is 28.1. Only the 16.6 m ceiling junction remains. Drench the ceiling as well and the count falls to nothing. The measurable change is 44.7 m of contrast edge falling to 16.6 m, then to zero, and the room reads like one continuous surface.
The work changes too. A crisp line between wall and trim needs masking along all 44.7 m, and at an assumed minute per metre that’s 45 minutes of tape. Matched colours need none, because a slip of the brush disappears into the same colour. That’s the practical reason trim went first: the saving is real, and the risk of a wobbly edge drops to nothing.
Two quieter changes follow. Woodwork keeps a different sheen from the wall, usually satin against matt, so a faint reflected line stays even when the colour matches. And a ceiling in a mid-tone with an assumed reflectance of 35 returns only 35 ÷ 85 = 41% of the light a white ceiling at 85 would bounce down. The room gets softer, and the lamps have more to do.
Who it suits, and who it doesn’t
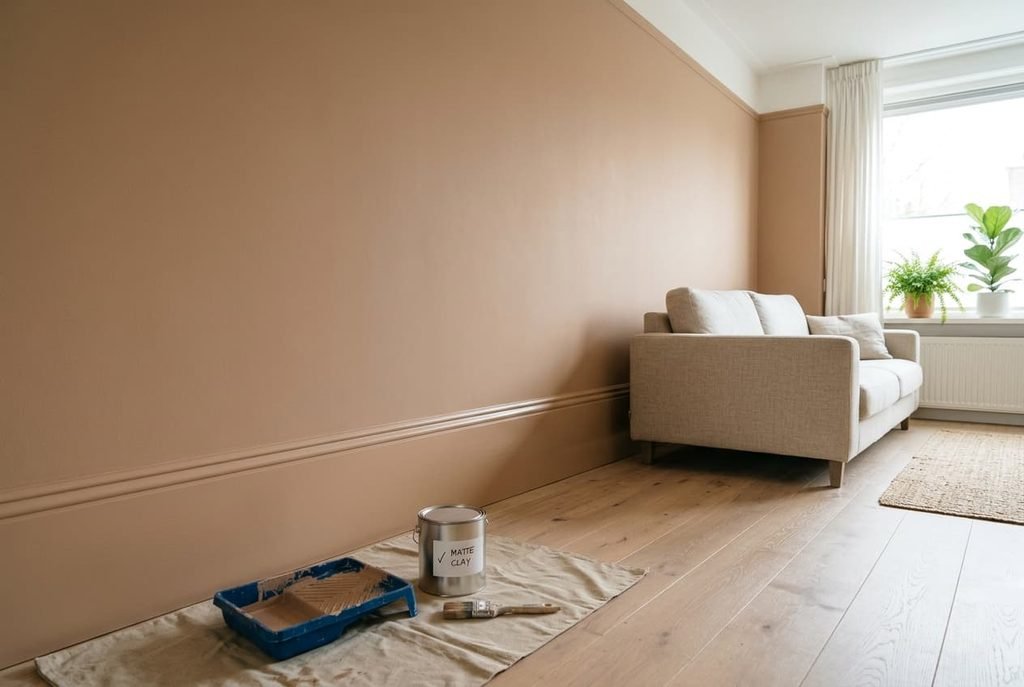
Colour drenching is for rooms with daylight to spare. Our window is 180 × 150 cm, or 2.7 m² on a floor of 17.1 m², which is 16%. That ratio keeps a mid-tone alive through a winter afternoon.
It fits a room with old, uneven woodwork. A matched colour makes a dented skirting and a slightly wavy door frame much harder to see, because the edge that picked them out has gone. Anyone asking whether colour drenching is replacing white trim in their own street should look at the woodwork first. The worse its condition, the more the change helps.
A household that doesn’t mind a deeper room at night will like it. Lamps at sofa height carry the evening, and the ceiling no longer rescues a badly placed pendant.
It suits poorly where light is short. A north window with a floor ratio under about 10% leaves a drenched ceiling absorbing light the room needs. Collectors of framed pictures face another cost. A wall with no pale outline offers less contrast to hang against, so large frames can look as if they float without a reason.
Pick the version by the light, and keep the ceiling white if the room faces north.
Is colour drenching replacing white trim, and is it worth adopting
Judge it by the area you’d repaint to undo it. Trim and door together total 4.5 m², against 17.1 m² for the ceiling. The woodwork is 2.6 m², made of 1.9 m² of skirting, 0.4 m² of door frame and 0.3 m² of window frame. A door leaf adds another 1.9 m².
At three coats to cover a mid-tone with white, undoing the trim costs about 13.5 m² of rolling. Undoing a drenched ceiling costs 51.3 m² and a ladder. A finish ages badly when undoing it costs too much, and the ceiling is the part with that price.
Whether colour drenching is replacing white trim in your own home is settled by that area. So take the trim without much hesitation. Take the ceiling only if the light is generous and your lease permits a second repaint. Trim is the part a buyer can have repainted in a day.
The version that will date fastest
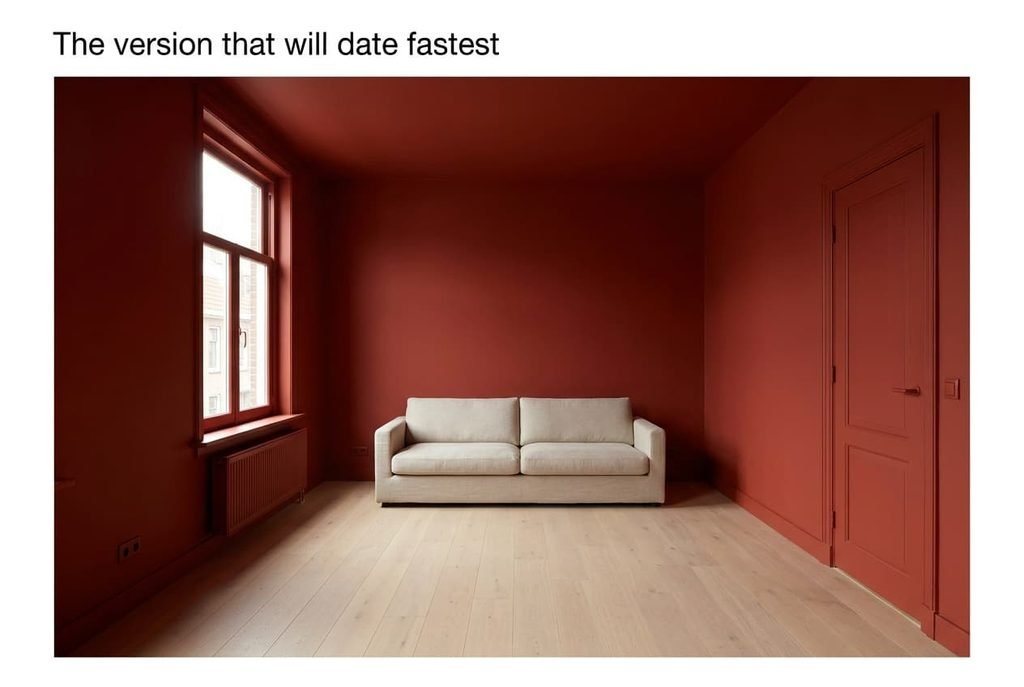
The extreme version is one saturated colour on every surface, ceiling included. Look for three signs. The colour is strong enough to read as a mood. The sheen is the same everywhere. Radiators and sockets get painted over so that they vanish.
Such a room is tied to one colour for the whole time you live there. Every new sofa has to answer to the walls.
Nothing in the room is allowed to be pale, which turns each object into a decision.
The moderate route keeps the walls and woodwork in one muted shade and lets the ceiling stay a tint two steps lighter. The junction is then soft and not absent. That keeps most of the calm of a single surface and leaves the room forgiving of change. Check it at the junction. A soft change of tone there reads as shadow, which rooms already have. It doesn’t ask for any new furniture.
How to try it without committing
Start with one door and its frame, which is about 2.3 m² and one weekend. Paint them the wall colour in satin and give it a month. Judge it by how often your eye goes to the door, since first impressions of a new colour shift with the seasons’ light. If you like it, take the skirting along a single wall, roughly 0.5 m².
The third test costs nothing. Tape a wall-coloured sheet of card along the ceiling edge of one wall and look at the room at dusk with the lamps on. If the card makes the room feel lower or darker, the ceiling stays white.
Colour drenching is replacing white trim because it removes lines, and the trim is the cheap part of the change. Test it on a door. Leave the ceiling white until the room has shown it can spare the light. Keep a tin of the original colour, because you’ll need it the day the walls change again. That keeps the whole experiment cheap.
Questions readers keep asking
Should I repaint white trim that’s still in good condition?
Not for the sake of it. Sound white trim still works with pale walls. Repaint when you move the walls to a mid-tone, because a bright outline around a deep colour looks harsher than it did before. Use the satin you’d choose for a door, and keep a few spoonfuls of the old colour.
Does colour drenching suit a small living room?
Often yes, if there is daylight. Matching walls and trim removes the lines that carve a small room into parts, so it feels less cut up. With a north window, keep the ceiling pale, because a coloured ceiling takes light from a space that has little of it to spare.
How long does a drenched room stay in style?
Moderate versions hold up, because the colour is muted and the ceiling stays light. Extreme versions tie the room to one moment. Judge it by what you would repaint to leave, and keep that area small. A trim-only change costs the least to reverse.