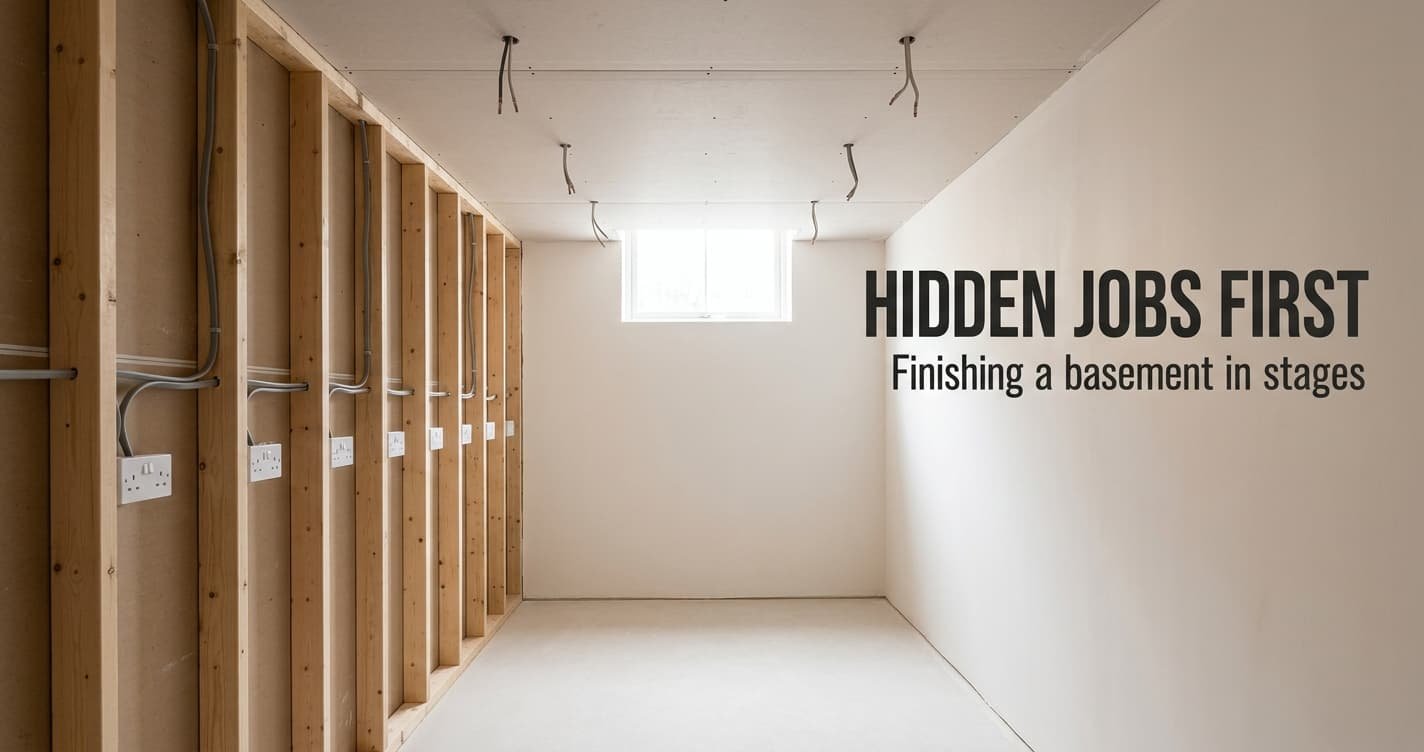
Most people finish a basement in the order they can see it: paint, then floor, then sofa. The cables come last, and someone has to open a finished wall again. This guide puts finishing a basement living space into five stages, ordered by what each job hides. It assumes a bare room 350 by 550 cm with a ceiling of 2.35 m. Structure and building rules belong to your builder and the local regulations, and this guide leaves them there. No prices appear, since they change faster than a room is finished. Every stage carries a test you can run on site.
The rule behind finishing a basement living space
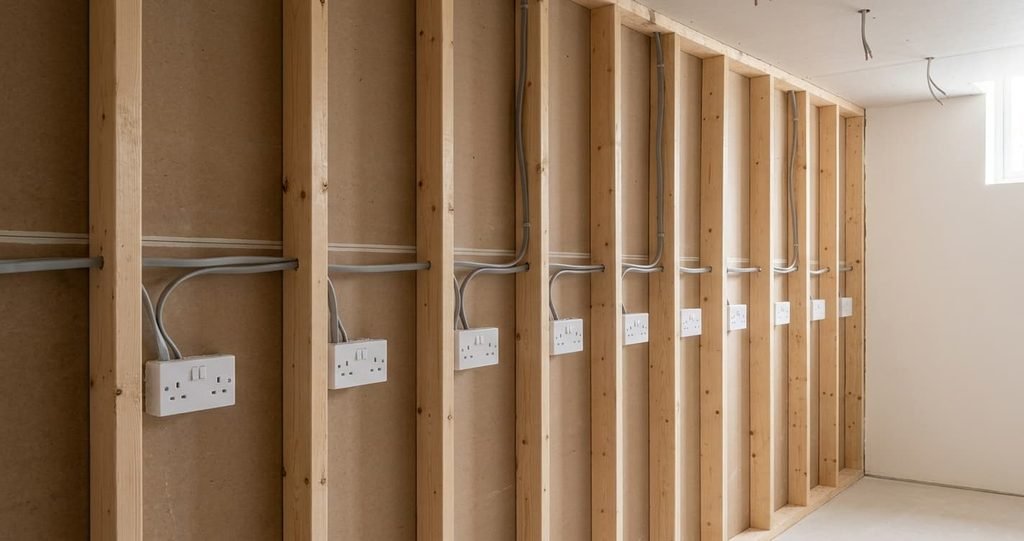
Every job in a basement either covers an earlier one or works round it. A board hides the cable. Paint hides the board, and a floor hides the slab. Order the jobs by what each one hides, and do the hidden ones first. Count it on this room. The cable lies behind the ceiling board and the wall board, so two jobs cover it and a third works round every box. The sofa sits behind nothing. A job done out of order is paid for twice: once to fit it and once to open it.
The same order gives you a pause test. After each stage, ask whether the next stage would undo it. If the answer is no, you can stop for a month or a year without redoing anything. That is the real saving. Take a plan that paints first and wires later. It fails at once, because the wiring then needs channels cut through new paint.
I’d defend this against the advice to start with the sofa you love. A sofa fixes where the sockets must go, and sockets are the hardest thing to move once the boards are up.
Hidden jobs come first.
Finishing a basement living room, stage by stage
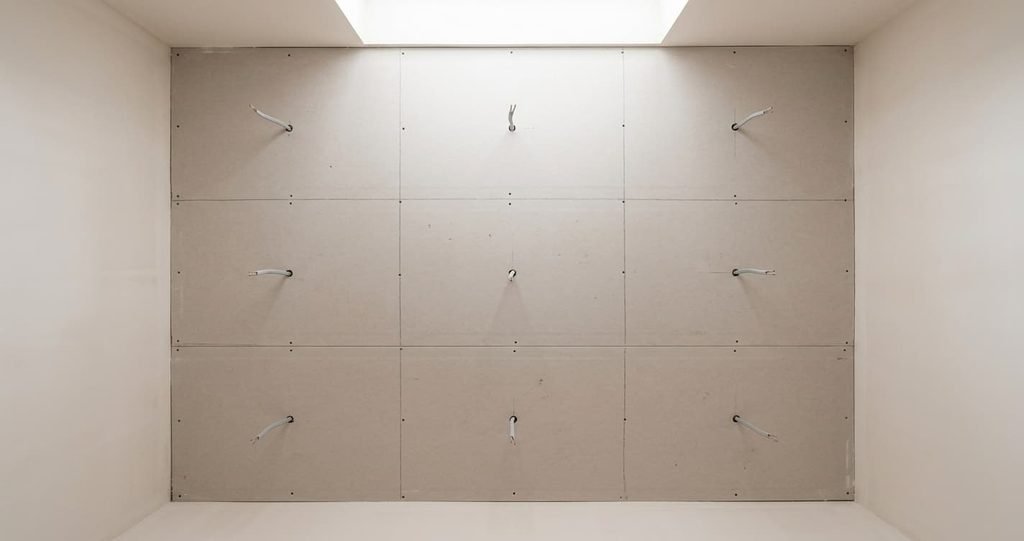
1. Sockets and light points, fitted by an electrician before any board goes up. In a room 350 by 550 cm, plan about seven double sockets and six ceiling points, one at the centre of each of six equal cells of 175 by 183 cm. Your electrician sets the final count. It comes first because every later job covers it or works round it. Tier: BUY ONCE, since a cable behind a finished wall is the costliest thing to move. A bad version has one socket per wall, which leaves leads trailing across the room.
2. A flat ceiling of board with the six light points cut in, painted white before any wall is painted. It sits second because ceiling paint drips onto whatever is below it. Tier: MID, since the board is cheap and the joint finish is the part you pay for. A bad version has joints left proud, which show as lines whenever a lamp sits close to the ceiling.
3. Wall boards finished in one colour of matt paint, two coats, cut in last along the ceiling edge. They come third because the colour has to suit a ceiling already white and a floor not yet chosen. Tier: MID, since a matt coat wears slowly where nothing rubs it. A bad version is a paint applied after the floor, scuffed by the flooring work and touched up by hand.
The surfaces you walk on
4. A floating floor laid after the paint, with the skirting fixed last over a gap of 6 to 10 mm at every wall. It sits fourth because the skirting hides the gap and the paint line together. Tier: MID, since the sheet’s gap rules decide how long it lasts. A bad version goes down tight to the wall, so the skirting has nothing to hide and the boards buckle at the edge.
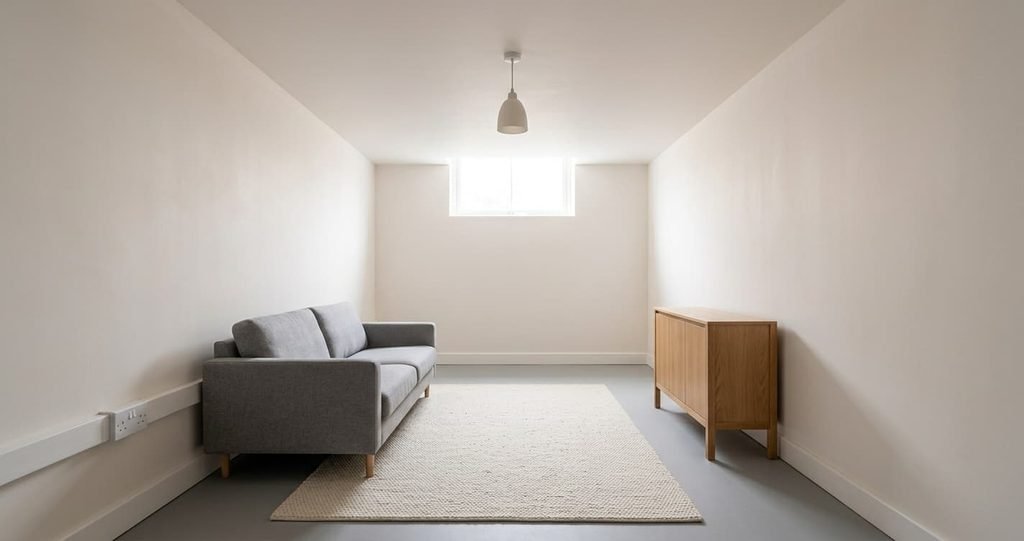
5. One sofa about 210 cm wide and one rug of 170 by 240 cm. They come last because furniture in the room earlier collects drips and scars the new floor. Tier: BUY CHEAP at first, since the room will show what it wants after a month. A bad version is a sofa bought in stage one, which stands under dust sheets while four jobs go on round it.
Where to spend and where not to
Spend on stage one and on the joint finish of stage two. Both disappear behind paint, so a mistake there stays for years. Compare an electrician who marks each point on the board with one who gives a vague count. The first costs a little more and saves a wall.
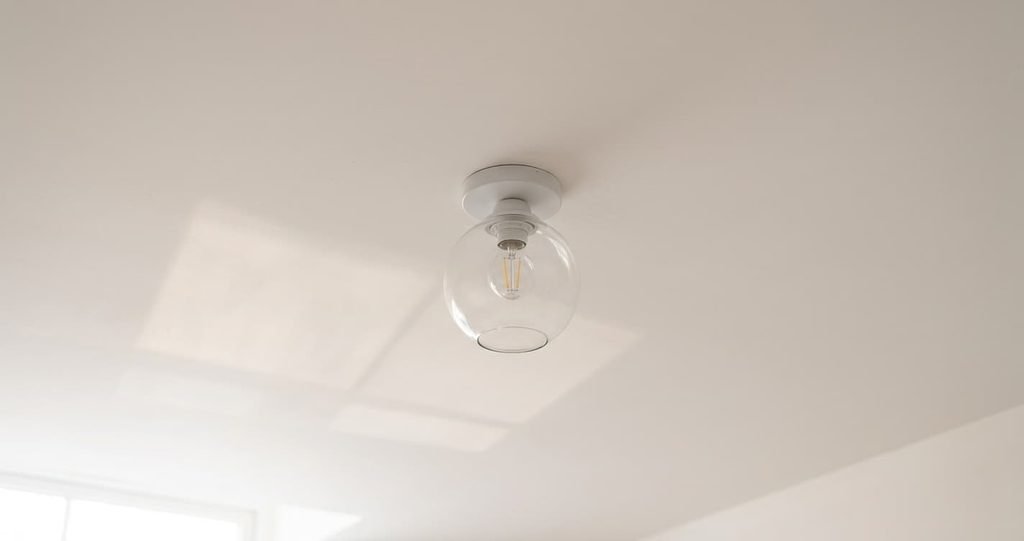
Argue the light fittings down. Readers expect the fitting to be the big outlay, yet the point is what matters, and the fitting can change. A ceiling point with a plain holder takes a new fitting in minutes, with a screwdriver. The cable behind the board can’t be swapped that way. Fit simple fittings now and replace them once you have lived under them. Finishing a basement living space takes months, and what you want overhead will change before it ends.
The walls and the floor sit in the middle, along with the furniture. They earn a decent material but never the top tier, since each wears out on a different schedule. Cheapest of all is the sofa, which also comes last.
The cable tells you more than the fitting does.
What this order assumes, and when it breaks
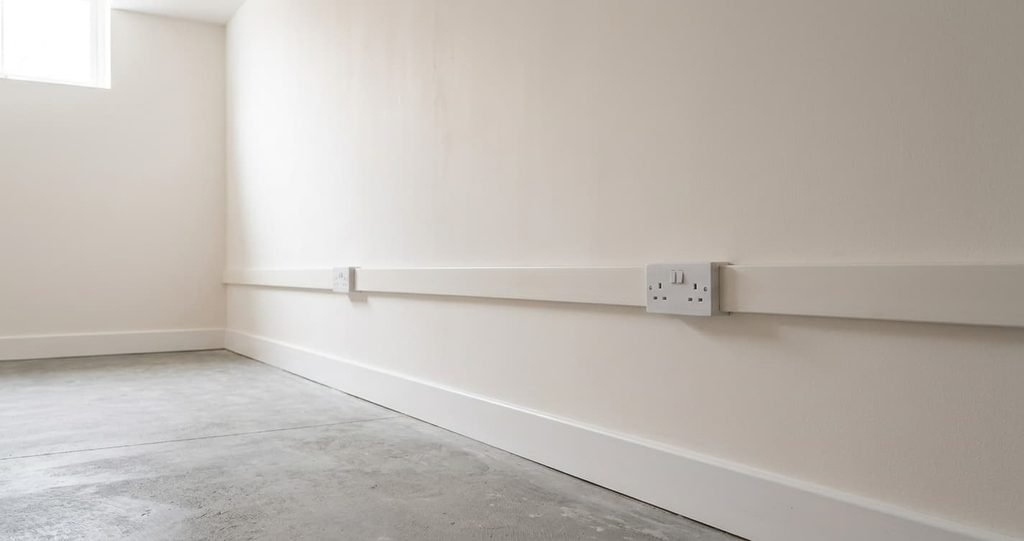
The plan needs the walls open and the paint on before the floor. A renter who can’t open the walls breaks the first need. Stage one then becomes surface trunking, a channel about 2 cm deep that runs along the skirting line and carries the sockets. Paint the channel to match the wall, and the rest of the order holds.
A room already boarded breaks it too. Count the sockets you have and mark the missing ones on the wall. An electrician then fits trunking for the gaps before anything else is painted. A household that must move in fast breaks the second. Lay the floor and skirting first, protect them with sheets, then paint down to a masked edge. That costs a day of masking and trades tidiness for speed. Whatever the case, finishing a basement living space still goes in the order of what each job hides.
What to skip entirely
Fitted cabinets built before you have lived in the room come first on the skip list. A built-in cupboard fixes a wall for years, and you will not know which wall needs it until the sofa and the rug are in. Buy freestanding pieces and let them move.
A full set of recessed spots comes next. Six points cover the 19 square metres of this plan, so more only add holes in the ceiling and cable behind it. Fixing a television bracket before the sofa arrives is worth skipping too, since screen height follows seat height. A feature wall in a dark colour or a bold wallpaper on day one is the last. It fixes the room’s mood before you know how the daylight reaches it.
The first stage is the cable, then the ceiling, then the walls, then the floor, then the sofa. Run the pause test after every stage and stop wherever the money does, because a paused room is still a room that works. I’d treat the electrician’s visit as the one date that must not slip, since every other stage waits for it. Everything after it can wait until next year without costing a finished surface.
Questions readers keep asking
How many stages does finishing a basement living space need?
Finishing a basement living space takes five stages: cables and light points first, then the ceiling, then the walls, then the floor, then the furniture. Each one hides the stage before it, so the order never changes. A plan with more than five usually splits one stage in two, and the extra stage rarely changes what you see.
What should you do first when finishing a basement?
Plan the sockets and light points, and have an electrician fit them before any board goes up. Mark each one on the bare wall and on the ceiling board. Everything later covers this stage, which makes it the one job you can’t move without opening a finished surface.
How do you know a stage is finished?
Run the pause test. Ask whether the next job would undo this one. If it would, the stage isn’t finished. If it wouldn’t, stop there. A painted ceiling passes while the walls are still bare, since nothing left to do will mark it.