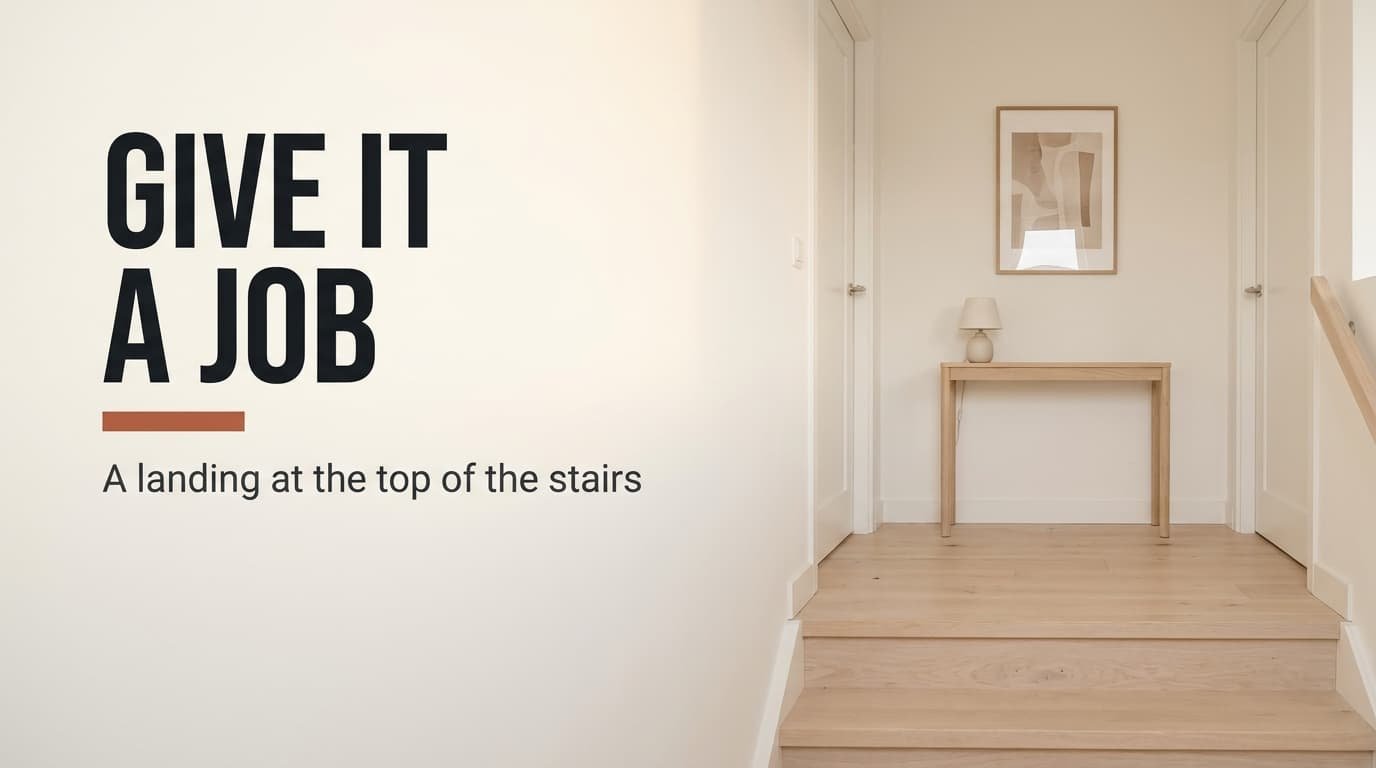
Everyone walks across it and nobody stops. That’s how a landing at the top of the stairs becomes the square metre you pay for and never use. Tape the two walking bands first, and give whatever floor is left a job.
Our landing sits in a Dutch terraced house. It measures 200 cm across and 130 cm front to back, with 250 cm of height above it. A stair 90 cm wide arrives at the front, and an 83 cm door sits in each side wall. Treat the figures as a model, because your own tape measure will give different numbers.
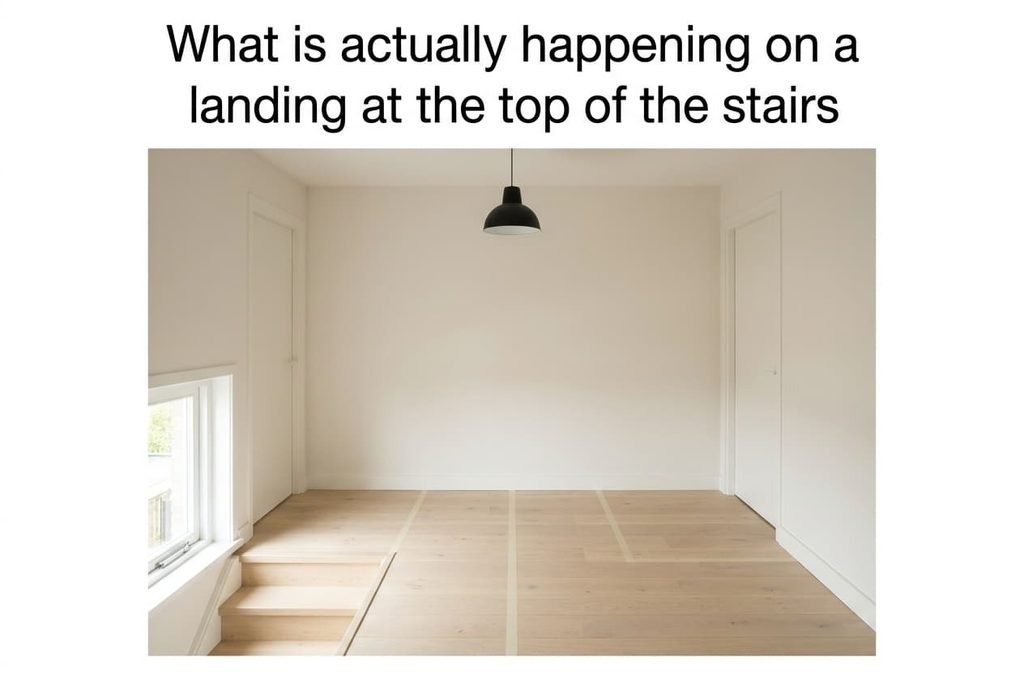
What is actually happening on a landing at the top of the stairs
The floor is 2.6 m², and a person needs a band 90 cm wide to walk from the stair to a door without turning sideways. Draw that band from the top step to each door and the picture changes. The stair band runs 90 by 110 cm, which is 0.99 m², and each side wing adds 55 by 90 cm, or 0.495 m². The landing is dead space because 76% of its floor is a walking line, and 1.98 of the 2.6 m² can never hold furniture.
What’s left is 0.62 m². It forms a strip 200 cm wide and 20 cm deep along the back wall, plus two pockets of 55 by 20 cm beside the stair.
Nothing useful stands in 20 cm.
Two more mechanisms sit on top of the geometry. As you climb the last steps your eye meets the back wall. It’s a bare 200 by 250 cm surface of 5.0 m², and with nothing there to rest on, the space reads as empty. A single pendant also lights the centre at roughly 60 lux in our model, while the back wall gets about 15. Light and sightline both favour the middle, where nobody lingers.
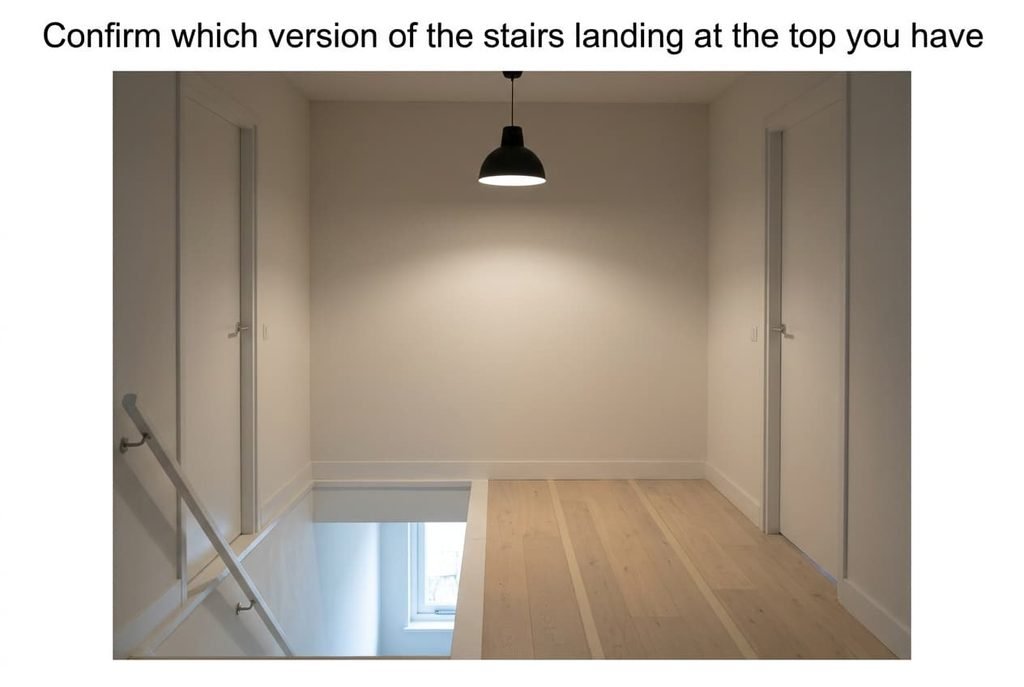
Confirm which version of the stairs landing at the top you have
Do three checks ahead of any purchase. First, tape the two bands on the floor and leave them for a week. If every object in your way sits inside the tape, you have the clutter version, and the geometry fix comes first. If the objects sit outside it already and the landing still feels empty, the cause lies elsewhere.
Next, stand on the fourth step and look up. If the wall facing you is bigger than 3 m² with nothing on it, you have the sightline version. The picture fix will then matter most, because it answers what your eye meets on every climb. Lastly, switch on only the ceiling light after dark and press a phone light meter to the back wall. A reading under 20 lux marks the dim version, in which case the lights deserve a place near the top of your list.
Most landings show two of the three. Write down which pair applies and note the date, since the order below follows the mechanisms and not the budget alone.
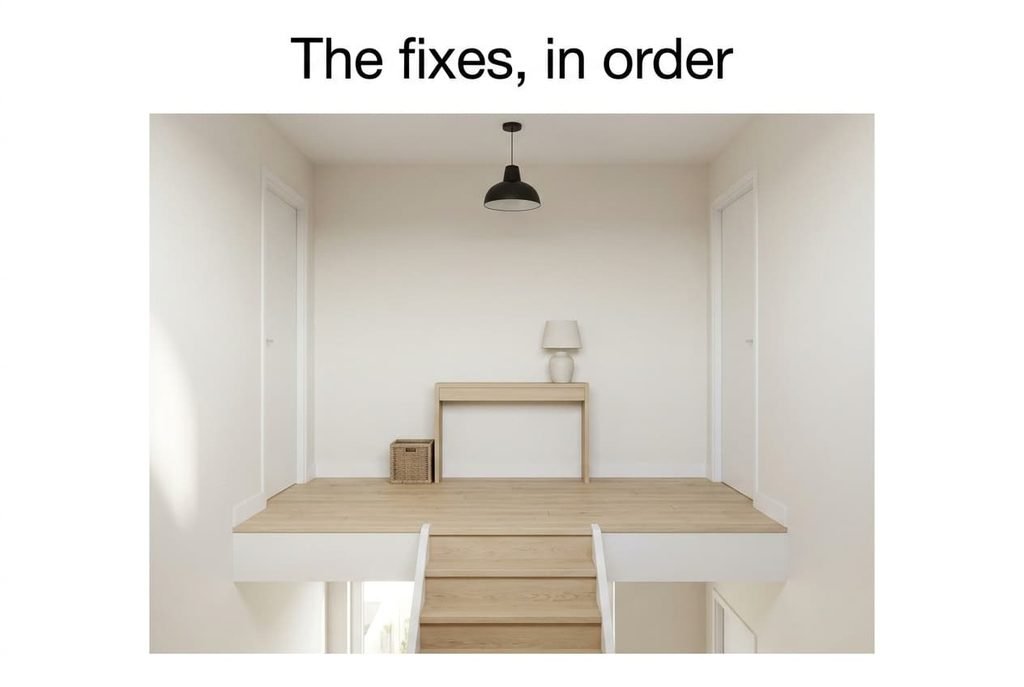
The fixes, in order
Tape the two bands and keep everything out of them, which addresses the geometry. The tape costs a few cents and the exercise takes an evening. Move the shoes and the laundry pile to the 20 cm band along the back wall. They then stay clear of every walking line on a landing at the top of the stairs. A slim basket 18 cm deep fits that band, and a deeper one doesn’t. Test each object against the tape: if it touches the tape, it moves. The limit is that this creates no use. You’ll have a clear landing, and it will still look empty to anyone arriving.
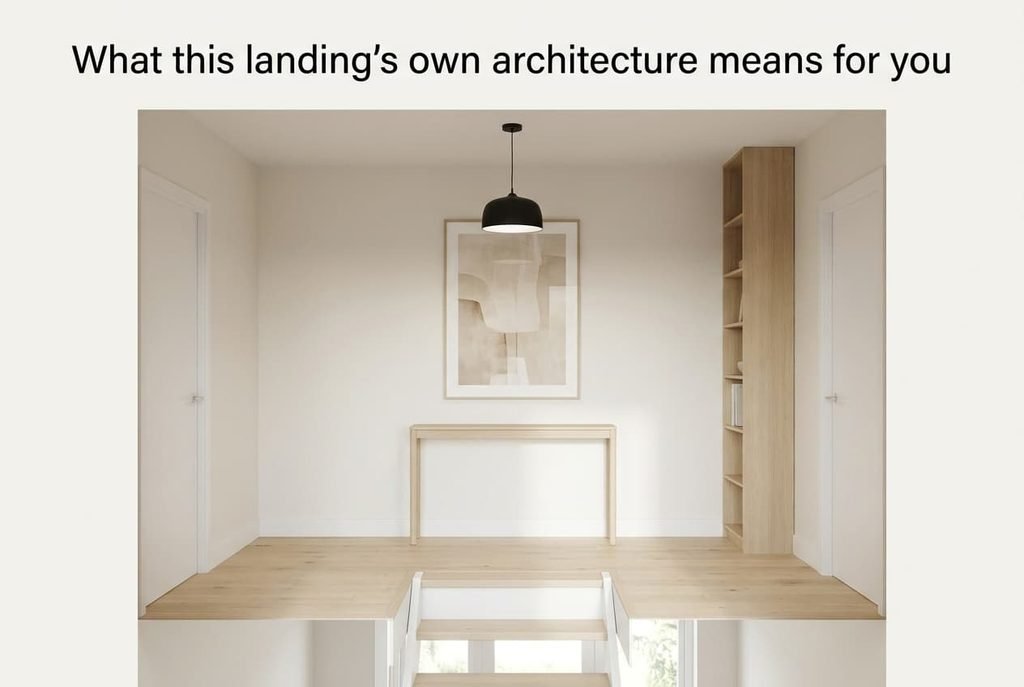
Fit a console 20 cm deep and 140 cm long on the back wall, which addresses the pocket depth. It costs one purchase, and the 20 cm fits the leftover band exactly. That gives you a surface of 0.28 m² for keys and a lamp while every band stays 90 cm wide. The limit is the depth. A console that shallow can’t hold a bag or a box, so decide what it’s for before you buy. Wall-hung versions keep the floor visible beneath, so the band reads as roomier than the tape says. A freestanding one with slim legs does the same. Check the stair width before you carry it up.
Hang one picture measuring 60 by 80 cm above the console, which addresses the bare sightline. Its 0.48 m² covers only 9.6% of the wall’s 5.0 m², yet it gives your eye a place to land as you climb. It costs a frame and a hook. The limit is storage: a picture adds no use, so it only helps once the console is in place. Place its centre at roughly 150 cm, where the eye lands when you reach the top. Keep the frame slim so the wall still reads as one surface.
Have an electrician swap the pendant for two wall lights on the back wall, which addresses the dim edges. Each light washes the wall above the console, so in our model the reading there rises from about 15 to about 50 lux. That means paid labour, and a tenant needs consent. The limit is geometry, since light can’t widen a band. Choose warm 2,700 K bulbs so the wall glows without glare as you climb toward it. Put both lights on one switch at the foot of the stairs.
What this landing’s own architecture means for you
The stair opening and the two doors are fixed, so the bands can’t shrink below the 90 cm that the doors need. A landing at the top of the stairs this size can’t be widened, which caps the usable floor at 0.62 m². No styling changes that figure. What can change is how you use the 20 cm band and what the eye meets on the back wall. The doors set the rest: each leaf needs the band in front of it clear to open. Measure the swing of both before you decide where the console ends.
The 250 cm ceiling matters on one point only. It gives the back wall 5.0 m² to fill. A tall slim shelf unit or a long picture can use that height without touching the floor. If your landing has a window or a rooflight, the dim version drops out and the electrician can wait.
The fix that doesn’t work
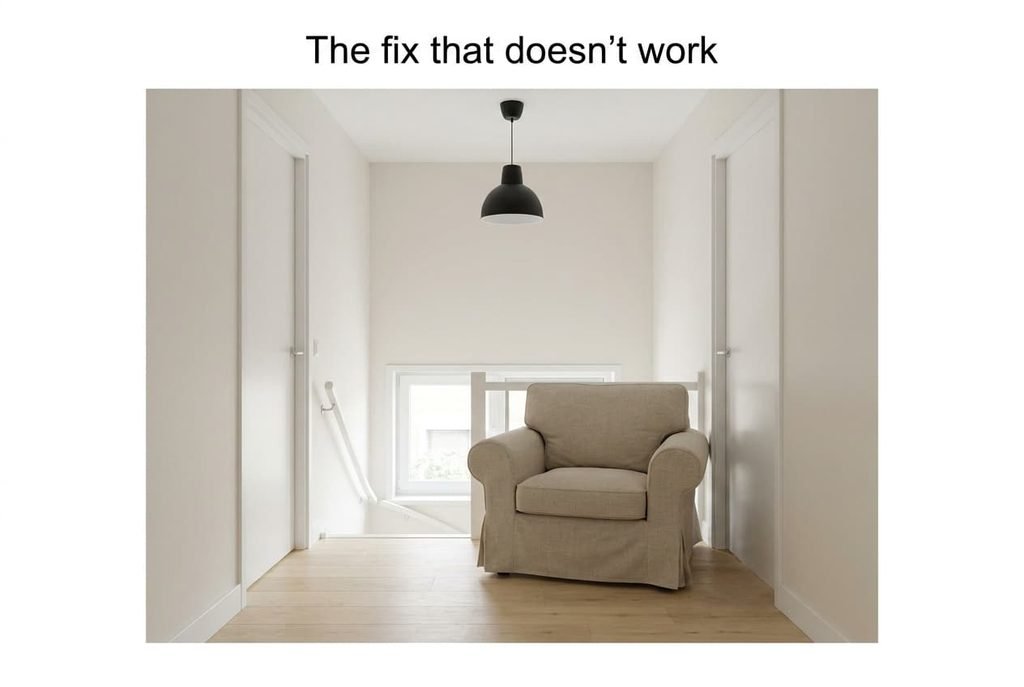
Putting an armchair in the corner as a reading nook is the remedy you’ll hear most for a landing. A chair of 75 by 75 cm sits 55 cm beyond the 20 cm pocket. It takes 55 cm out of the side band. That leaves 35 cm of the 90 you need to reach the door. People then walk around it and stop using the nook within a week. The chair also hides the one object that was working, the open band along the wall. It sits in the first place anyone passes, so each trip upstairs interrupts whoever is in it.
The photograph that inspired the nook was taken on a landing wider than 200 cm. On ours, every chair size that fits the pocket is a stool.
A stool isn’t a reading corner.
A landing at the top of the stairs is a route first and a room second. Size every piece to the pockets and never to the nook of your plans. The cause is the walking lines, which take 76% of the floor and leave a band 20 cm deep. The fastest fix is to tape those lines and keep everything out of them. Add the 20 cm console. Hang one picture, then light the wall.
Questions readers keep asking
Can a small landing be fixed, or is it just dead space?
It can be fixed in part. The bands are fixed, but the 0.62 m² beside them, plus the bare back wall, is yours to use. A 20 cm console and one picture turn a blank end into a destination. Don’t expect a nook or a desk, because the walking lines take that room.
How much does it cost to make a landing useful?
The first fix costs nothing. A console and a picture are small purchases, and two wall lights are the largest step because they need an electrician. Stop after any fix that satisfies you. Each one addresses a different cause, so the effects add up rather than repeat.
Why does my landing still look empty after I add a shelf?
Probably the sightline. Climbing the stairs, your eye meets the back wall, and a low shelf leaves 5.0 m² of that wall blank above it. Hang a picture at eye height, around 150 cm. Then light it. The shelf then works as the base of a display.