With a steady hand and a window, you can turn a photographed page into text in about 12 minutes. In the end you hold a document you can edit and search, then paste anywhere. One question decides the route: printed type converts cleanly, while handwriting asks for a far longer check. This guide covers printed type, and the handwriting case is answered in the last question. Only the phone’s camera is needed. Treat the times and error counts as assumptions for a two-page letter of about 900 words on a recent phone, and measure one page of your own before relying on them.
Before You Turn a Photographed Page Into Text: The Step People Skip
Most people skip keeping the original photo untouched, yet cropping or filtering in place changes the only record of the page. Hannah in Cardiff has a two-page letter. She leaves the first photo exactly as taken and works on a duplicate. The folder then holds two pictures, and the master stays clean.
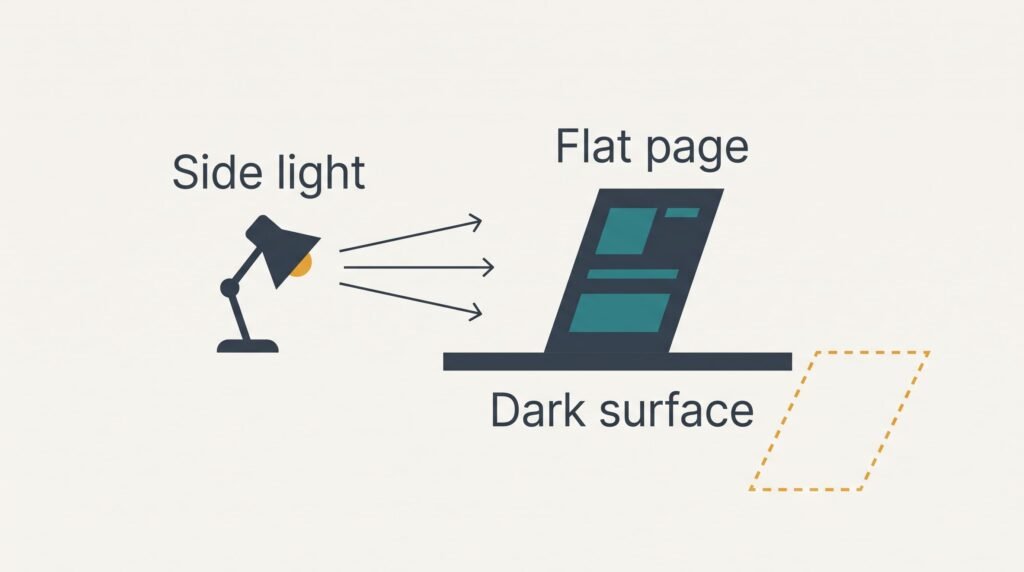
Light decides whether you turn a photographed page into text cleanly or fight errors for an hour. Daylight from a window on one side suits a page best, because overhead bulbs often throw the phone’s own shadow across the lines. Lay the sheet on a plain dark surface. A tray or a dark book cover works well, since the paper’s edges then stand out sharply.
Settle the fork next. If every character is machine-printed, the steps below apply. Joined or handwritten letters point to the variant in the questions.
Finally, flatten the page. A fold or a curl across the middle makes some lines lean, and a line that leans is a line the software misreads. Press the paper under a clean sheet of glass, or under a heavy book, for a minute.
Six Steps to Turn a Photographed Page Into Words
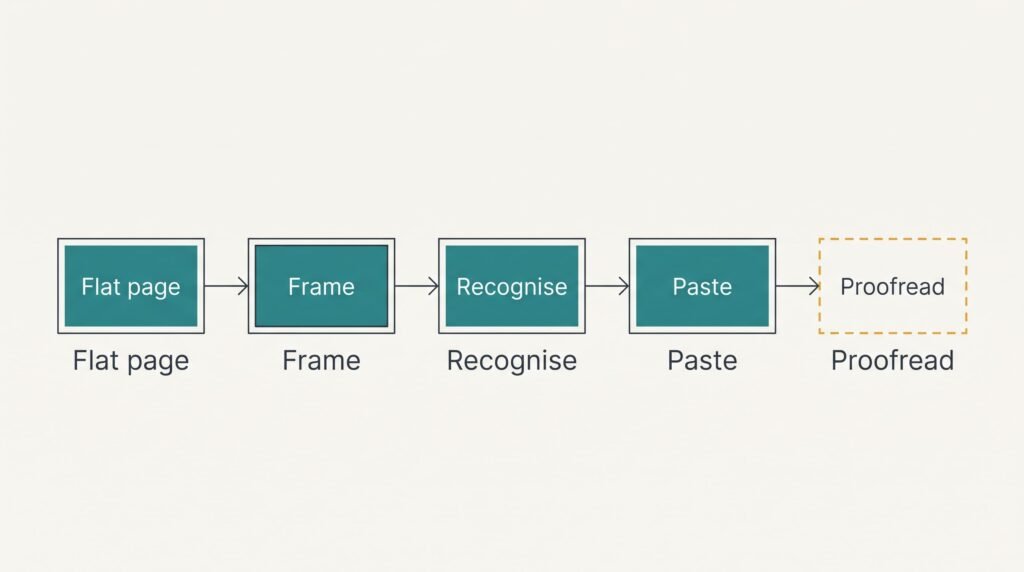
1. Lay the page flat on the dark surface with the light coming from one side. Look for a clean, even grey across the paper with no shadow of the phone or your hand. This is working when the four corners are visible and nothing darkens the text. A tray beside the window is enough, and the surface should be darker than the paper so the edges read clearly. Allow 2 minutes.
2. Hold the phone directly above the page and frame it. The type must be large enough for the software to read: a capital letter should measure at least 20 pixels tall, a common rule of thumb. On a 12-megapixel frame of 4,000 by 3,000 pixels, a page that fills 55% of the height gives 20 pixels for 11-point capitals, and 80% gives about 29. Check by watching the page’s edges on screen, because all four should look parallel. About 1 minute.
3. Tap on the centre of the text so the camera focuses there, and take two shots. Keep both, since a blink of shake can spoil one. Zoom to 200% on a single line and see whether the letters have crisp edges rather than soft ones. A soft shot is a reason to retake. About 1 minute.
4. Run the recognition on the better shot, using the phone’s own text selection on the photo or a scanning tool. The check: lines of text highlight as words, and you can copy them. If only the whole picture selects, the software hasn’t read the page, and you should retake it with more light. About 1 minute.
5. Paste the result into a blank document and save it next to the photo with a similar name. Keep this raw paste as it came before you tidy anything, because a second copy lets you undo mistakes. The pasted lines usually break where the printed lines did. Join each paragraph into one. The sign that it worked: a paragraph wraps to the width of your screen. About 2 minutes.
6. Proofread next. Start with numbers and names. Software mixes up lookalikes: rn becomes m, and a zero becomes a capital O. About 2 errors per 100 words is a fair expectation on clean print, which means 18 errors in 900 words. Compare every date and reference number with the page, then read the body. Allow 6 minutes, making 13 in all.
Test the Finished Text Before You Rely on It
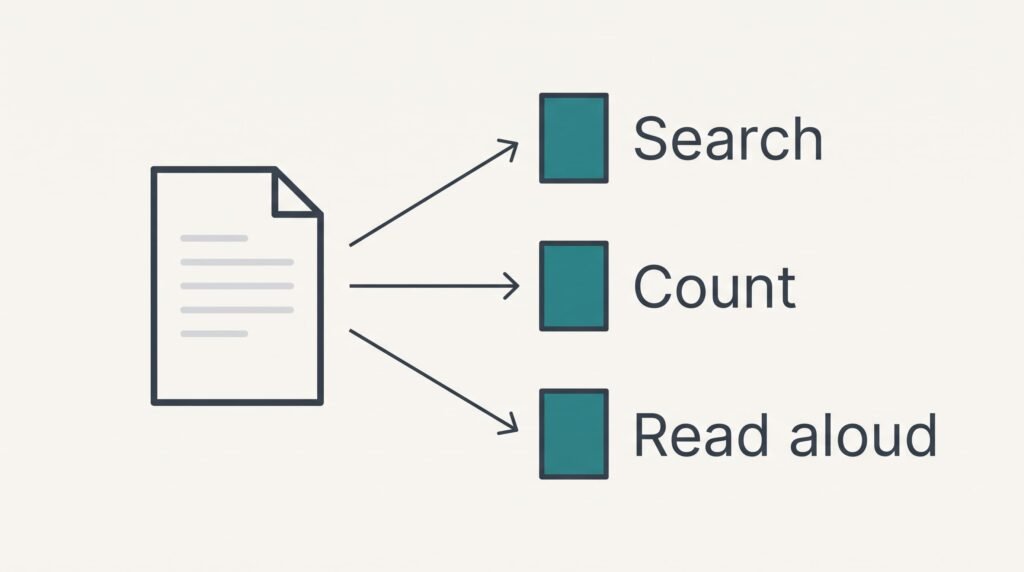
A paste can look right and still hide an error. Search the document for three words visible on the page: a common word plus a name and a number. If a search finds all three, the words are real text rather than a picture of text.
Next, check the total. A page of 450 words that gives a document of 300 or 600 words has lost or duplicated a block, usually at a column break. Count the paragraphs on the page and in the file, because they should match.
When you turn a photographed page into text, also read a short stretch aloud against the paper. Your ear catches a wrong word that your eye skips, and three sentences are enough to show how clean the whole result is.
Heavy trouble in those three sentences means a retake, which costs minutes but no data.
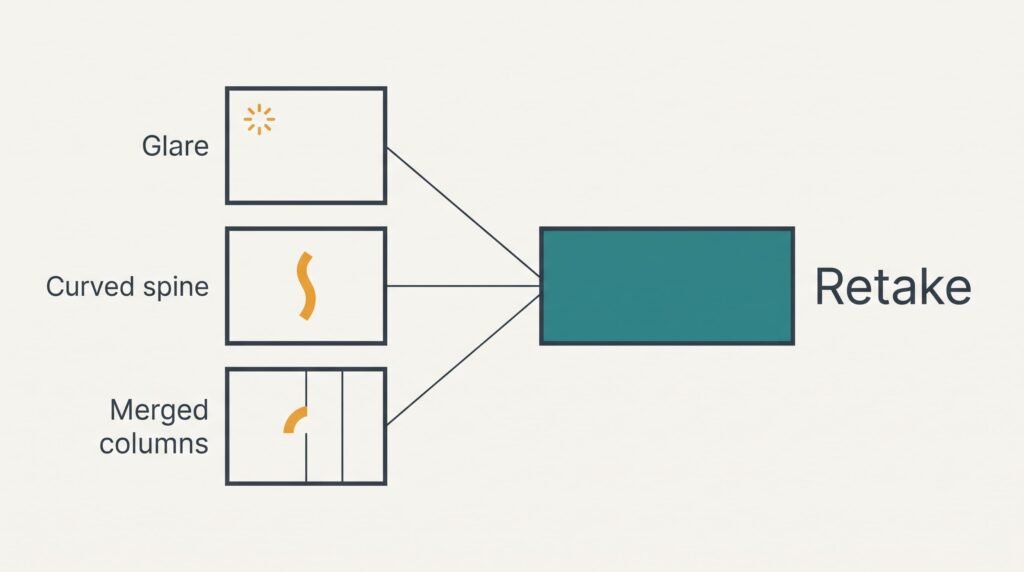
Where a Photographed Page Gets Stuck
Three stalls appear when you turn a photographed page into text, and each has a quick repair. A glare spot hides words. Gloss paper reflects the window as a white patch, and the software reads nothing there. Tilt the page a few degrees away from the light and shoot again. The retake takes about a minute.
The page bends at a book’s spine. Lines near the fold curve and merge, which turns words into noise. Photograph each side as a separate shot and press the book flat, or use the pressed-glass trick from earlier. You’ll lose a minute and keep the words.
Columns merge into one stream. A two-column page can come out with line one of column one followed by line one of column two. Select each column separately, which adds a minute per column. Tables lose their grid in the same way. Rebuild one by hand if you need it.
Nothing here is lost for good, because the photo remains intact.
One Step Not Worth Taking
Don’t retype the page “just in case”. That detour costs roughly 15 minutes for 450 words, and a tired typist can slip at a comparable rate to the software. Proofreading recognised text takes about 3 minutes a page and gives you the printed lines to check against. Retyping erases that comparison and leaves every slip for you to find.
Heavy filters before recognition are another detour. Sharpening and contrast boosts thicken thin strokes, and a thickened letter can read as a different one. Leave the photo as taken unless the light was poor. A fourth detour is photographing each page three times. Two shots are plenty, and a third only adds a file to delete. An online converter is a third detour: it adds an upload plus a delay, and the text travels to a stranger’s server, while your phone’s own tool does the same work in a minute.
Save the final document under a clear name that carries the date, and keep the photos until the text has been used once. A later search will find the document by any word inside it. If the page was a form or a letter you must answer, keep the photographed copy too. The layout matters, and plain text can’t show it. Deleting the photo early is the only real way to lose something here. Once the letter is answered, move the photos to a backup folder.
Questions and Answers
How long does it take?
About 12 minutes for a two-page letter once you know the steps, and 20 on a first attempt. Lighting and proofreading take longer than expected. Later pages go faster. A clean page with plain type needs a lighter proofread than a faded photocopy.
What if the page is handwritten?
Neat block capitals can work, but joined handwriting often fails. Expect many more errors than with print, which means proofreading every line against the photo. If the writing is untidy, typing it by hand may be quicker. The photo always stays as your reference.
Can I lose the formatting?
Yes. Bold type and columns rarely survive the paste. Tables fare no better, and images don’t survive at all. The words arrive in a plain stream, and you’ll rebuild any layout you need. Keep the original photo beside the document as your guide.