A picture that glowed on your screen comes out of the printer heavy and dim, and the printer takes the blame. Why does a printed photo look darker than it did on screen? Usually the display outshines a page lit by an ordinary room roughly seven times over, and the darkest parts of the picture merge into solid ink. Four short tests will point to your cause with no setting touched. A window and a spare sheet of paper are the only equipment. All numbers come from a made-up living room in Leeds. Use your own measurements instead.
What Makes a Printed Photo Look Darker Than the Screen
A display produces light, while paper can only send back some of what reaches it. That one difference drives most of the effect.
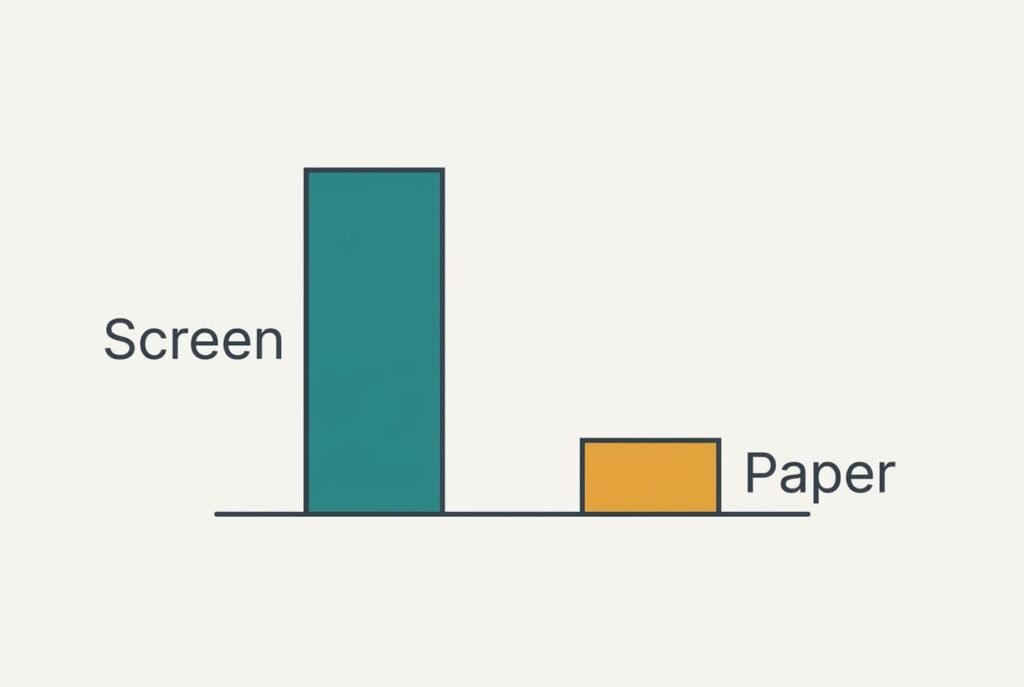
Take a screen showing white at 300 cd/m², a unit of brightness. In a lamp-lit living room of about 150 lux, white paper that reflects 90% of the incoming light gives out 150 × 0.9 ÷ π, which is roughly 43 cd/m². The screen’s white is about seven times brighter than the print’s white (300 ÷ 43 ≈ 7). Your eye judges brightness against the last white it saw, and after a minute at the screen the paper reads as light grey. That’s what makes a printed photo look darker the moment it leaves the display.
Contrast adds a second effect. Black ink on that paper still reflects around 4%, which limits the page to about 22 to 1 from white to black (0.9 ÷ 0.04 = 22.5). A screen whose black measures 0.3 cd/m² spans 1000 to 1. Any tone below roughly 4% of white prints as one flat black, which means the shadows lose their shape and the whole picture feels heavier.
Why Your Printed Photo Looks Darker: Four Tests
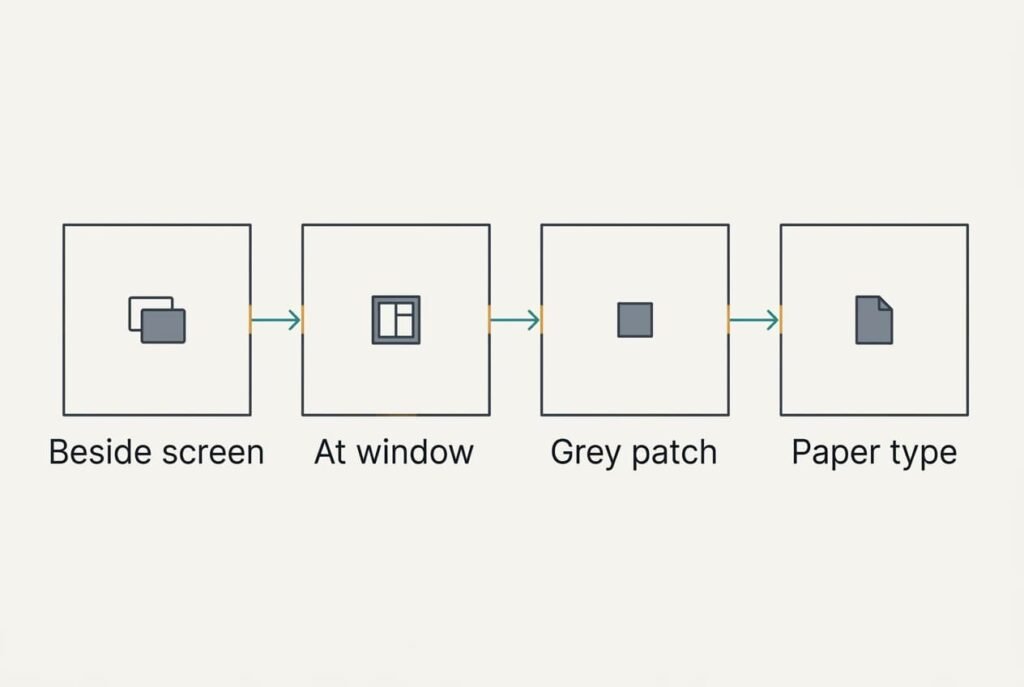
Every test isolates a single cause that can make a printed photo look darker, and none involves a purchase. Do them on a normal evening with the lamps on.
Lay the print next to the screen at the same size. If the whole print looks evenly dim yet every detail is present, the room light is the cause. The gap is the seven-to-one figure from above.
Carry the print to the brightest window. If it jumps close to the look on the display, the viewing light was at fault. If the shadows stay black and flat even there, the limited contrast of paper is the cause.
Look at a neutral patch, such as a grey wall or a white shirt. A reddish or muddy cast suggests colour that the program and the printer have each corrected.
Finally, print the same photo again with the paper type switched from plain to photo. A big change in darkness shows that the paper setting was wrong. One sheet is all this test needs.
Four Fixes, From Free to Paid
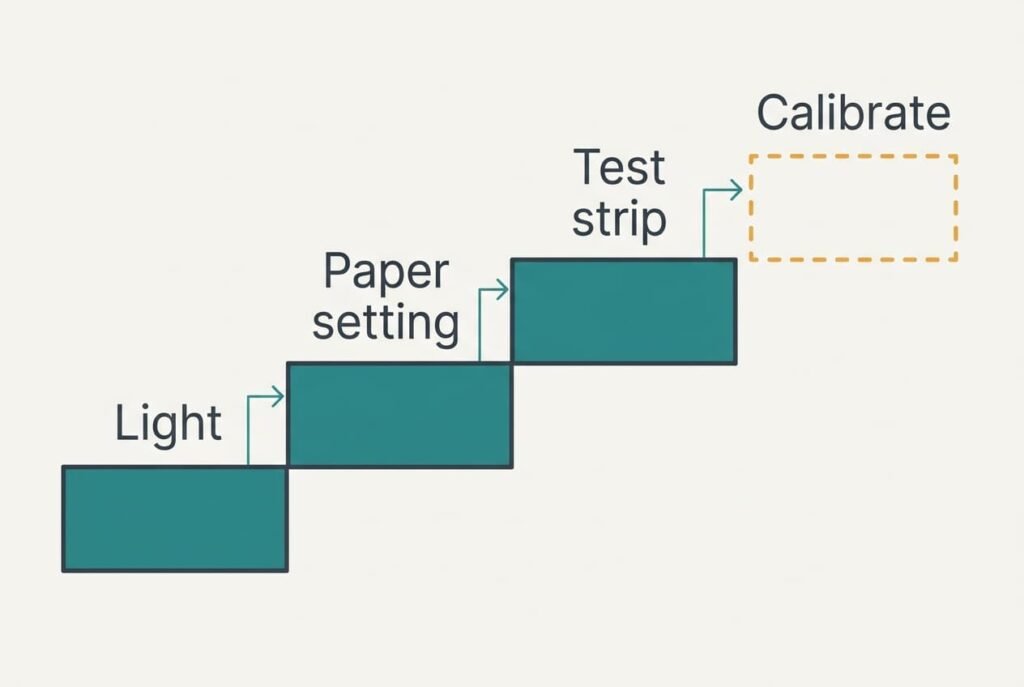
Each fix removes one cause that can make a printed photo look darker. Apply them singly and compare the print with the screen after every change, since changing two things together hides which one helped.
Move the print into brighter light. This answers the seven-to-one gap, and it’s free. Stand the picture by a window, where about 1000 lux lets white paper return 1000 × 0.9 ÷ π ≈ 290 cd/m², near the display’s 300. The loss is practical. A frame in a hallway at 100 lux gives only 29 cd/m², and a print that seemed correct beside the window will look dim again on the wall. A lamp aimed at the frame narrows the gap. Daylight also varies, and a window that gives 1000 lux at noon can give far less by late afternoon. Judge the print at the hour you’ll normally see it.
Match the paper type; manage colour once. This answers the cast and the muddy mid-tones. Choose the paper type that matches the sheet in the tray, then let either the editing program or the printer control colour, never both. A correction applied twice darkens everything, and skin tones turn slightly orange or grey. It takes five minutes. Some printers fall back to a default paper type after every job. Check the setting each time you print.
Print a test strip with lifted shadows. This answers the squeezed contrast, which no setting can fix. Cut a strip about 5 × 15 cm from a dark part of the photo, such as the inside of a coat or a shaded doorway, where the squeeze shows soonest. Lift the shadows in three small steps and print all three on one sheet. Keep the step that holds the detail. That uses a sheet of paper and about 30 minutes. The lifted version looks washed out on screen. Save it as a separate copy for printing.
Calibrate the screen with a measuring device. This answers a display running far brighter than the roughly 120 cd/m² often used for print work, a figure you should confirm against your own device. The device reads the screen and sets its white. It’s the one fix with a money cost, though a local camera club may lend one. The loss is that films look dimmer on that screen, and you’ll switch the profile back for them.
If None of the Four Fixes Worked
Collect the paper type and the photo file. Add the printer’s own test page. A print shop can run the same file through its machine within minutes. A correct print there points at your printer settings. An equally dark one points at the file or the paper, which clears the hardware.
Ask the shop which colour space it expects, since a file saved for a different one prints darker everywhere.
Do a factory reset last, if ever. Resetting erases the saved paper types and the network name. You’d then reconnect the printer and enter them again. Before that, run the nozzle-check pattern from the printer’s own menu. Gaps or a missing colour there suggest a clogged head and not the light or paper effects described here. Write down what the pattern shows, because a service desk will ask for it.
The Fix That Isn’t Worth Doing
Many people try pushing the brightness slider up until the print looks right. It feels logical, yet it tends to backfire. Highlights reach the top of the scale first. Any sky or white shirt pushed past 100% becomes blank paper, and the detail in it never comes back. The same file then looks washed out on screen. A different paper needs a different push as well, and every new job turns into guesswork. Switching on an automatic enhance option in the print window belongs to the same family of tricks. It adjusts the picture without telling you how, and the next print can come out different from the last. Prints hung in a dim hallway will always look heavier than the same picture on a bright phone.
Editing the picture treats the symptom, while the real limits are the room light and the paper.
A darker print is a reading from a measuring stick, not a defect. A page gives back much less light than a screen gives out, and no setting alters that fact. Judge prints under a bright lamp and keep a separate copy of the file for printing. If you only try one thing tonight, carry the print to the window and look again. That takes sixty seconds and settles more than any menu.
Questions Readers Keep Asking
Can I fix this at home?
Yes, almost always. Every cause here is yours to change, and none needs a repair. Start by carrying the print to a window, because that one look shows whether the room light was the cause. Only the calibration device might cost money, and it’s optional.
What causes the darker look?
Two things act together. A screen at 300 cd/m² is about seven times brighter than white paper in a 150 lux room, and the paper’s black reflects 4%, which squeezes the shadows. Colour handled twice can add to it. In our Leeds room, the light and the contrast both contributed.
What would point to a faulty printer?
Rarely a darker picture. A faulty printer gives streaks or a missing colour, not an even darkening across the whole page. Print the nozzle-check pattern from the printer’s own menu. A complete pattern clears the hardware. Look to the room or the file instead.