A 60-second phone clip of about 340 MB can become a file of about 18 MB that still looks sharp on a phone screen held at arm’s length. Expect the job to take roughly 20 minutes, with the longest stretch spent on one comparison at the end. When the bit budget for your clip’s length leaves under about 1 Mbit/s for the picture, trim the clip rather than squeeze it; that sum is the fork. Our clip is invented, and yours will differ. No program or menu is named, because every video tool offers the same few controls, whatever it calls them.
Before You Shrink a Video File So It Sends
A few conditions come first. The original needs a safe copy somewhere else, because each squeeze throws detail away for good and you’ll want the full version later. Find out the limit at the receiving end. Mail and an upload form rarely agree. A shared link usually has no such limit, though the viewer then needs a connection to stream it. Last, settle which screen the viewer will use. A phone forgives far more than a television does, and our example assumes a phone.
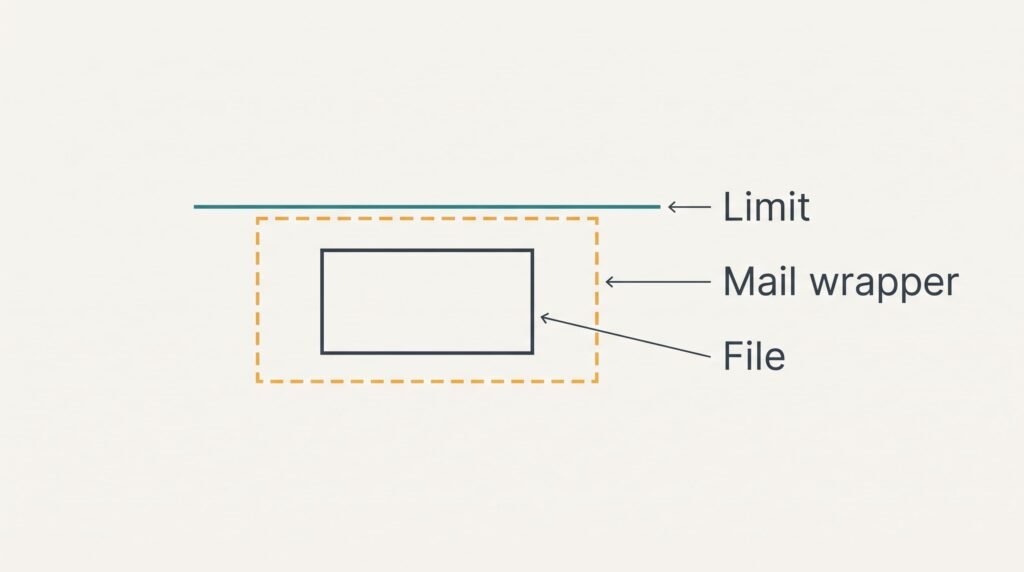
What gets skipped is the extra size that mail adds to every attachment. Mail wraps a file in a text-safe coding that makes it about a third bigger. A file of 18 MB therefore arrives as 24 MB, and a limit of 25 MB (a sample figure) counts the larger number. A common surprise is a message bouncing back after a long upload.
Write the limit and the overhead down now, on paper if you can, because they must survive the next three steps. Step one uses both.
Six Steps to Shrink a Video File So the Message Sends
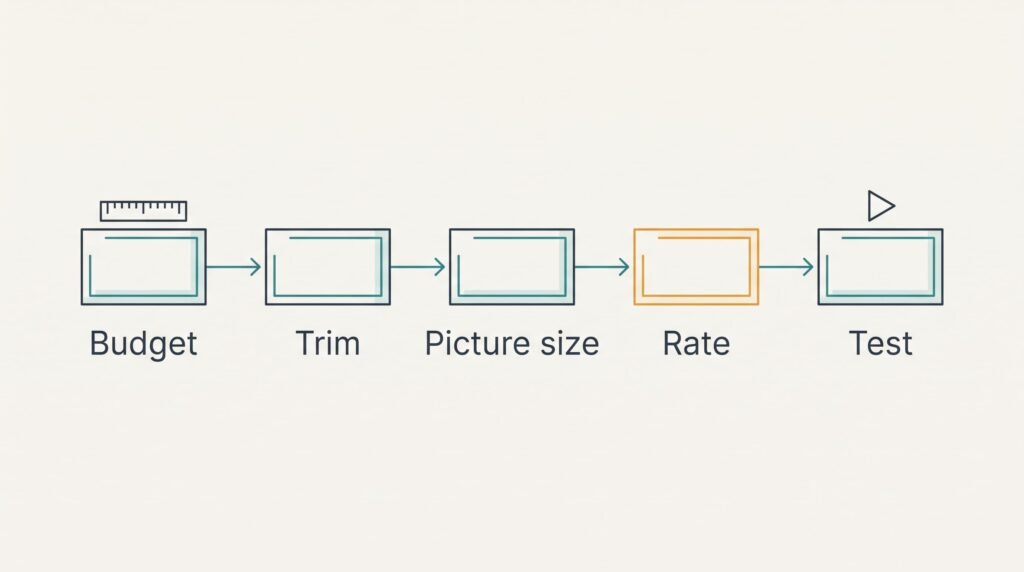
1. Turn the limit into a size for the file. Removing the one-third overhead from a 25 MB limit leaves 25 × 3 ÷ 4 = 18.75 MB, and rounding down to 18 MB leaves a margin. A file that sits exactly at the limit is refused once the wrapping is added. Confirm it with 18 × 4 ÷ 3 = 24 MB, which sits under 25.
2. Read the original’s details. Our clip lasts 60 s, measures 3,840 × 2,160 and weighs 337.5 MB. Dividing size by length shows how far down you must go, since 337.5 × 8 ÷ 60 = 45 Mbit/s. You know the reading is right when your own sums land near the rate the file details quote.
3. Cut the dead seconds at both ends. Dropping 3 s from the start and 3 s from the end leaves 54 s, and every second removed hands its bits to the ones that stay. The budget becomes 18 × 8 = 144 Mbit, and 144 ÷ 54 = 2.67 Mbit/s. It worked when the figure sits well above the 1 Mbit/s fork from the top of this guide.
4. Lower the picture size to 1,280 × 720. The count of pixels falls from 8,294,400 to 921,600, which is nine times fewer, and each remaining pixel gets a generous share of the budget. Confirm it when the export reports 1,280 × 720 and the picture keeps its shape, with no stretched faces.
5. Set the video rate to 2.5 Mbit/s and the audio to 128 kbit/s. A fixed rate is what makes the size predictable: (2.5 + 0.128) × 54 ÷ 8 = 17.7 MB. Confirm it when the finished file lands between 16 and 19.5 MB, which is within 10% of that prediction.
6. Watch the busiest five seconds on the screen the file was made for. Look for blocks or smearing in pans and quick movement, because the rate is an average and fast motion eats more bits than a still shot. You’re done when that stretch shows clean motion.
Run these six once and you’ll know how to shrink a video file so it sends the first time.

Test the Finished Video Before You Send It
Run one test: mail the file to your own address and play it on a phone. Four things must hold. The attachment arrives at about 17.7 × 4 ÷ 3 = 23.6 MB, which confirms the overhead sum from step one. The clip plays from the first frame without a stall. Speech still matches the lips. Any text on screen stays readable at arm’s length.
The file details should also quote about 2.6 Mbit/s in all, the 2.5 for the picture plus 0.128 for the sound. A far higher figure means the tool ignored your setting.
When one of the four fails, change only that one thing and export again. Keep the file you’ve just tested, because a failed copy is easier to compare while the earlier one still exists. Once a version passes, write down the rate you used. The next clip then takes five minutes.
Where the Job Stalls and How to Restart It
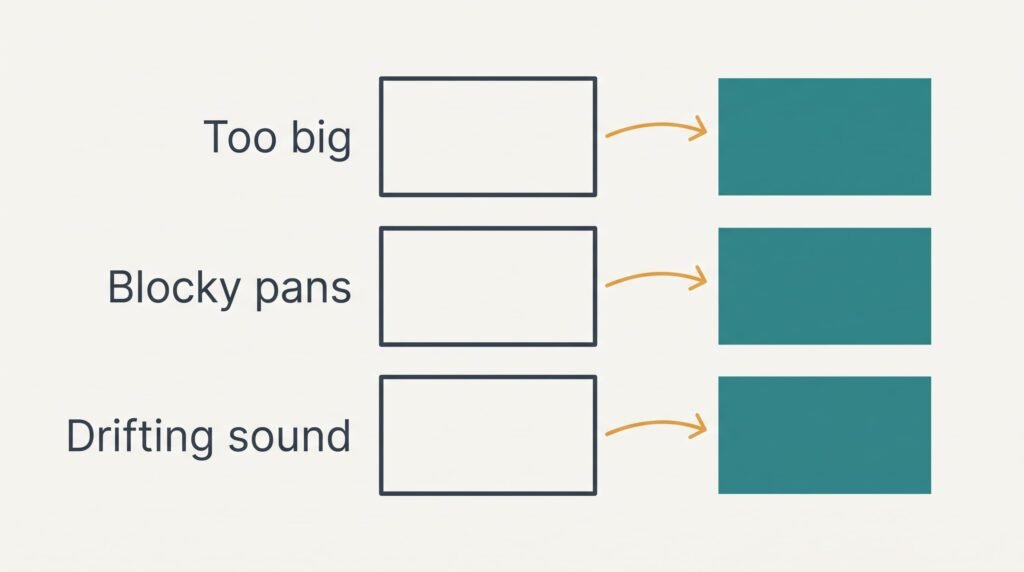
If you shrink a video file so it sends and the finished size still comes out far above the prediction, look at the settings. A quality setting, unlike a fixed rate, lets busy scenes take whatever they want. Switch to the fixed-rate option and export again. Read the size from the file details before you attach anything, because a wrong file costs you a whole upload.
Fast pans look blocky. Either the budget is too thin or the motion is too busy. Trimming 6 s more lifts the rate by about 12%, since 144 ÷ 48 = 3.0 Mbit/s against 2.67. Dropping the frame rate from 30 to 24 gives each frame 25% more bits, though fast motion looks a little less smooth.
The audio drifts away from the picture. Phones sometimes record at a variable frame rate, and some exports can’t follow it. Export at a fixed rate of 30 frames. The drift then disappears, because every frame lasts the same time.
A Step Not Worth Taking
Skip changing the file type, because the same video stream rides inside either container. A video file is a box holding a picture stream and a sound stream, with a few labels. The file ending names the box. Swapping boxes copies the streams across unchanged, sometimes without touching them at all. Our 337.5 MB clip would still weigh about 337 MB afterwards, and you’d have spent ten minutes to save under one megabyte of labels.
Zipping the finished file gains almost nothing either, since video is already compressed when it’s saved. To shrink a video file so it sends, the levers are the clip’s length and its picture size, with the bit rate as the third. Everything else is wrapping paper.
Re-exporting at lower and lower rates until the file fits is no better. Each pass loses detail, and one pass with the right numbers beats three guesses.
A tool with fifty options still offers only three controls that move the size.
Treat the numbers in this guide as a pattern, not a recipe. Your clip will have a different length and a different limit, but the order stays the same, from the sum at the start to the test at the end. That sequence turns a guess into a calculation. It also means you can stop at the first step that gets the file under the line, and a clip that needed only a trim keeps all its sharpness.
Questions Readers Keep Asking
How long does the export take?
On a recent laptop, a 54-second clip usually finishes in about the time it plays, and often faster. Phones are slower and run hotter. Expect a few minutes either way. The comparison in step six takes longer than the export itself. Keep time for it.
Does shrinking damage my original clip?
No, provided you export to a new file. The copy loses detail for good, and shrinking the copy again loses more each time. Always return to the original for a second attempt. Keep the full-size version until the recipient confirms the small one plays.
What if my clip is three minutes long?
Repeat step one: 144 ÷ 180 = 0.8 Mbit/s in all, which leaves 0.67 for the picture, too thin. Trim to about 90 s, where 144 ÷ 90 = 1.6 Mbit/s works, or send a link to the full version instead of an attachment.