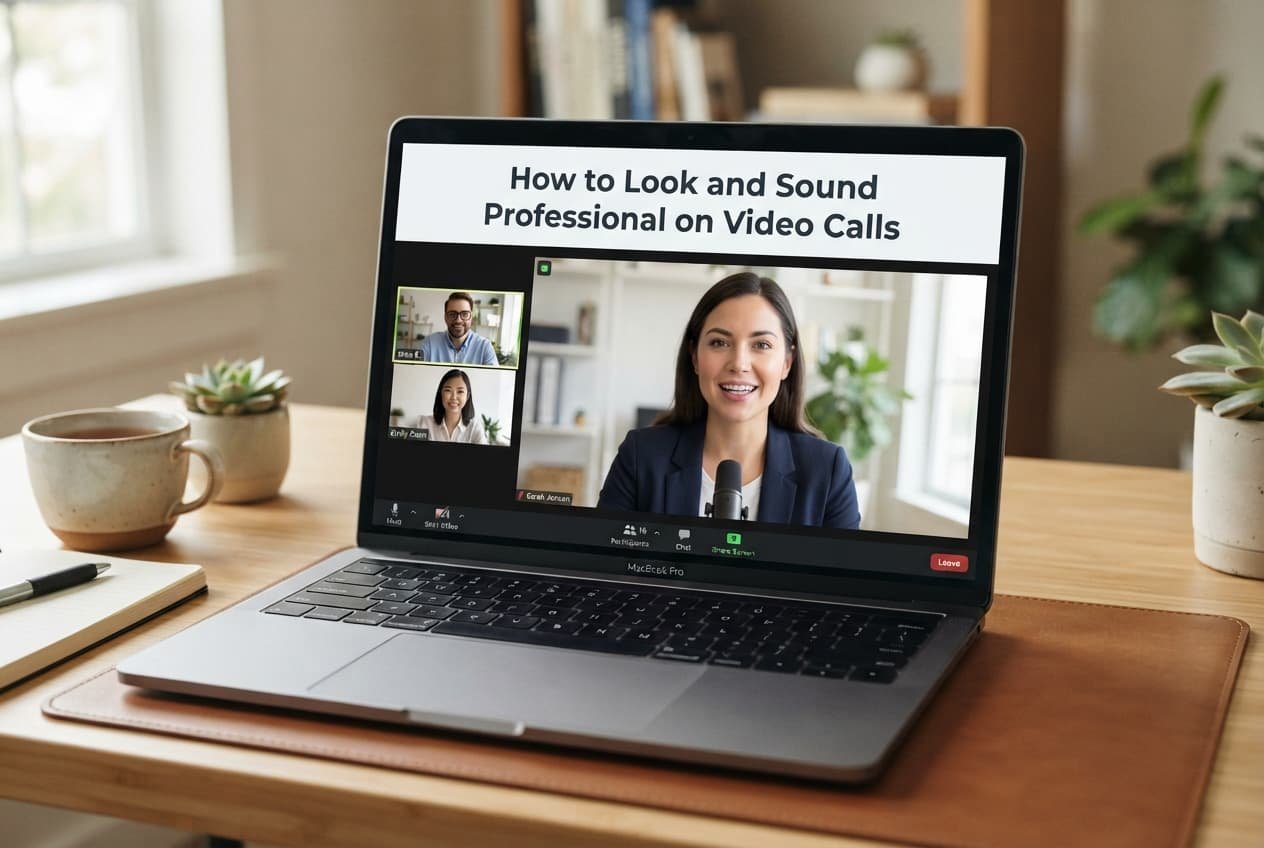
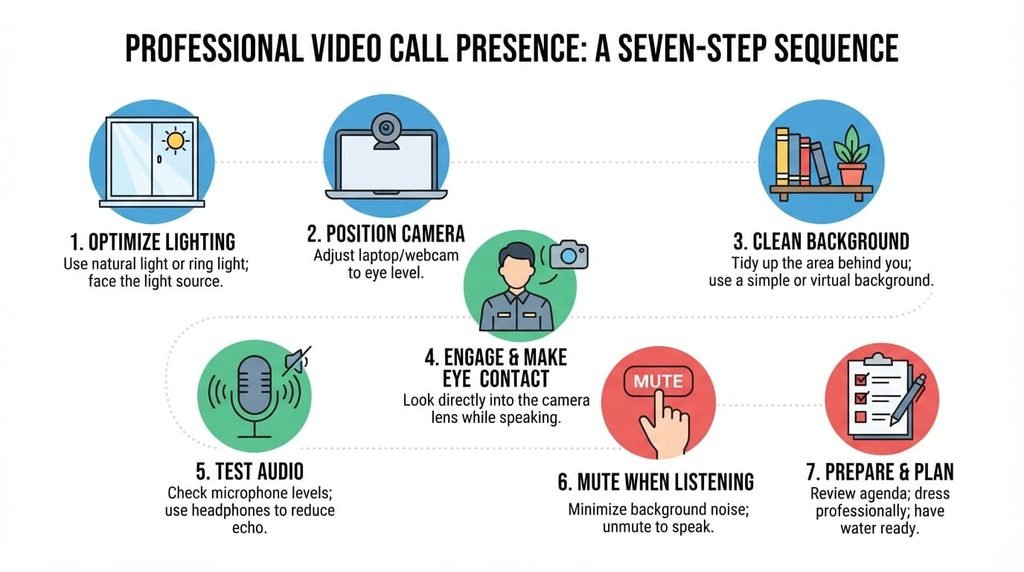
Looking and sounding genuinely professional on video calls works best as a sequence of specific checks addressing the most common overlooked factors first, rather than simply assuming your default camera and microphone setup is automatically adequate for every situation. This guide covers the steps in the order that typically delivers the most improvement for the least effort.
Before you start
Test your actual setup with a genuine practice call or recording before an important meeting, rather than assuming everything works well simply because it did during your last call, since conditions and settings can genuinely change between sessions.
Note your current baseline specifically – how you currently look and sound on camera – so you have a genuine comparison point as you work through the following steps.
Step one: fix your lighting
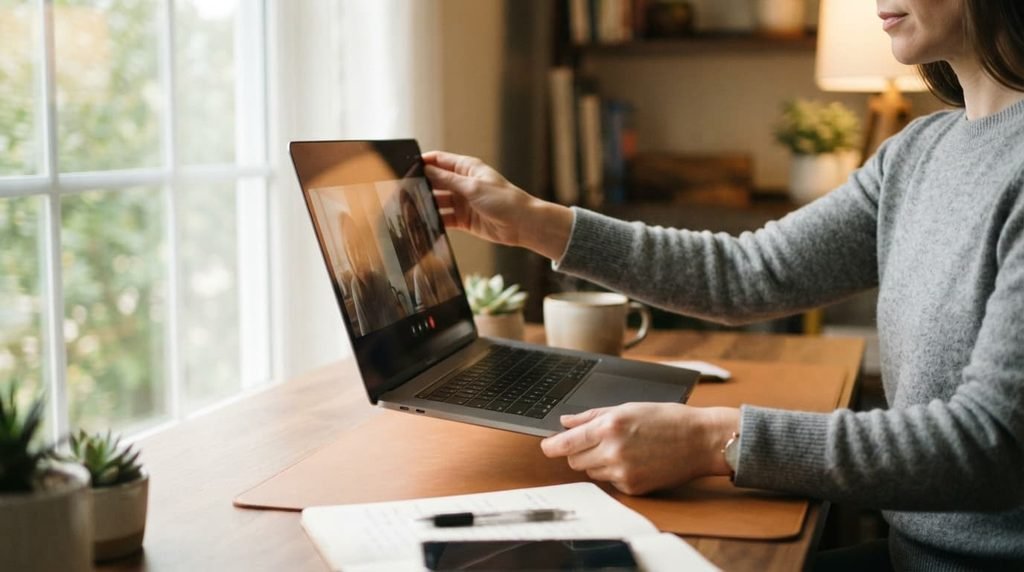
Position yourself genuinely facing a real light source – a window, a lamp positioned directly in front of you – rather than having your main light source behind you, since backlighting is genuinely one of the most common causes of appearing dark or silhouetted on camera, regardless of how good your actual camera hardware genuinely is.
Avoid relying solely on overhead lighting when possible, since this specific angle tends to create unflattering shadows on your face, while a more forward-facing light source produces a considerably more evenly lit, professional appearance.
Step two: check your camera angle and framing
Position your camera at genuinely eye level or slightly above, rather than looking up at you from below, since this specific angle produces a more flattering, professional perspective than an upward angle typically provides.
Frame yourself with adequate headroom and shoulders visible specifically, rather than either too tightly cropped or too distant, since this framing convention reads as more genuinely professional and intentional than either extreme.
Step three: address your audio quality
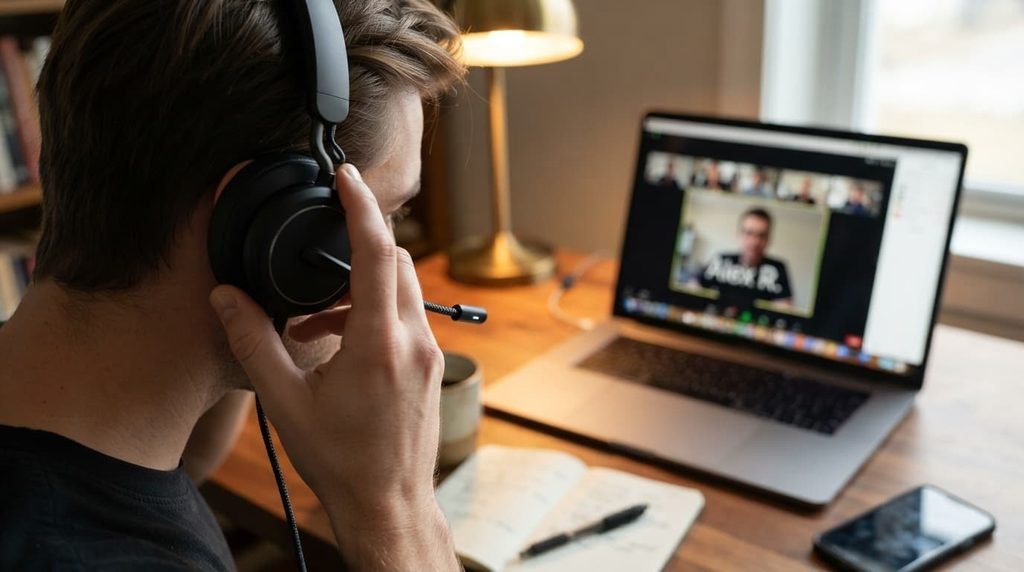
Use headphones or earbuds with a built-in microphone specifically, rather than relying on your device’s built-in speaker and microphone alone, since this specific setup typically reduces echo and background noise considerably compared to open-air audio pickup.
Test your microphone’s actual audio level before any genuinely important call specifically, since audio that’s too quiet or too loud genuinely undermines a professional impression regardless of how well everything else in your overall setup is otherwise handled.
Step four: manage your background
Choose a genuinely tidy, uncluttered background specifically, or use your call platform’s own background blur or replacement feature if a genuinely tidy physical background isn’t practically available, since a distracting or cluttered background can meaningfully undermine an otherwise professional overall appearance.
Consider what’s genuinely visible in your specific background beyond just simple tidiness – personal items you’d genuinely rather not share in a professional context – since this particular consideration matters separately from simple visual clutter alone entirely.
Step five: prepare your immediate environment
Minimise potential interruptions quite specifically during genuinely important calls – notifying others sharing your space, silencing device notifications – since an interruption mid-call undermines a professional impression regardless of how well your technical setup otherwise performs.
Test your internet connection’s stability specifically before a genuinely important call, closing unnecessary applications that might compete for bandwidth or processing capacity, since this proactive step reduces the likelihood of technical disruption during the actual call itself.
Step six: verify your on-screen professional details
Check that your display name shown to other participants is genuinely fully appropriate for the specific call’s professional context, rather than a casual nickname or default device name, since this small, easily overlooked detail is genuinely one of the very first things other participants actually notice immediately when joining.
Check your on-screen appearance specifically before joining, not just your surroundings, since a quick self-check catches issues – adjusted camera angle, visible background elements – that are easier to fix before a call begins than during it.
Step seven: practice genuine eye contact through the camera
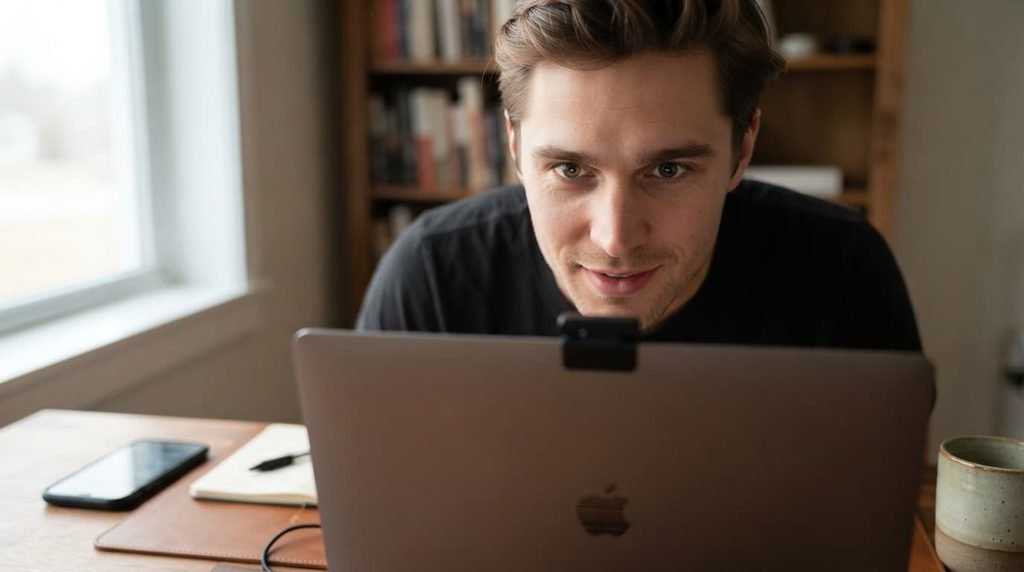
Position your camera close to where the call’s video feed actually displays on your screen, since looking at the person you’re speaking with on-screen, rather than directly at your camera lens, can create the impression of looking away, even though you’re genuinely engaged with the conversation.
Practice glancing toward your camera lens specifically during moments you want to convey direct engagement, since this small, genuinely practicable habit meaningfully affects how present and engaged you actually appear to others on the call, considerably more than most people initially realise
.What isn’t worth doing
Investing heavily in expensive camera or lighting equipment before addressing the more fundamental positioning and framing basics covered above, isn’t worth the expense this approach leads to.
Many common professional-appearance issues – poor lighting angle, unflattering camera position – are addressable through positioning and simple habits rather than requiring expensive equipment, meaning a significant purchase often doesn’t resolve an issue that was never actually about your equipment’s fundamental capability in the first place.
If you’ve only completed some of these steps
If you’ve addressed lighting and camera angle but haven’t yet worked through your audio setup, this is genuinely solid progress worth continuing from, rather than needing to master every step simultaneously before your next important call.
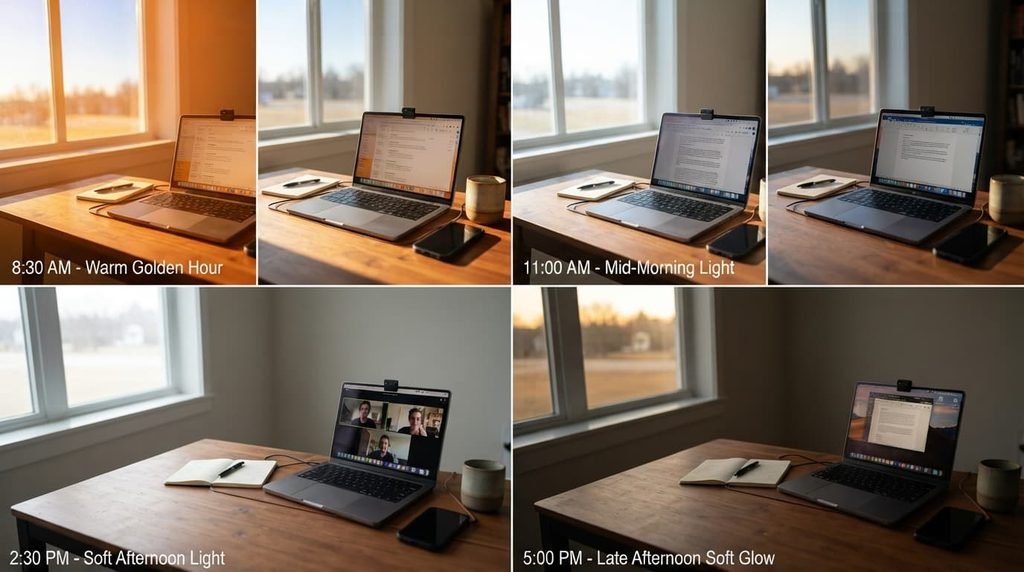
Making the lighting step genuinely intuitive
Lighting, covered in step one, is genuinely the check worth internalising most deeply, since nearly every other step in this sequence reads more professional once lighting is already reasonably good, while even excellent framing and background choices can’t fully compensate for genuinely poor lighting undermining your overall appearance. Spending the extra moment repositioning toward better light, before assuming any other factor needs attention, tends to pay off more than any other single step in this entire sequence.
This is worth reassessing specifically whenever you change locations for calls, not just during initial setup, since lighting conditions vary considerably between different rooms and times of day, meaning a setup that worked well in one location or time may need genuine reassessment in another.
Questions readers keep asking
Which single step makes the biggest difference for appearing professional on camera?
Lighting specifically tends to produce the most noticeable improvement for the effort involved, since poor lighting affects your overall appearance more fundamentally than camera angle or background alone, regardless of how well those other elements are handled.
Is it worth using video call platform filters or appearance-enhancing features?
This is a matter of personal preference specifically, though subtle adjustments tend to read as more genuinely professional than obviously artificial-looking filters, which can sometimes undermine rather than support a professional impression depending on how noticeably they’re applied.
Is it worth practising these habits deliberately, or do they eventually become automatic?
Most people find these habits genuinely become more automatic with consistent practice, though deliberately checking each one consciously in the early stages, particularly camera positioning and eye contact specifically, helps build the underlying awareness that eventually makes the whole approach feel considerably more natural over time.
How often should I actually test my setup before assuming it’s working well?
Testing before any genuinely important call specifically is a reasonable habit, rather than assuming a setup that worked previously remains automatically adequate, since lighting conditions, software updates, and other factors can genuinely change between sessions in ways worth confirming directly.