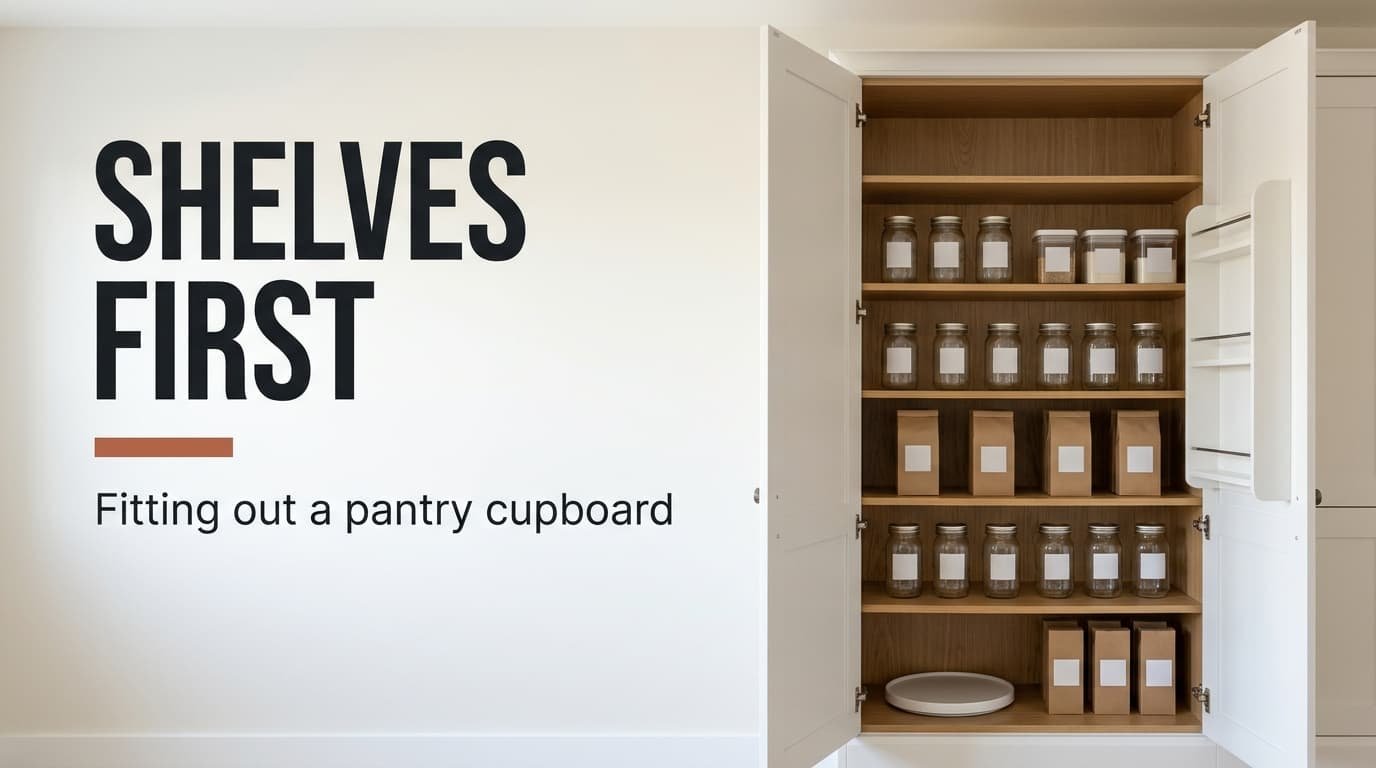
Fitting out a pantry cupboard in the wrong order is why so many of them turn into a pile within a month. The shelves come first and a single turntable follows. The door rack comes next, and only after that the containers and labels. This guide takes a tall cupboard through five purchases. The cupboard measures 60 cm in width and 40 cm in depth, and it stands 200 cm high. Each purchase gets its measurements and a tier for how much to spend. It also gets the fault in construction that you should look for. No prices appear, since relative effort is what counts.
Why fitting out a pantry cupboard starts with shelf height
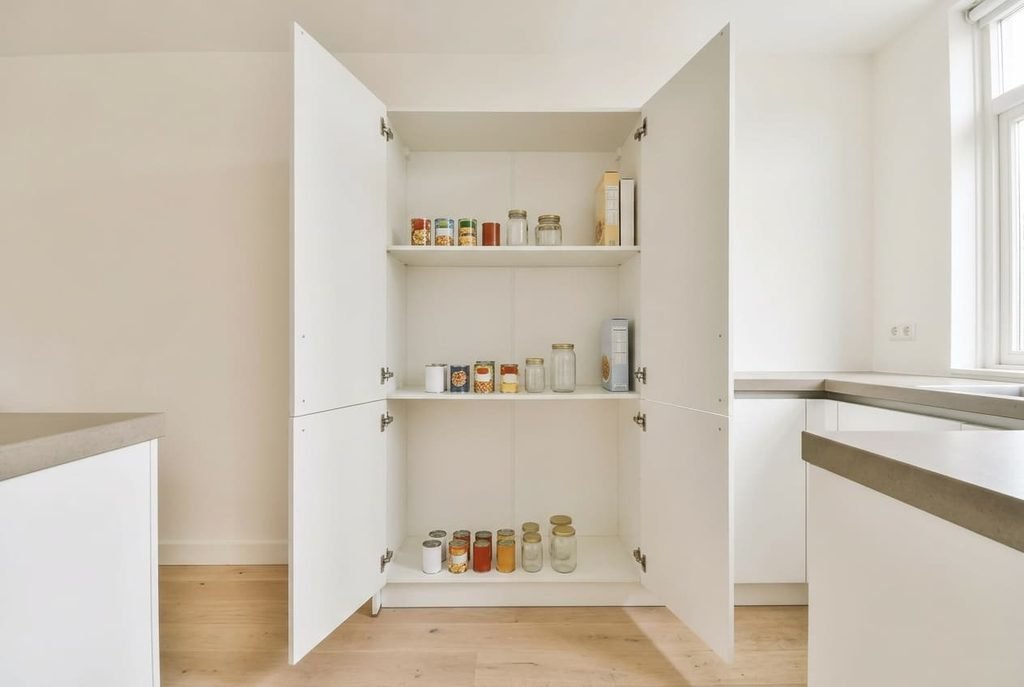
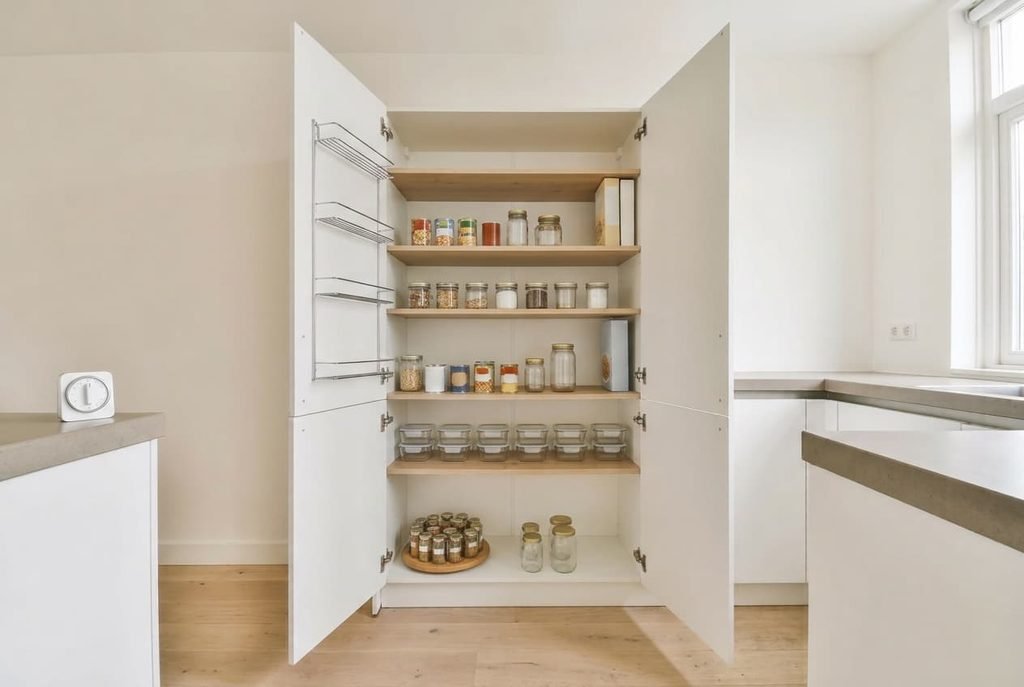
A tall cupboard wastes most of its volume in air. Take an interior of 190 cm with three fixed shelves, which gives four gaps of about 47 cm. Tins stand 11 cm high while jars stand 17 cm. Cereal boxes reach 30 cm, so the average item is about 22 cm. Each gap then holds 22 cm of goods under 25 cm of nothing, and the cupboard is 47% used in height.
Add two shelves and the gaps shrink to about 31 cm. The same average item now fills 71% of the height, and the cereal box still fits. The cheapest storage you can create is the air above the goods, so the first purchase has to be shelf boards. No basket or jar should touch the cupboard before them.
The order matters for a second reason. Everything else you buy has a fixed height, and it works only when the gaps are right. A tall container bought first often fails to fit once the shelves move, and then you’ve paid for something you must return.
A third reason is cost. Shelf pegs are cheap to move, but a container can’t be resized, so it makes sense to settle the flexible part first.
Heights come first, and containers come last.
Fitting a pantry cupboard out in the right order
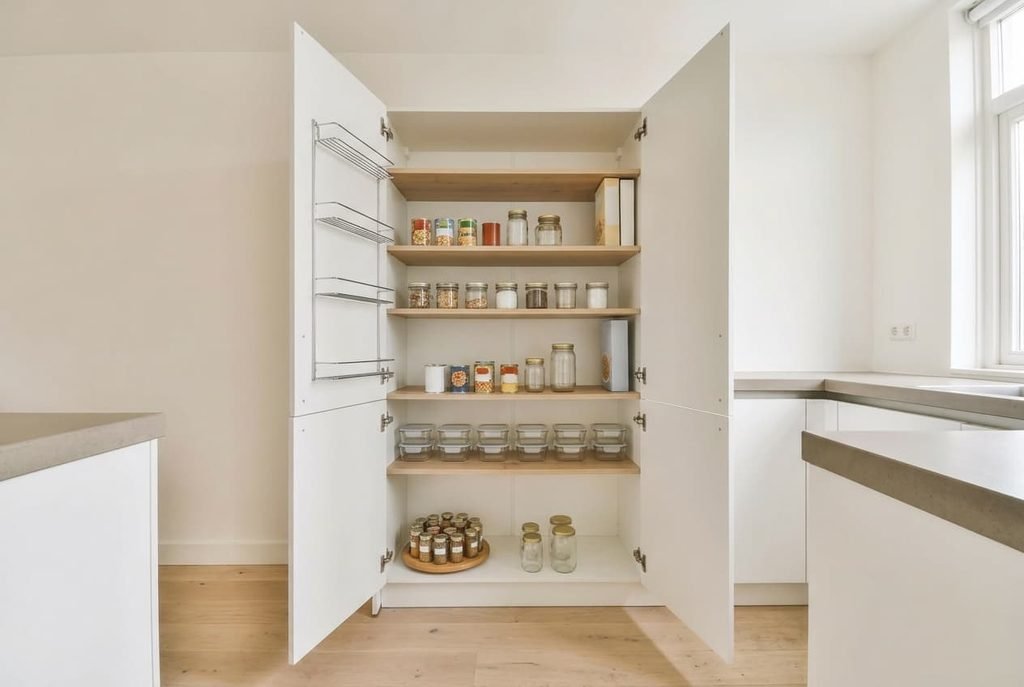
1. Adjustable shelf boards, 58 cm long and 38 cm deep, 18 mm thick, on pegs. They come first because every later item depends on the gap they create. Buy once, since a thin board sags: a 12 mm board is 3.4 times less stiff than an 18 mm one, and a shelf carrying 12 kg of tins over a 58 cm span shows it within weeks. The fault to check is the peg hole spacing, which should be 32 mm or tighter so you can set gaps in small steps.
2. A turntable of 30 cm across for the deepest corner. It goes second because the back 20 cm of a 40 cm shelf is where food gets forgotten. Take the mid tier. The bearing carries 5 kg, and a cheap one wobbles once it’s loaded past that. The fault to check is the rim height, which should be 2 cm so jars don’t slide off yet stay visible.
3. A door-mounted rack holding up to 5 kg. It sits third because the door cavity of about 8 cm is free space nobody uses, and it takes light things such as spice jars off the shelves. Buy cheap, because the load is light and the rack hangs on a rail instead of the hinge. The fault is a rail that sits too tight against the shelf edge, which stops the door closing.
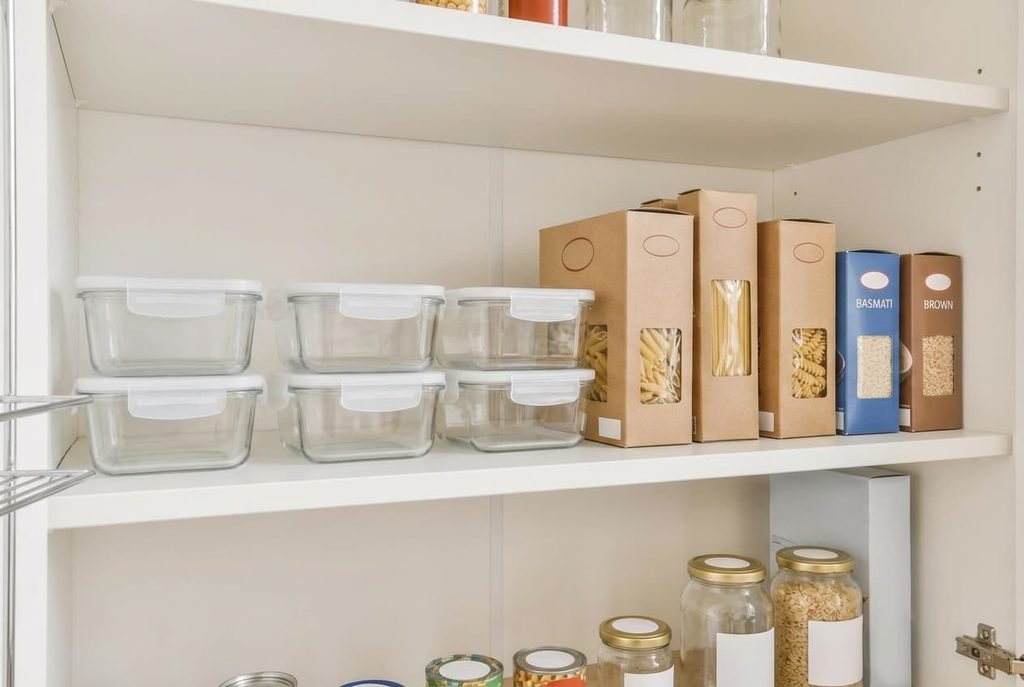
4. Square containers with lids for the five dry staples you use weekly. They come fourth, once the gaps exist, so their height fits a gap. Buy cheap with one exception: pick a lid that clips on all four sides. The fault is a round shape, which wastes about 21% of the shelf footprint compared with a square one.
5. A single set of waterproof labels. They go last because you can’t label what you haven’t placed, and the labels follow the containers. Buy cheap, since a label is only paper. The fault is an adhesive that leaves a mark when it’s moved.
Where to spend less: the containers
Most advice puts containers first, and this guide puts them fourth and cheap. Tins and jars already stack in rows, and so do cereal boxes. All of them cost nothing to keep in their own packs. Decanting adds a chore every time you shop, so it has to pay for itself.
Do the sum. Say five staples are decanted weekly. They might be rice and pasta, plus the baking basics. That’s five refills a week, perhaps 15 minutes in total, or about 13 hours a year. For a family that cooks five times a week it’s worth it. For a single person who cooks twice, it isn’t.
So buy five lidded squares in a plain material, and stop there, because fitting out a pantry cupboard needs no more than that. Anything beyond five replaces packs that fit already. Put the saved effort into the shelves instead, because a shelf bought once keeps paying back each time you open the door. Containers belong low in the spending order, with shelves high in it.
How to judge the result after a month
Run a short test after four weeks. Ask someone to name three items and time yourself finding each one. If each takes under 30 seconds, the layout works. If any takes longer, note where it was stored and move it forward by one gap. One slow item points to a placement problem. Two or more point to a gap of the wrong height.
A slow item is usually just a misplaced one.
Check the shelves too. Look along each board with your eye at shelf level, because a sag of more than 3 mm over 58 cm means the board is too thin for its load. Fitting out a pantry cupboard properly shows that sag early, so you can move the heavy tins to the lowest shelf before the board bends for good.
Last, count the items outside the cupboard. If three or more food items live on the worktop, the cupboard lacks gaps for them. Add one more shelf and run the test again.
What to skip
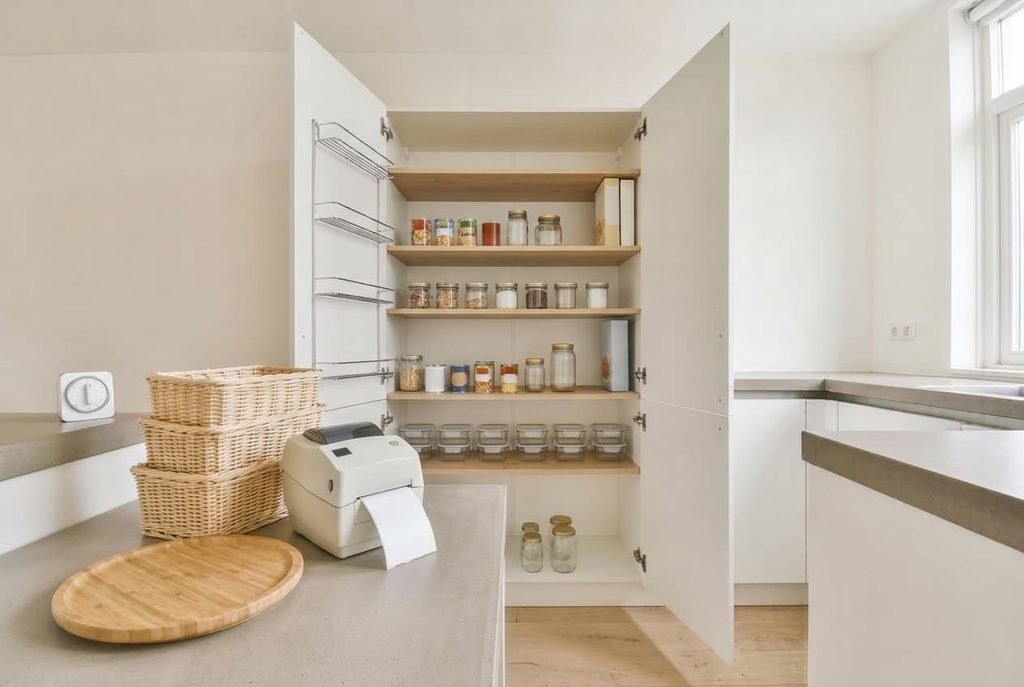
The skip list starts with decanting every pack into a jar, because packs that fit the gaps gain nothing from one. Each jar adds a refill to your week. Skip matching baskets in a set as well. Baskets hide the contents, and a hidden item is a forgotten one. Open shelves and clear containers beat them.
Skip a label printer. Hand-written paper labels cost nothing and take ten seconds to change, while a printed label looks tidy for exactly as long as your stock stays the same.
Skip a second turntable. One at the deepest corner is enough, and a second adds wobble and loses a gap without freeing anything you can reach.
The whole job is mostly arithmetic. It takes five measurements and five purchases, in the right order. Do the shelves first and the rest takes care of itself, and fitting out a pantry cupboard this way keeps it findable for years. If you can manage one job this weekend, put in two shelf boards and move the pegs. Nothing else on this list has such a large effect. The other four items can wait until the gaps feel right.
Questions readers keep asking
How many shelves does a tall cupboard need?
Five or six for a 190 cm interior. That gives gaps of about 31 to 38 cm, which hold a cereal box with space to reach over it. Fewer shelves waste height, and more shelves leave no room for tall packs. Test with the tallest item you own before you drill any holes.
In what order should I buy things?
Shelf boards first, then a turntable, then a door rack. Containers come fourth and labels last. The order follows height: the shelves set the gaps, and everything else has to fit them. If you buy in any other order, expect to return at least one item that doesn’t fit.
How do I know a shelf is strong enough?
Load it and look. A sag above 3 mm over a 58 cm span means the board is too thin. An 18 mm board holds about 12 kg without that sag, so move heavy tins to that shelf and keep light packs above. Recheck after a month, since boards sag slowly.