The end state is simple: you double-click a file and it opens in the app you picked, every time. Choosing which app opens each type of file takes about three minutes for five types, since each change is one setting. The fork comes first. A choice marked “always” changes the type for good, whereas “just once” leaves the default alone, and the steps below use “always”. The sample is a UK laptop with a Downloads folder of 40 files, and your counts will differ. Work through the steps in order, and finish when the closing test passes. Each step is short, and none of them touches your files.
Before You Start: Which App Opens Each Type of File Now
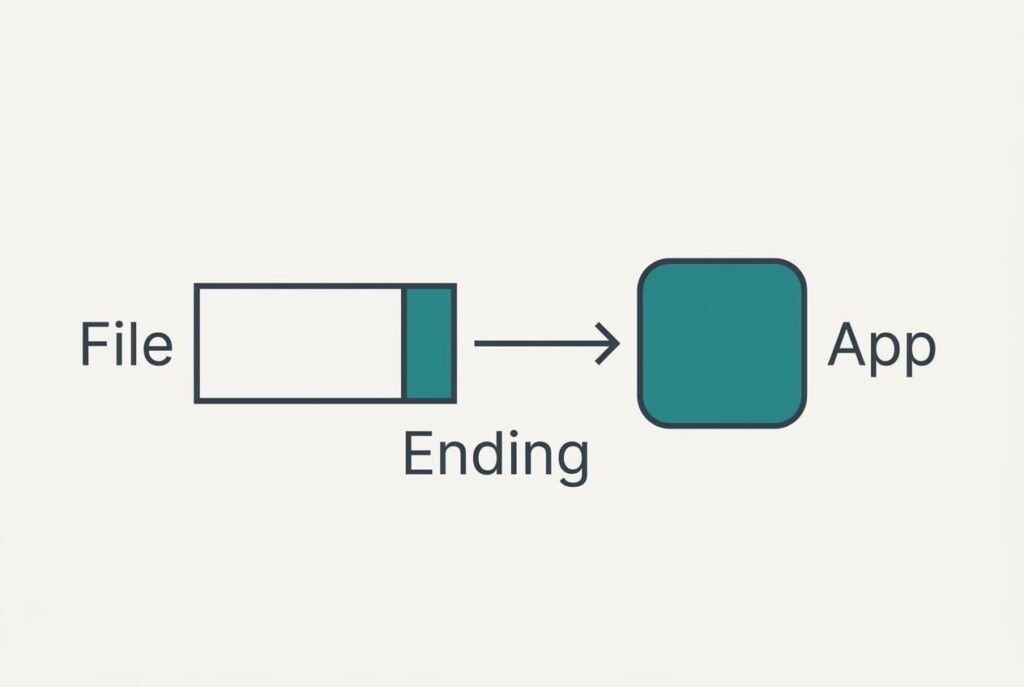
Most people skip the one prerequisite, and it is seeing the ending of each file name, because the letters after the dot decide its type. Many systems hide those letters by default. Turn the display on first if you can’t see them. Without it, the question of which app opens each type of file can’t even be asked properly.
A default belongs to a type and never to a single file. Change it for PDF and every PDF follows, including files you haven’t downloaded yet. That’s why a count helps. The sample folder holds 14 PDF files and 12 JPG photos. Six PNG images come next. Then come 4 DOCX documents and 4 CSV tables, and the folder reaches 40 in all. The first four types cover 36 of the 40, or 90%, which makes them the ones worth changing.
Two smaller checks come next. The app you want must already be installed, since the system can only offer what it finds on the machine. And a work laptop may block the change, in which case the setting stays greyed out and only an administrator can alter it.
Hidden endings are the usual reason a type seems to vanish.
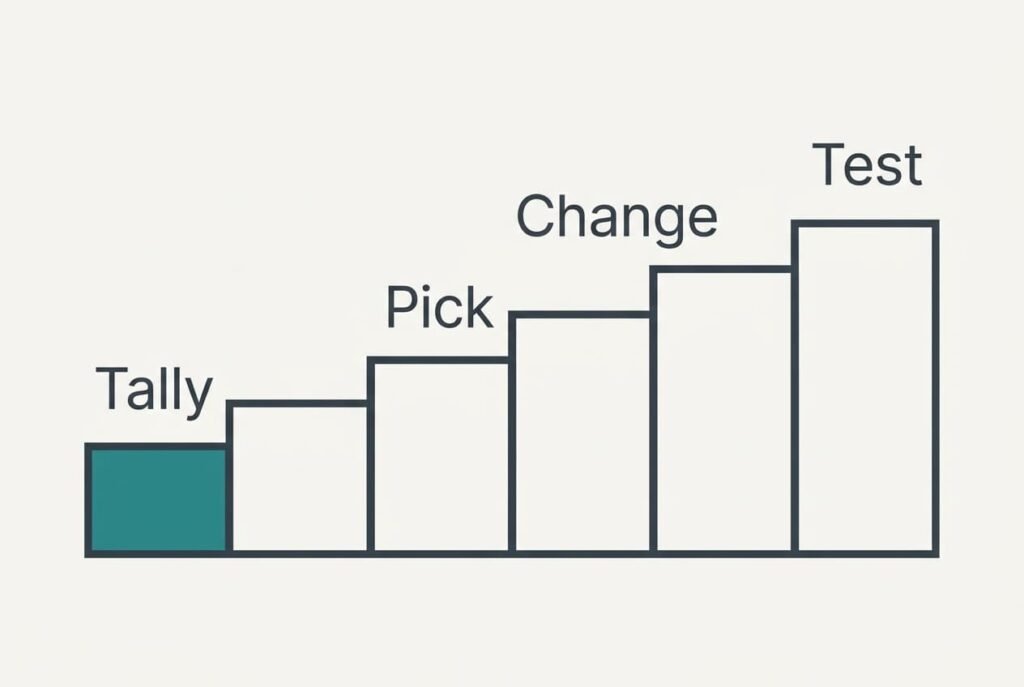
Six Steps to Choose the App That Opens Each Type of File
1. List the types you open each week. Sort the Downloads folder by type so matching endings sit together, then tally each group on paper. This matters because only the common types repay the effort. Success looks like three to five types covering about 90% of the files, as the four above do.
2. Find out which app owns each type now. Select one file of a type and read its information panel for the entry naming the app that opens it. This shows what you’d be replacing, and which owner is the slow one. Some owners will surprise you: a mail program often holds PDF without anyone choosing it. Confirm the step by writing an app name beside every tallied type.
3. Pick one app per type. A single app can serve several types. One photo viewer can own both JPG and PNG, which keeps the number of apps you launch small. Choose apps that read the whole format. Prefer one you already open daily. Fewer owners mean fewer surprises later. The plan is sound when every type has exactly one owner on paper, on paper before any change is made.
4. Change the first type and choose “always”. Start with PDF, which has the highest count at 14. The wording of the choice matters, because “just once” looks identical and changes nothing. The proof is the next PDF you double-click: it opens without asking which app to use. If a dialog still appears, the “always” box was left unticked, and the step needs repeating.
5. Repeat for the remaining types in order of count: JPG at 12, PNG at 6, then DOCX at 4. Doing the largest first means the biggest annoyance disappears early. Each type takes about 30 seconds. The four of them therefore cost two minutes. Each is finished once a test file opens in the right app. Don’t rush the last two types, because a misread ending is the commonest slip here.
6. Open a file of each type from a folder you rarely visit. This catches a change that applied to one location only, which happens when a file sits on a shared or external drive. Confirm that all four open in your chosen apps within a few seconds. A slow first open is normal if the app wasn’t already running, and the second open should be quicker.

Test the Finished Setup With One File Per Type
Close every window, then open one file of each changed type from a folder you’ve never used and watch which app answers. A pass is the right app opening within about five seconds, for all four types. At 10 seconds per type, the whole test takes 40 seconds, and it settles the question of which app opens each type of file on your machine for good.
Add one attachment test. Save a PDF from an email, then open it from the downloads list rather than from the mail window. If your chosen reader opens, the change reached attachments too.
Keep a note of anything that fails.
Four types make a short list, and the failures usually share one cause, which the next section covers. Fix them singly, and rerun the matching test after each fix.
Where the Change Stalls
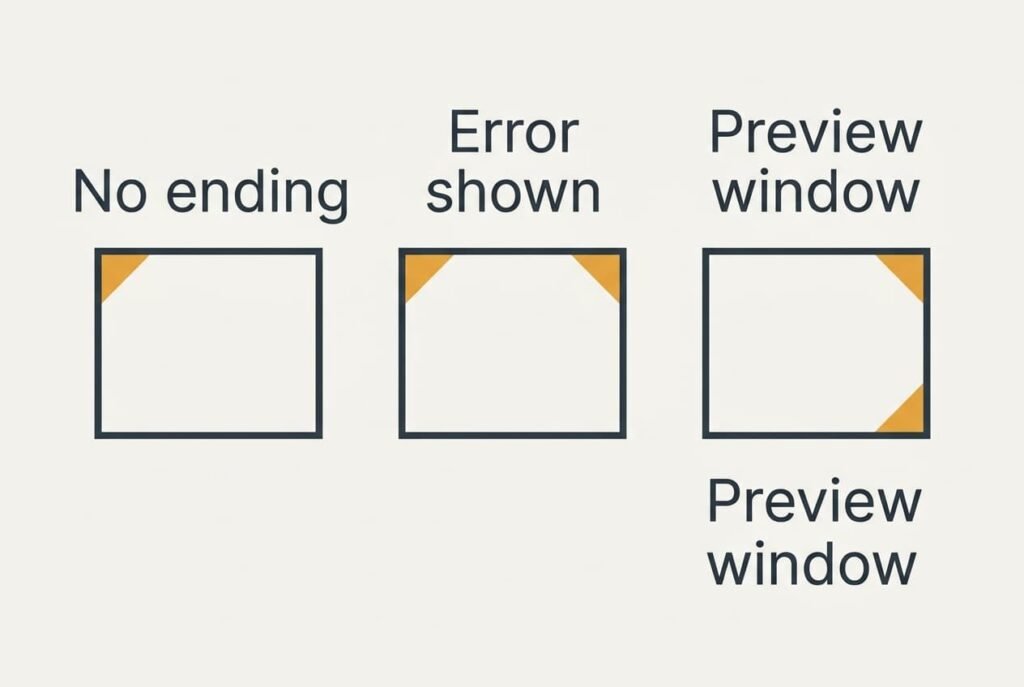
Stall one is a type missing from the list, usually because the file has no ending at all. Without the letters after the dot, the system has nothing to match against. Show the ending, or add the correct one, and the type appears. Some systems also list only types they’ve met on this machine. Open one file of the missing type once.
Stall two is a file that opens in the chosen app but displays an error message or an empty page. That app doesn’t support the variant of the format, which is common with photos from newer phones. Choose another app for that type rather than repeating the change.
Stall three is a file that opens inside a mail or chat window rather than your reader, because the messaging program carries its own preview. Open the saved file from the downloads list instead, and it follows your setting. Settings changes can take a restart of the messaging program to show.
A Step Not Worth Taking
Don’t remove the unwanted app to force the change. Uninstalling the old app deletes its settings and any library of files it keeps, and the system then asks you to choose anyway. The default question remains. Only a gap with extra work to rebuild results. That app may also be the one a different type needs, which turns a tidy-up into a new problem.
Resetting every default at once is the same kind of mistake, and the question of which app opens each type of file then restarts from zero. It wipes choices you made years ago, such as the app for music or video, and each one has to be redone. Change only the types that bother you, and leave the rest as they are. Fewer changes mean fewer things to explain to anyone who shares the machine.
Treat the setting as one small choice per type, made once. Once the four common types open correctly, stop. The remaining files are rare enough to open once and move on, and chasing them costs more minutes than it will ever save. If a new kind of file turns up next year, repeat steps two to four for that single type. The whole job then takes a minute, and nothing you set today needs revisiting. Write the three-line recipe on a sticky note if you share the laptop: type, app, always.
Questions Readers Keep Asking
How long does changing a default take?
About 30 seconds per type once you know the ending of the file. Five types take roughly three minutes, plus 40 seconds for the closing test. The slowest part is working out which types you actually open. Tally a folder first and change only the common ones.
Does changing the default alter or delete my files?
No. The setting only decides which app answers a double-click. Your files stay exactly as they were, and you can reverse the choice at any time. The one exception is saving: if the new app saves the file again, it may write the contents in its own way.
Can I open one file in a different app just once?
Yes, and that’s the point of the “just once” choice. Use it when a single file needs another app, such as a photo you want to edit. The default stays untouched, and the next double-click opens the file in your chosen app again.