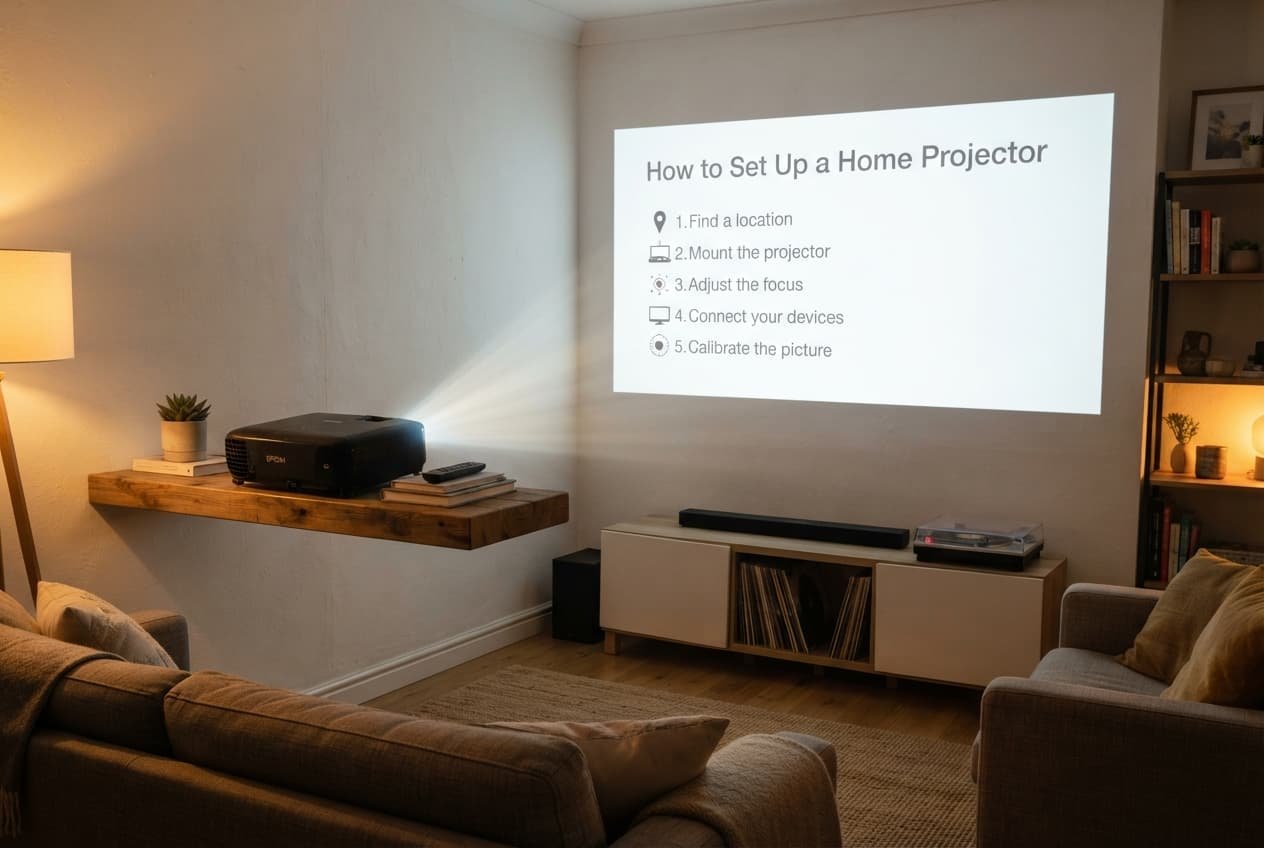
Setting up a home projector so it delivers a genuinely sharp, well-framed picture works best as a sequence of specific steps addressing positioning and calibration in the right order, rather than simply plugging it in and adjusting settings until something looks acceptable. This guide covers the steps in the order that typically prevents the most frustration, building a genuinely good picture into your setup from the start.
Before you start
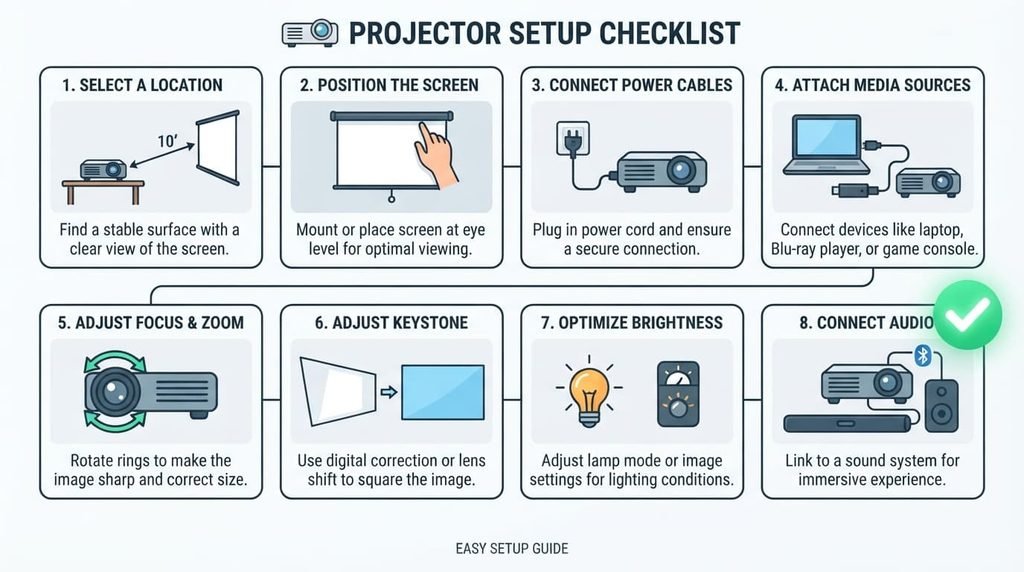
Decide on your intended screen or wall location first, before placing the projector at all, since the projector’s ideal position depends entirely on where the image needs to land rather than the other way around.
Gather your projector’s manual or manufacturer specifications before beginning, particularly the stated recommended distance range for your chosen image size, since this single detail determines where the unit genuinely needs to sit.
Step one: choose and prepare your projection surface
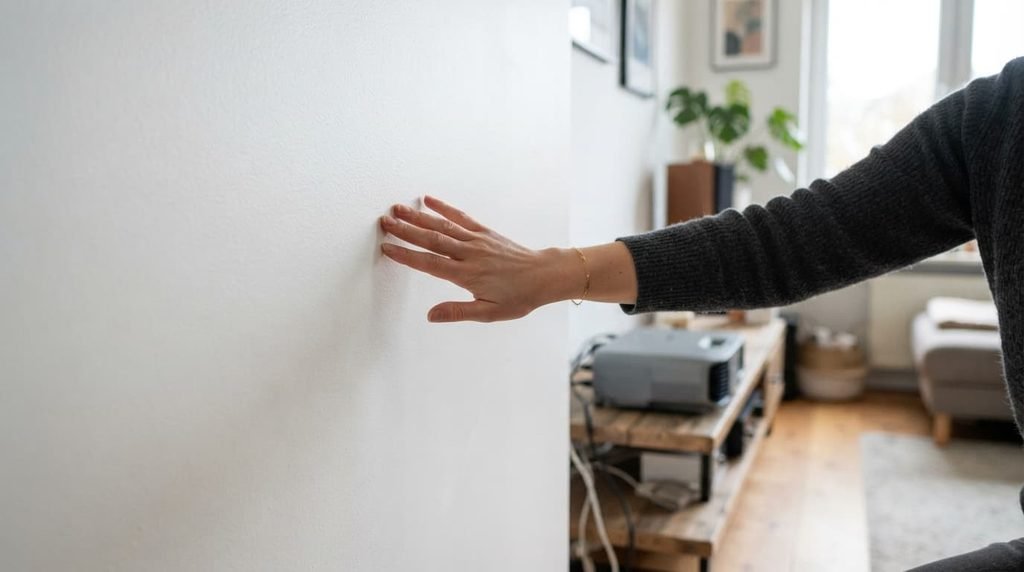
Select a genuinely smooth, evenly coloured surface specifically, whether a dedicated screen or a clean wall, since surface texture and colour directly affect picture quality independently of anything the projector itself does.
Ensure the surface is genuinely flat and free of wrinkles, bumps, or distracting patterns, since even subtle surface irregularities become visibly apparent when light is projected across them at scale.
Step two: position the projector at the correct distance
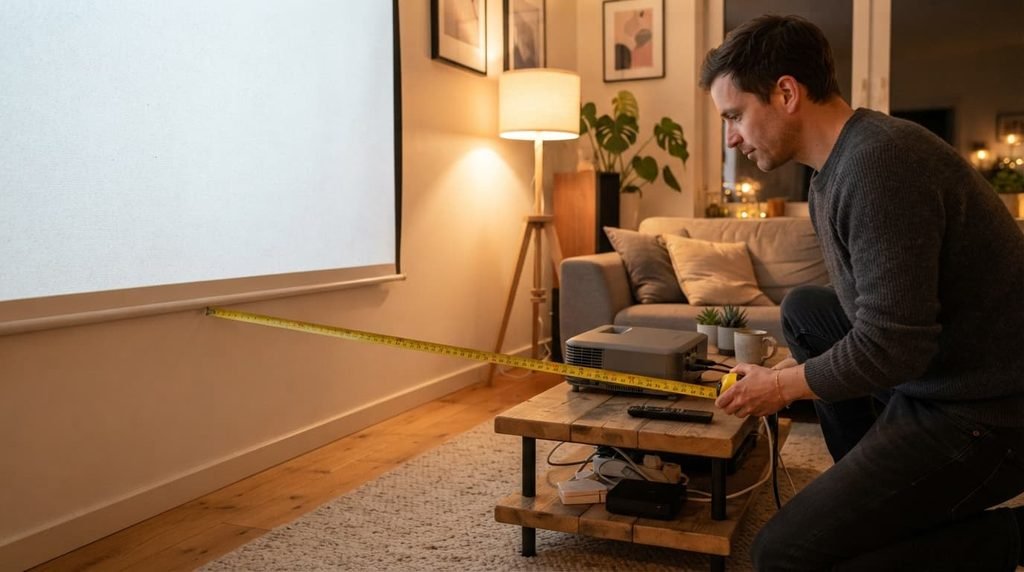
Measure the genuine distance needed for your desired image size using your projector’s stated specifications, then place the unit at that distance, rather than guessing and adjusting repeatedly, since correct initial positioning prevents most subsequent adjustment frustration.
Position the projector as level and perpendicular to the screen as practical, since a projector aimed straight at its surface needs far less digital correction than one angled significantly up, down, or sideways.
Step three: align and frame the image
Adjust the projector’s physical height and tilt to centre the image on your surface, using the unit’s own adjustable feet or a stable mount, before relying on any digital correction features.
Use the projector’s zoom function to fit the image to your screen’s exact boundaries specifically, rather than moving the projector forward or backward after already establishing correct distance.
Step four: focus and fine-tune the picture
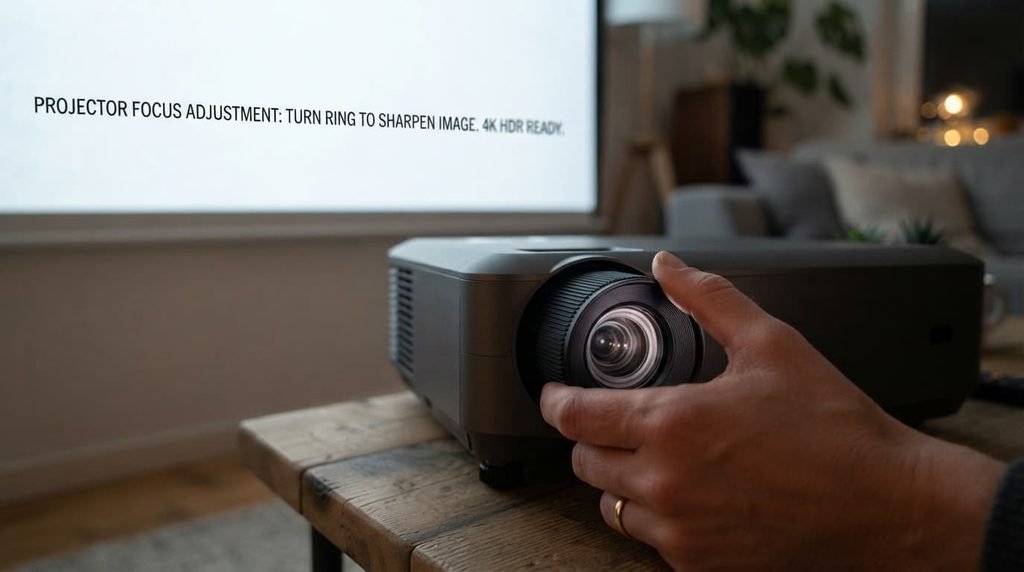
Display a genuinely detailed test image or text specifically, rather than a typical video scene, since fine detail makes focus accuracy far easier to judge accurately.
Adjust the focus control slowly until text edges appear genuinely crisp across the image, checking both centre and corners to confirm consistent sharpness throughout.
Step five: calibrate for your actual room conditions
Adjust brightness and contrast settings specifically for your room’s actual lighting conditions, since the ideal calibration differs meaningfully between a fully darkened room and one with some ambient light present.
Test your calibrated picture with several different types of content specifically – bright scenes, dark scenes, text-heavy material – to confirm your settings perform well across varied material rather than only one example.
Step six: secure your setup for consistency
Fix your projector’s position as permanently as practical, whether through a dedicated mount or a marked placement on a stable surface, since a consistent position preserves your carefully established calibration over time.
Mark or note your projector’s placement specifically if it must be moved occasionally, so you can return it to the exact same position without repeating the entire setup process each time.
Step seven: manage cables and connections cleanly
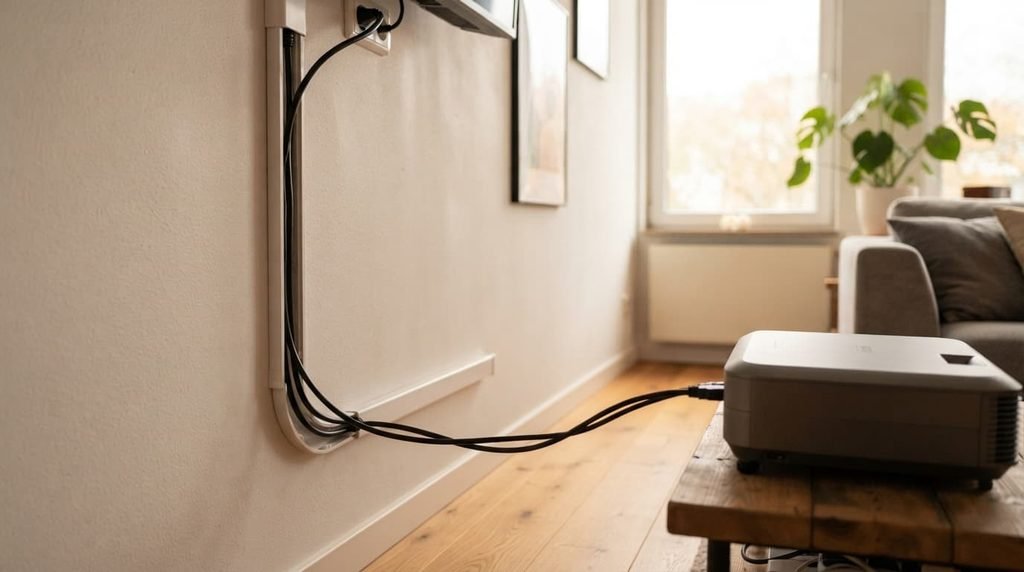
Plan your cable routing specifically before finalising your projector’s position, since power and video cables running across walkways create both a visual distraction and a genuine tripping hazard that thoughtful routing avoids entirely.
Use cable management solutions specifically designed for this purpose – clips, channels, covers – to keep connections secure and out of sight, since loose cables can also gradually work free over time, interrupting your picture unexpectedly.
Step eight: plan for audio separately
Consider your audio setup as a genuinely separate decision from your projector itself, since most projectors include only modest built-in speakers that rarely match the picture quality a well-calibrated setup provides.
Position any external speakers specifically to complement your seating arrangement rather than your projector’s location, since ideal audio placement depends on where viewers actually sit rather than where the projector happens to be positioned.
Making the one-time setup effort genuinely worthwhile
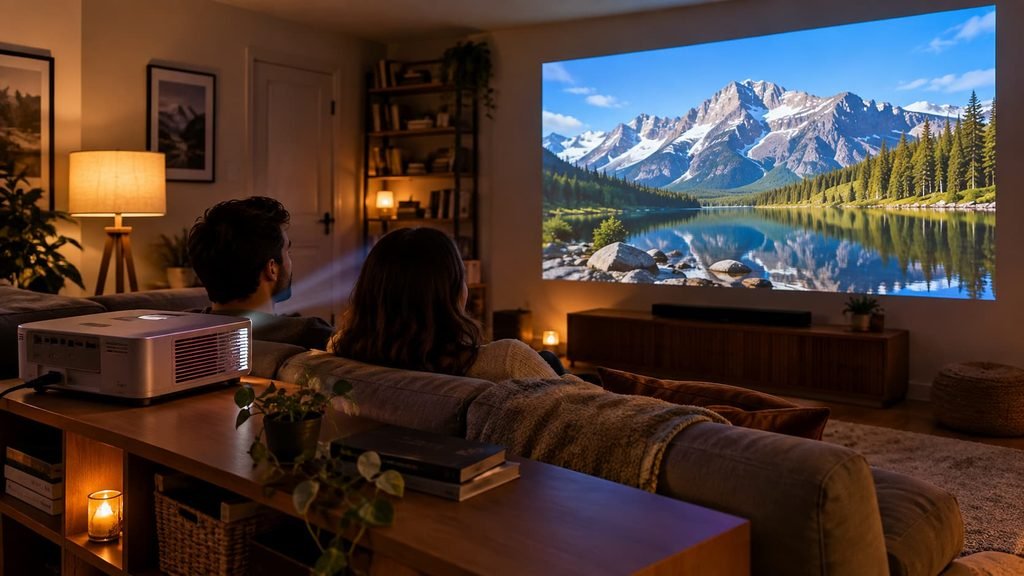
The positioning and calibration work covered in steps two through five represents genuinely the most valuable investment in this entire sequence, since it determines the foundation every subsequent viewing session depends on. Nearly every other step in this guide supports that core foundation, but only genuine care during initial positioning and calibration actually produces the sharp picture that makes the whole setup worthwhile.
Treating this as a one-time investment rather than something to revisit constantly makes the effort feel considerably more reasonable, since a well-established setup, once completed properly, requires relatively little ongoing attention beyond occasional recalibration when conditions meaningfully change.
What isn’t worth doing
Skipping the surface preparation and distance measurement steps specifically because the image looks acceptable initially, isn’t worth the compromise this shortcut creates.
An acceptable-looking picture achieved through heavy digital correction rather than correct physical positioning typically produces a genuinely softer, less sharp result than a properly positioned setup would, even if the difference isn’t immediately obvious without a direct comparison.
If you’ve only completed some of these steps
If you’ve established correct distance and alignment but haven’t yet calibrated for your room’s lighting, this is genuinely solid progress worth continuing from, rather than needing every step completed simultaneously before your picture becomes meaningfully better.
What people get wrong when setting up a projector
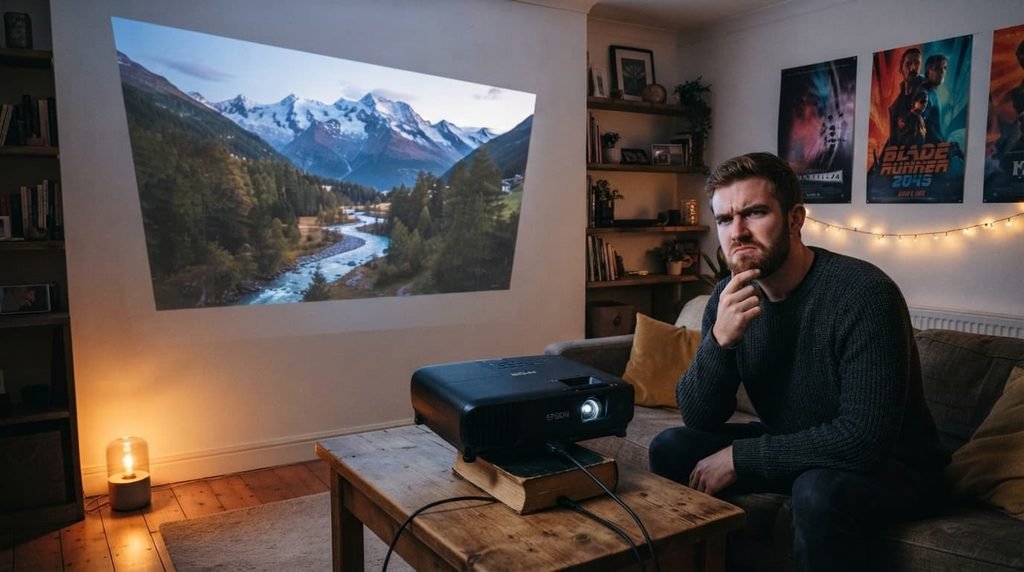
The most common mistake is relying heavily on digital correction features to compensate for incorrect physical positioning, rather than first establishing genuinely correct distance and alignment. Digital correction can mask positioning issues, but typically at some cost to overall picture sharpness compared to a properly positioned setup requiring minimal correction.
A second common mistake is skipping the step of choosing and preparing the projection surface, assuming any available wall or surface will perform adequately. Surface quality affects picture quality independently of the projector, making this a worthwhile consideration before investing time in other setup steps.
Questions readers keep asking
Which single step makes the biggest difference for overall picture quality?
Correct physical positioning at the right distance and angle specifically tends to make the biggest difference, since this foundation determines how much digital correction is needed afterward, and less correction generally means a sharper final picture.
Is it worth investing in a dedicated projection screen rather than using a wall?
For many setups, yes – a dedicated screen provides a genuinely smooth, consistent surface designed specifically for projection, though a clean, smooth, light-coloured wall can serve adequately for more casual use.
Is it worth using a ceiling mount rather than placing the projector on furniture?
For setups where the room layout allows it, a ceiling mount can provide a genuinely stable, permanent, out-of-the-way position that preserves calibration reliably, though it requires more installation effort and commitment than simply placing the unit on a stable shelf or table.
Should I recalibrate if I move to watching different types of content regularly, such as moving from films to gaming?
Yes, potentially – different content types can benefit from slightly different calibration settings, and many projectors include selectable picture modes specifically designed for varied content, making these worth exploring if your viewing habits shift meaningfully.
How often should I recalibrate my projector’s picture settings?
Recalibrating whenever your room’s lighting conditions meaningfully change, or after any physical repositioning of the unit, helps maintain consistent picture quality without requiring constant attention.