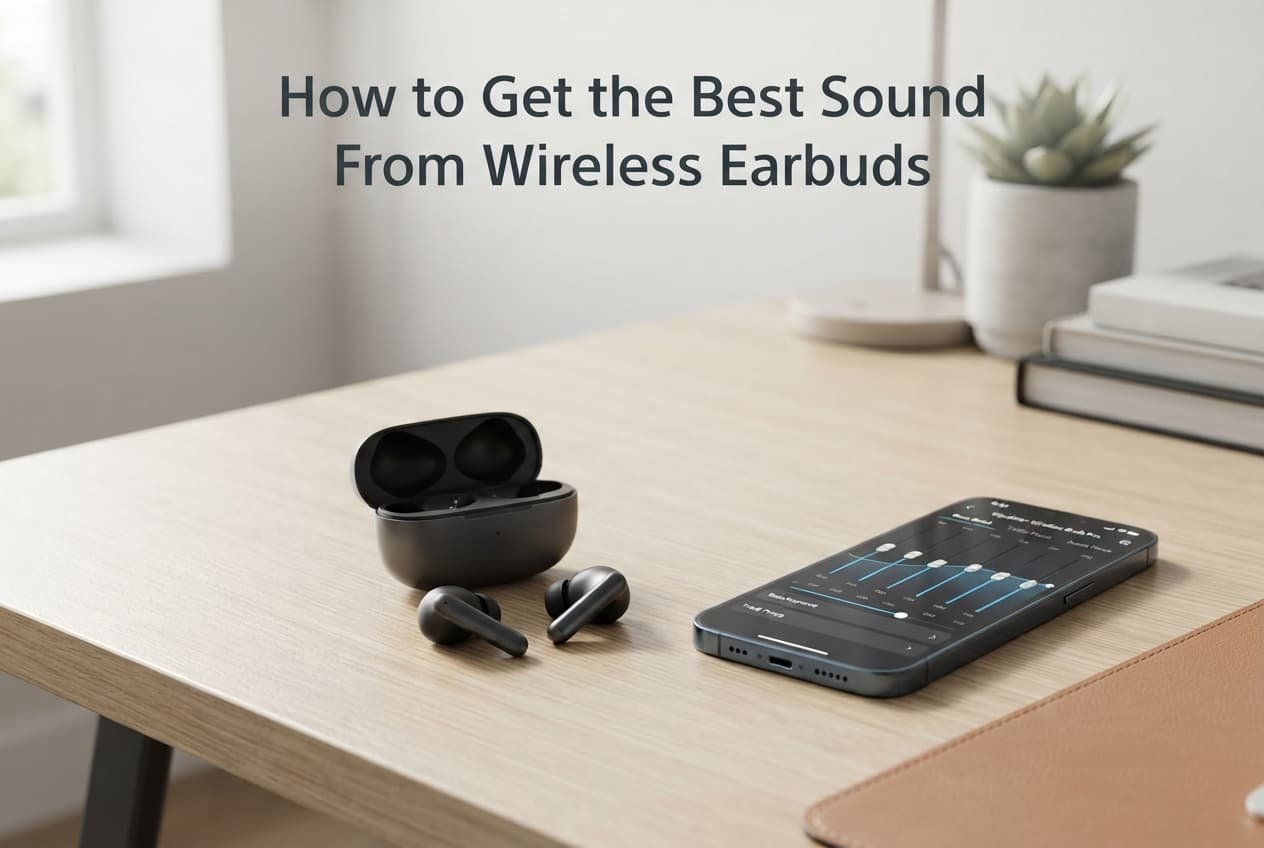
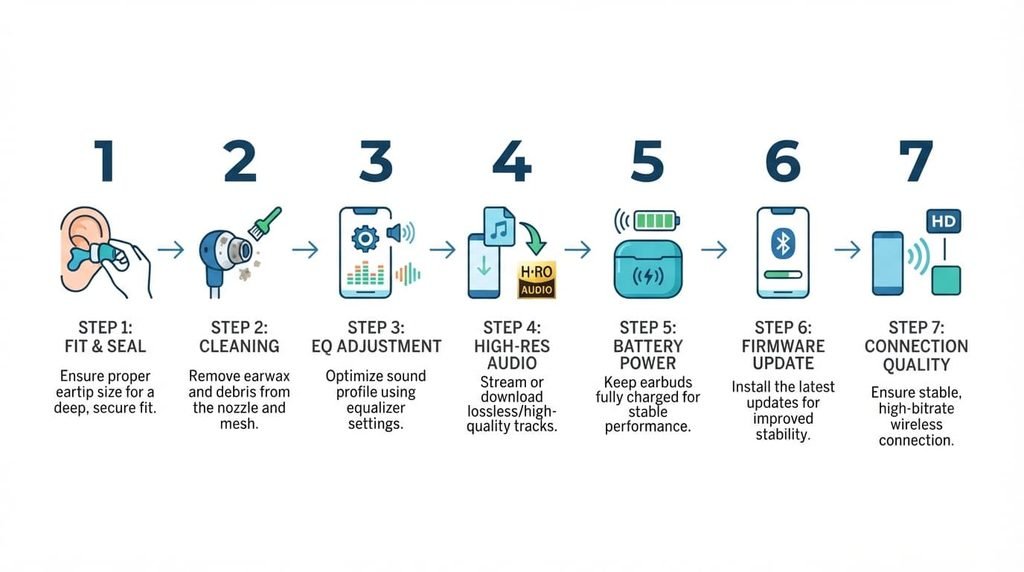
Getting genuinely better sound from wireless earbuds works best as a sequence of specific checks addressing the most common limiting factors first, rather than assuming your earbuds’ sound quality is simply fixed at whatever you first experienced. This guide covers the steps in the order that typically delivers the most improvement for the least effort.
Before you start
Clean your earbuds’ actual sound outlets and any ear tips specifically, since accumulated wax or debris genuinely muffles sound in a way that’s easy to overlook until you compare cleaned earbuds directly against their current state.
Note how your earbuds currently sound during a genuinely familiar track before making any other changes, so you have a real baseline to compare against as you work through the following steps.
Step one: check your ear tip fit specifically
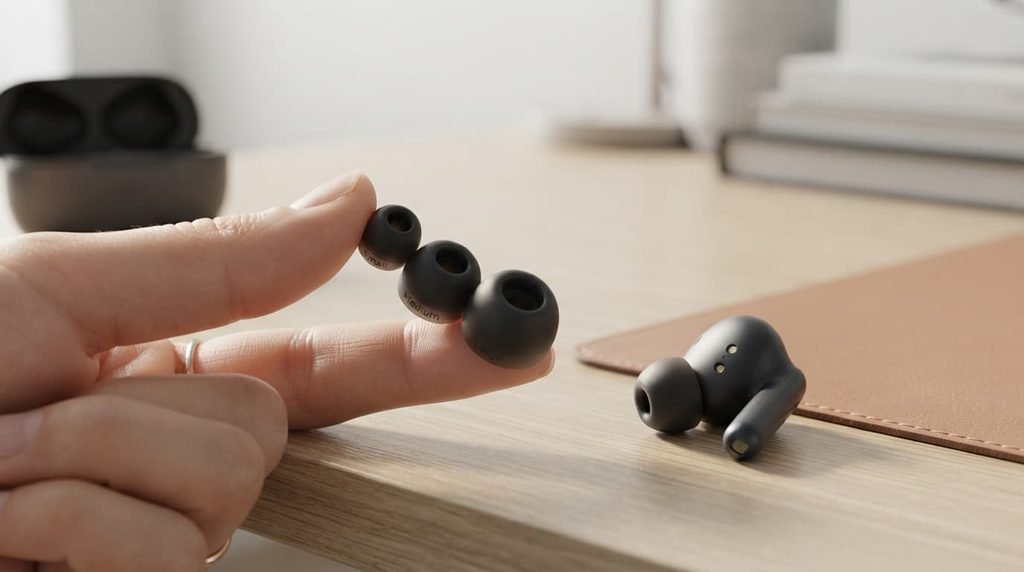
Try each available ear tip size your earbuds came with, rather than assuming the default size is automatically correct for your own ears, since an improperly sized tip creates a poor seal that genuinely affects both sound quality and any active noise cancellation your earbuds offer.
Confirm a genuine seal by checking whether ambient sound noticeably reduces once inserted, even without any audio playing, since this indicates the physical seal itself is working correctly, which is foundational to how your earbuds actually deliver sound to your ear.
Step two: review your device’s actual audio settings
Check your connected device’s specific equaliser or sound settings, since many devices include adjustable settings that can meaningfully shape how your earbuds actually sound, and these are easy to overlook if you’ve never specifically explored them.
Disable any audio enhancement or processing features one at a time to identify whether they’re genuinely improving or actually degrading your specific earbuds’ sound, since these features aren’t universally beneficial across every device and earbud combination.
Step three: check your earbuds’ own companion app if available
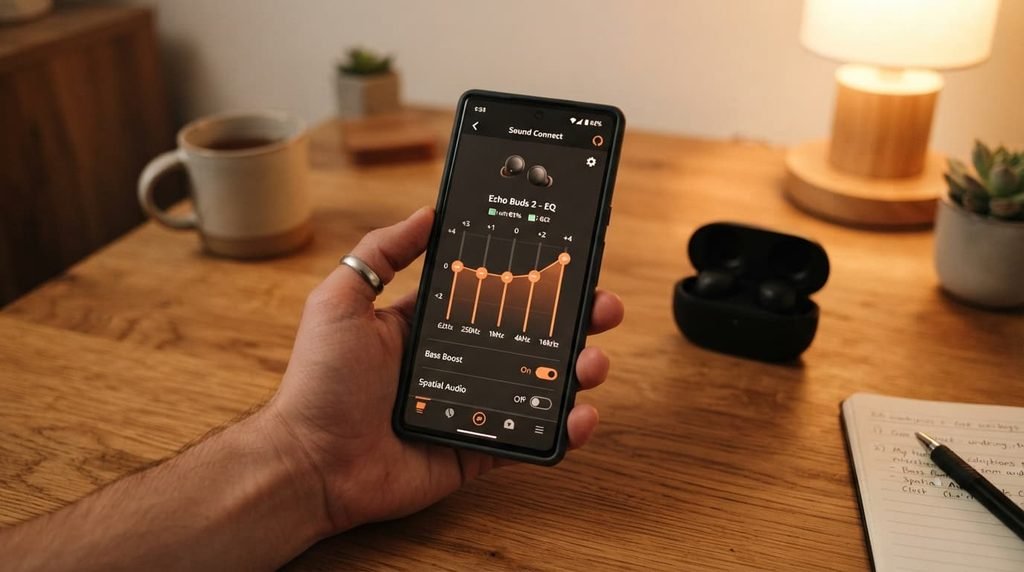
Look specifically for a dedicated app associated with your earbuds, since many offer their own sound customisation options – equaliser presets, personalised sound profiles – that aren’t accessible through your connected device’s general settings alone.
Try any available personalised sound test your earbuds’ app offers, if included, since this feature specifically calibrates audio output based on your own individual hearing characteristics, which can produce a noticeably different result than a generic default sound profile.
Step four: consider your actual audio source quality
Check the quality setting of whatever service you’re actually streaming audio from, since a lower-quality streaming setting genuinely limits how good your earbuds can sound regardless of the earbuds’ own capability, meaning excellent earbuds paired with a low-quality source still produce a limited result.
Try comparing the same track at different available quality settings if your specific service offers this option, since the actual audible difference varies by individual and by earbud quality, making this worth confirming directly for your own specific situation.
Step five: reassess and decide on next steps
Compare current sound quality against your initial baseline from before you started, using that same familiar track, to genuinely confirm whether the steps above have made a meaningful, noticeable difference.
If sound quality has genuinely improved to a satisfying level, you’re likely done for now – if it remains notably disappointing despite completing every step above, this points toward either a genuine hardware limitation your specific earbuds have, or ear tip fit that still isn’t quite right despite trying available sizes.
Step six: check your earbuds’ physical placement and angle
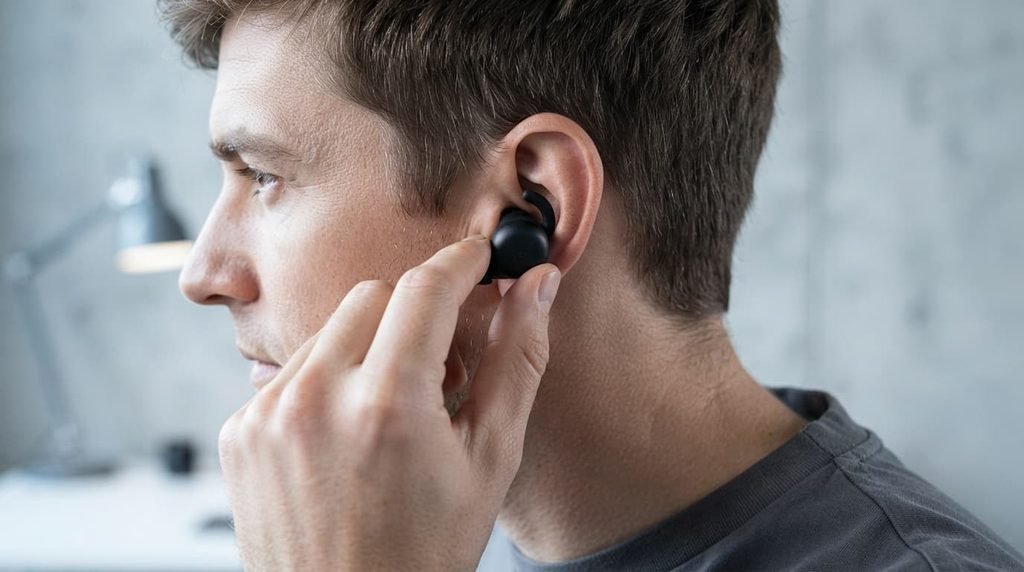
Adjust the angle at which you insert each earbud slightly, rather than assuming there’s only one correct insertion angle, since even small differences in how an earbud sits within your ear can genuinely affect how directly sound reaches your eardrum and how secure the resulting seal actually is.
Try each earbud individually rather than only listening with both simultaneously during this specific check, since isolating one ear at a time makes it considerably easier to notice if one specific earbud’s fit or sound differs meaningfully from the other.
Step seven: consider your listening environment itself
Notice whether your listening environment itself is genuinely quiet enough to fairly judge sound quality, since background noise can mask subtle audio details regardless of how well your earbuds themselves are actually performing.
Try listening in a genuinely quieter setting specifically when evaluating sound quality changes, rather than in an environment with significant background noise, since this makes it considerably easier to accurately notice whether previous steps have actually made a meaningful difference.
What isn’t worth doing
Assuming more expensive earbuds automatically sound noticeably better without first working through the sequence above, isn’t worth the expense this assumption leads to.
Many common causes of disappointing sound – poor ear tip fit, unexplored equaliser settings, lower-quality streaming – affect earbuds across a wide range of price points, meaning a more expensive purchase often doesn’t resolve an issue that was never actually about the earbuds’ fundamental hardware capability in the first place.
If you’ve only completed some of these steps
If you’ve checked your ear tip fit and device settings but haven’t yet explored your earbuds’ own companion app, this is genuinely useful progress worth continuing from, rather than needing to complete every step simultaneously before noticing meaningful improvement.
Making ear tip fit genuinely intuitive
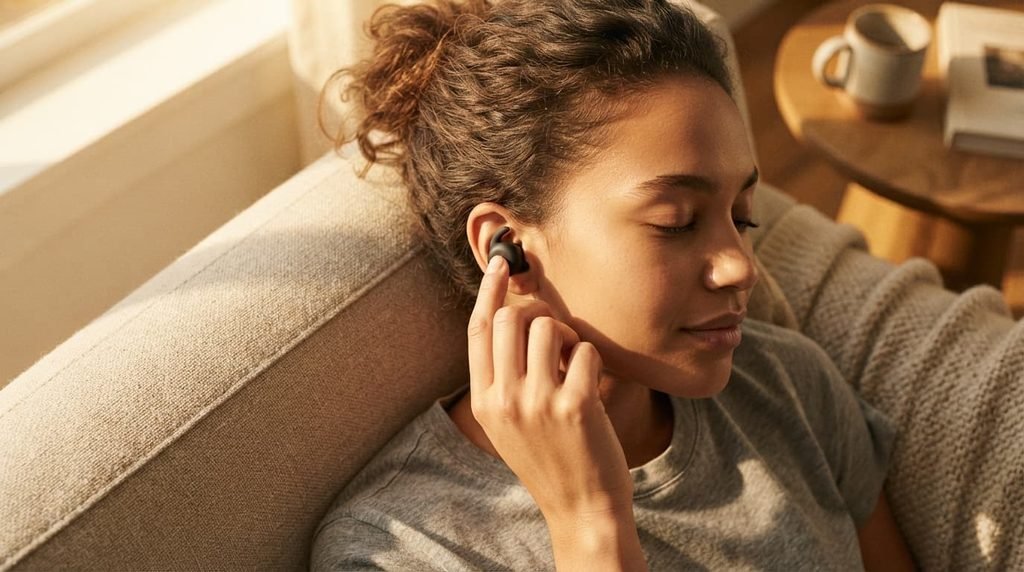
Ear tip fit, covered in step one, is genuinely the check worth internalising most deeply, since nearly every other step in this sequence works better once the physical seal is already genuinely correct, while even excellent equaliser settings and high-quality audio sources can’t fully compensate for a poor seal letting sound escape before it properly reaches your ear. Spending the extra few minutes trying each available size, before assuming any other factor is limiting your sound quality, tends to pay off more than any other single step in this entire sequence.
This is worth revisiting periodically too, not just during initial setup, since ear tip material can change slightly with wear over time, and what fit well initially may benefit from reassessment after extended use.
Questions readers keep asking
Which single step typically makes the biggest difference for sound quality?
Ear tip fit specifically tends to produce the most noticeable improvement for the effort involved, since an improper seal genuinely affects both bass response and overall clarity in a way that’s foundational to how your earbuds actually deliver sound.
Do equaliser adjustments genuinely make a meaningful difference, or is this mostly placebo?
Genuine equaliser adjustments do produce measurable, real changes to frequency balance, so the improvement isn’t placebo, though personal preference plays a real role in which specific adjustment actually sounds better to your own individual ears.
Is it worth trying foam ear tips instead of the standard silicone ones that came with my earbuds?
For some people, genuinely yes – foam tips can provide a more consistent, custom-conforming seal than standard silicone options, particularly for ears that don’t fit the standard sizing well, though they typically need periodic replacement more often than silicone tips do.
How often should I check for updates to my earbuds’ companion app or firmware?
Checking periodically, particularly if you notice any change in sound quality or behaviour, is a reasonable habit, since manufacturers occasionally release updates that specifically improve audio processing or add new sound customisation options.