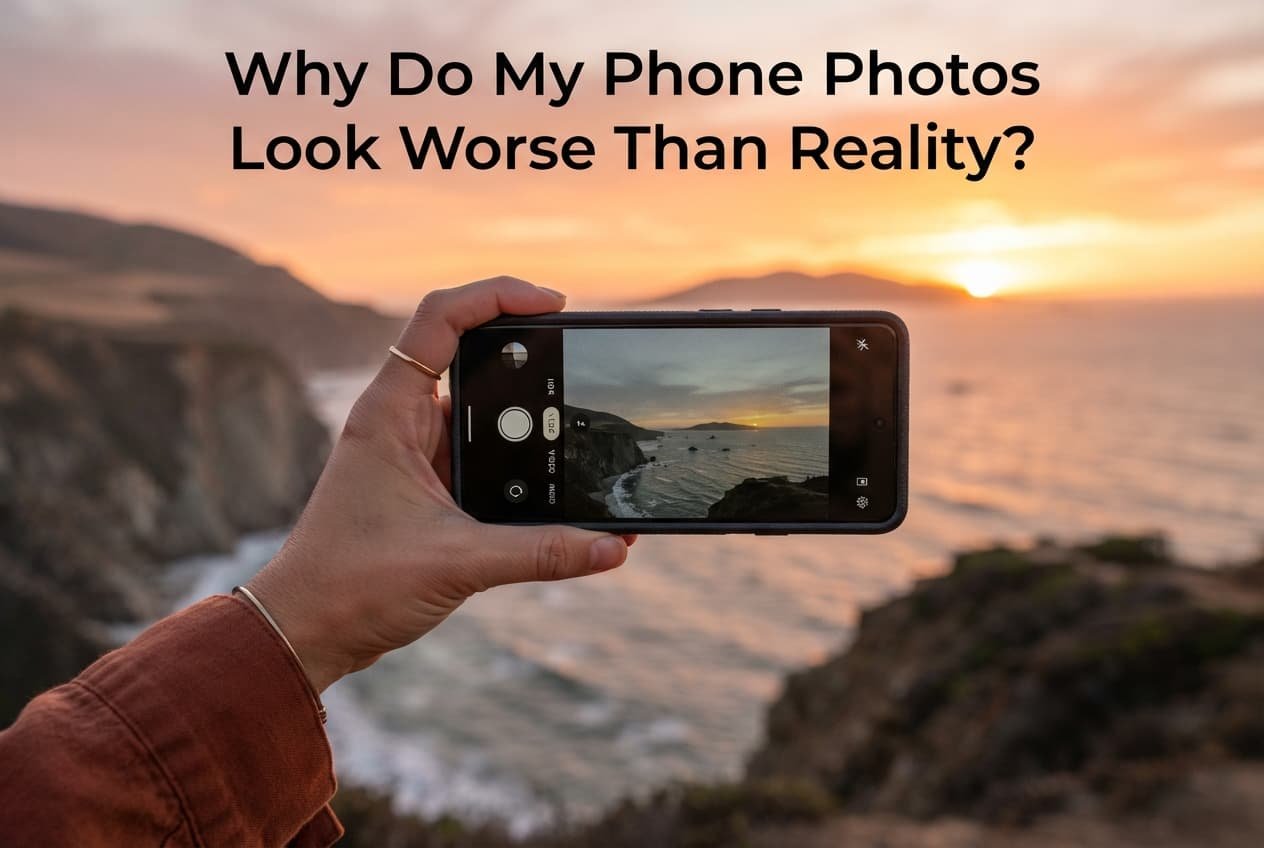
A phone photo looking noticeably worse than what you actually saw with your own eyes usually isn’t a sign of a genuinely broken camera – it’s typically one of a small number of specific, checkable causes, each requiring a genuinely different fix. Understanding which category applies to your specific situation determines whether the fix takes seconds or requires a change in how you’re actually taking the photo.
What is actually happening
Your eyes and a phone camera process light and detail in genuinely different ways, meaning a scene that looks balanced and detailed to your own perception can translate into a photo with blown-out highlights, lost shadow detail, or an unwanted colour cast, simply because a camera sensor has different limitations than human vision does.
This matters because “my photos look worse than reality” often gets treated as a single problem requiring a single universal fix, when the actual cause is frequently one of several genuinely distinct technical factors, meaning addressing only one – cleaning the lens, for instance – may not fully resolve a problem actually caused by lighting conditions or camera settings instead.
Confirm which pattern you have
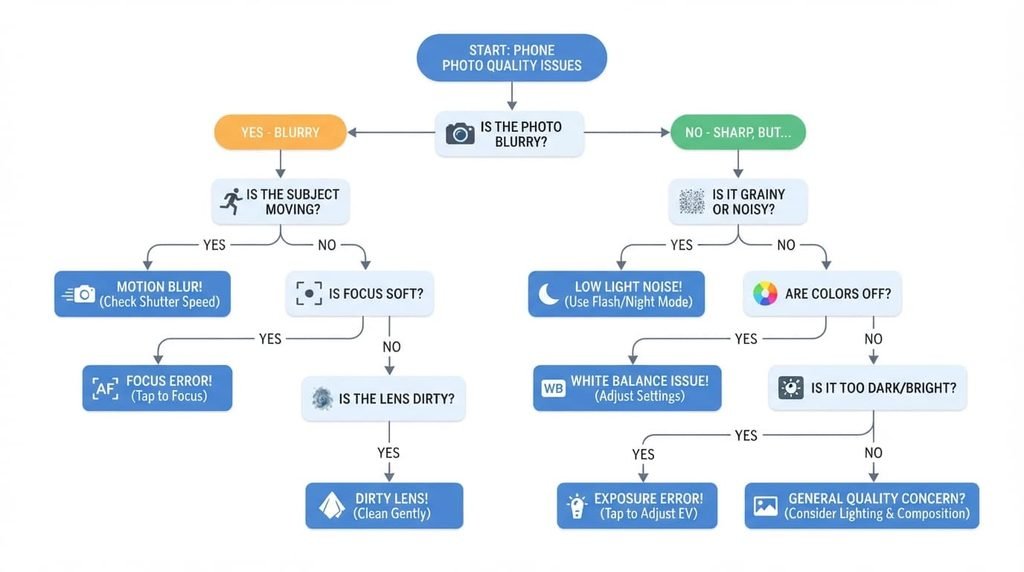
Check specifically whether the problem is consistent across every photo you take, or whether it’s specific to certain lighting conditions – backlit scenes, low light, mixed indoor lighting – since this distinguishes a genuine hardware or settings issue from a scene-specific technical limitation most phone cameras share to some degree.
Check whether the issue is primarily about blur and sharpness, or primarily about colour and brightness accuracy, since these point toward genuinely different underlying causes requiring different specific fixes.
The causes, diagnosed
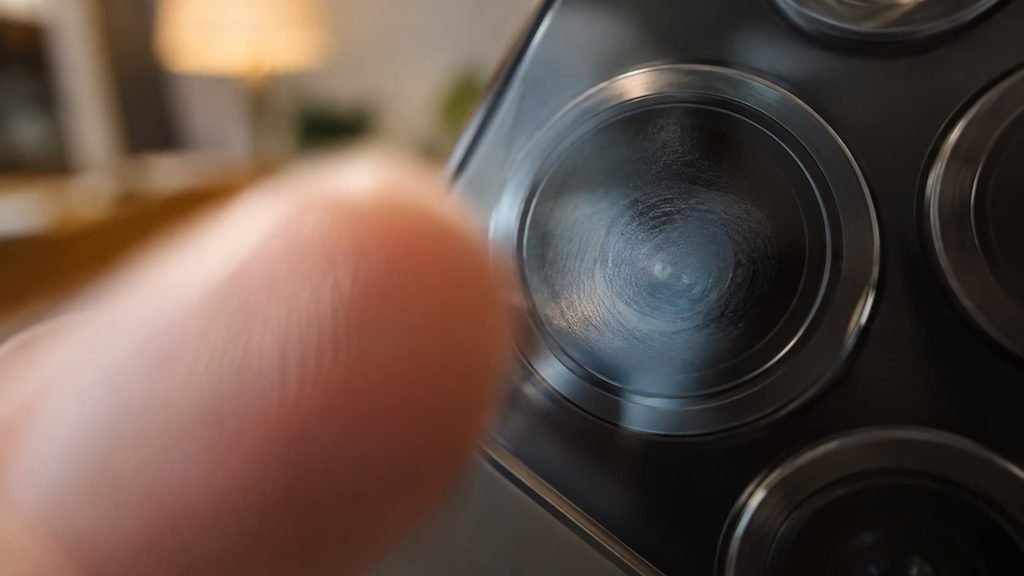
“My photos consistently come out slightly blurry, even for stationary subjects.” This points to either a smudged lens or camera shake during the actual capture moment, since even a slight movement during the brief exposure time can introduce blur that isn’t obvious to your own eye at the moment of taking the photo. The fix: clean your lens with a genuinely soft, lint-free cloth, and try bracing your phone more stably or using a timer to avoid the slight movement that pressing the shutter button itself can introduce.
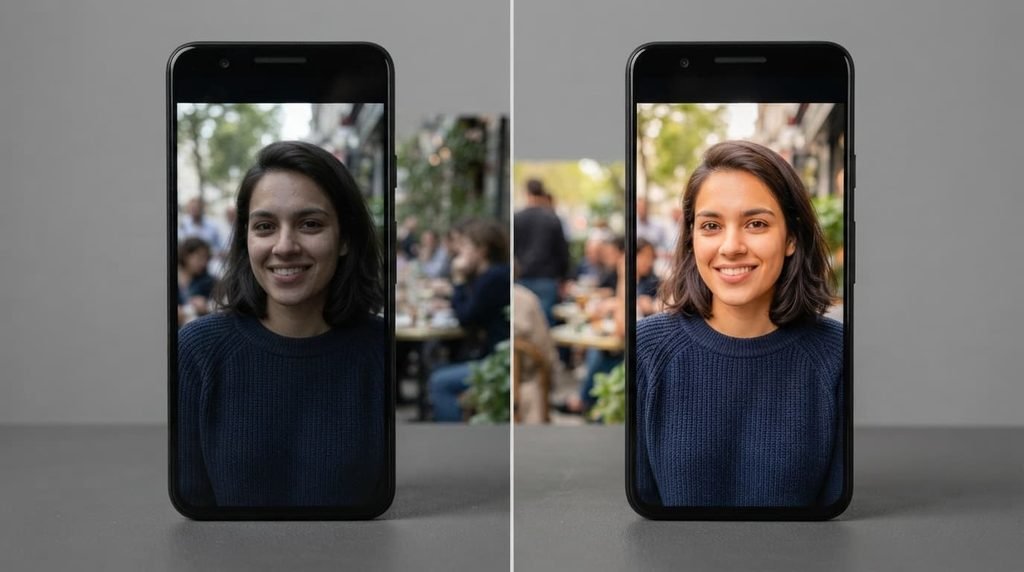
“Photos taken in mixed lighting – a bright window alongside dim indoor light, for instance – look unbalanced or have an odd colour cast.” This points to your camera struggling to determine a single accurate white balance and exposure setting for a scene containing genuinely different lighting conditions simultaneously, a challenge human vision handles more seamlessly than most camera sensors currently can. The fix: try adjusting your camera’s exposure or white balance manually for the specific dominant light source you actually want to prioritise in that particular shot.
“Photos of a bright scene – a sunny outdoor moment, for instance – lose detail in the brightest areas specifically.” This points to your camera sensor’s more limited dynamic range compared to human vision, meaning it genuinely struggles to capture detail across both very bright and very dark areas of the same scene simultaneously the way your eyes naturally can. The fix: use your camera’s HDR mode if available, which specifically combines multiple exposures to better capture this range, or adjust your framing to reduce the brightness contrast within a single shot.
“Photos taken indoors under artificial lighting specifically have a noticeable yellow or greenish colour cast.” This points to your camera’s automatic white balance struggling to correctly interpret a specific artificial light source’s colour temperature, since different indoor bulbs vary considerably in their actual colour characteristics in ways your brain automatically corrects for but a camera sensor doesn’t always interpret as accurately. The fix: manually set your camera’s white balance to match the specific lighting type you’re shooting under, rather than relying entirely on automatic white balance for consistently challenging indoor lighting conditions.
What people get wrong about phone camera quality
The most common misconception is assuming a higher megapixel count directly translates to noticeably better everyday photo quality, when the actual factors covered above – lighting conditions, camera shake, lens cleanliness – affect typical daily photos considerably more than raw resolution does for most common shooting situations. A phone with a higher megapixel count doesn’t inherently solve the specific technical challenges causing most everyday photo disappointment.
A second common misconception is assuming professional or influencer photos taken on a phone represent typical, unedited camera output. Many polished phone photos you see have been edited afterward, sometimes considerably, meaning comparing your own unedited photos directly against these specific examples sets an unrealistic baseline for what a phone camera alone, without editing, is actually expected to produce.
What isn’t worth doing
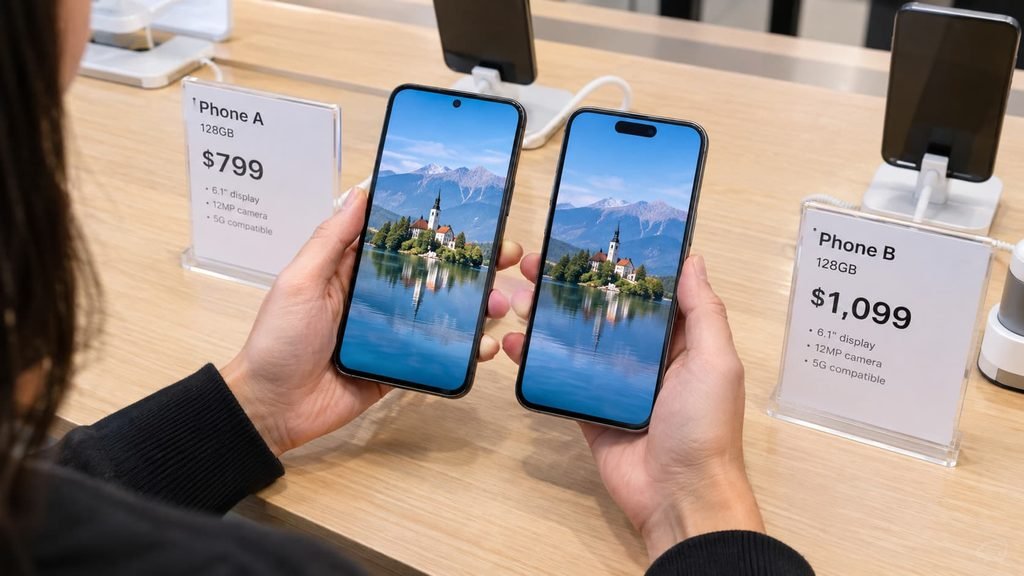
Assuming a phone photo’s shortcomings mean you need an entirely new phone with a “better camera,” without first identifying which specific cause above actually applies to your situation, isn’t worth the expense this assumption leads to.
Many common causes of disappointing phone photos – a smudged lens, camera shake, challenging lighting conditions – affect phones across a wide range of price points and camera specifications, meaning a new phone purchase often doesn’t resolve an issue that was never actually about the camera hardware’s fundamental capability in the first place.
When this points to something more serious
If your photos have genuinely gotten noticeably worse recently, compared to photos the same phone took previously in similar conditions, this points toward a potential hardware issue or a software problem specifically, rather than the ordinary technical limitations covered above that have likely always applied to some degree.
This matters because a genuine recent decline, as distinct from photos that have always had these characteristics, suggests something specific changed with your device itself, which is worth investigating directly rather than continuing to work around it as though it were simply an inherent camera limitation.
Questions readers keep asking
Does cleaning my phone’s lens really make a noticeable difference?
Yes, often surprisingly so – a lens smudged with even a small amount of natural skin oil from regular handling can noticeably soften photos in a way that’s easy to overlook until you actually compare a cleaned lens’s results directly against the smudged version.
Why do my photos look fine on my phone screen but worse once viewed on a different, larger screen?
Screen size and calibration differences between devices can make the same photo appear meaningfully different, so a photo that looks acceptable on your phone’s smaller screen may reveal more visible softness or colour issues once viewed larger, which doesn’t necessarily mean the photo itself changed.
Does the case or screen protector on my phone ever affect photo quality?
In rare cases, yes – a case that partially obstructs the lens edge, or a screen protector with residue that’s transferred onto the lens area during handling, can introduce subtle quality issues that are easy to overlook since the obstruction itself often isn’t obviously visible during normal use.
Is it worth using a third-party camera app instead of my phone’s default camera app?
This can genuinely help in some specific cases, particularly if the third-party app offers more manual control over exposure or white balance than your default app provides, though for many common causes covered above, the default app combined with the fixes here resolves the issue without requiring a different app at all.