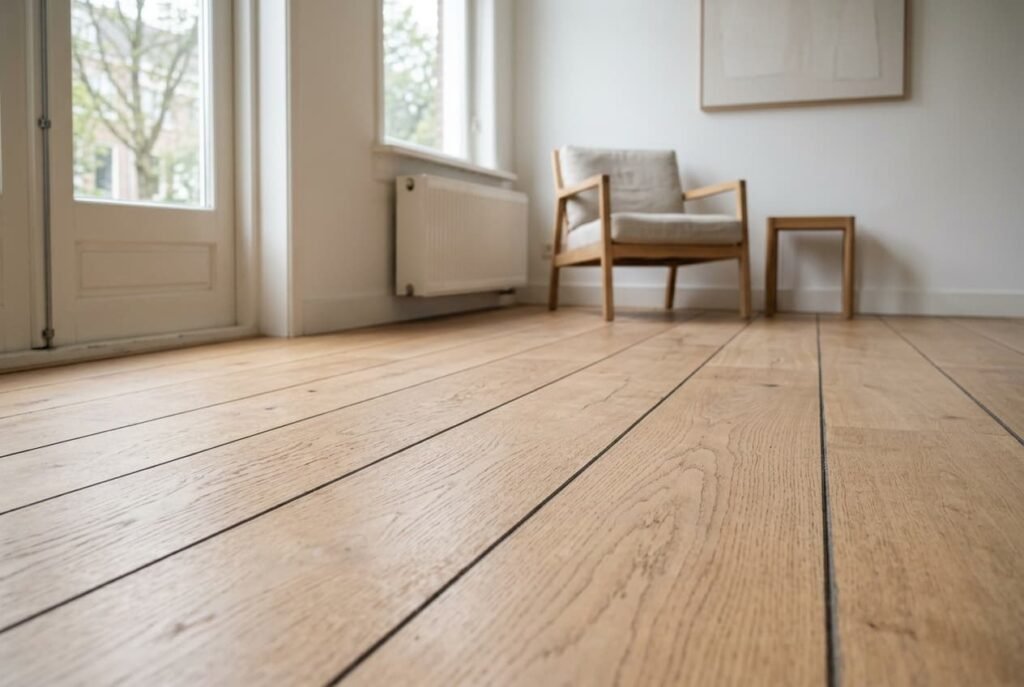
Walk barefoot across the boards in January and you’ll see dark lines that were absent in July, each only a couple of millimetres wide yet running from wall to wall. The gaps between floorboards open up because timber hands moisture to heated air and shrinks across its width. Our case is a first-floor living room of 4.2 × 3.6 m in an Amsterdam flat, laid with 14 cm oak boards over joists. A short test sorts three causes. Four fixes follow, running from free to a fitter’s day. All numbers here describe a single flat. Yours will differ. Check them with a ruler at home.
Why the Gaps Between Floorboards Open Up When the Heating Is On
Timber never reaches a fixed dryness. Every board keeps some water in its cells, and the amount follows the humidity of the room. When the amount drops, the board narrows. Nearly all of that change happens across a board’s width, while its length stays almost the same. The lines therefore follow the joints between boards and never cross a board.
Outdoor winter air holds little water. Take air at 10°C and 80% relative humidity and warm it to 20°C with nothing added. The relative humidity falls to roughly 43%, a rounded sample figure. A room that sat near 60% in July is then living in another climate. Heated air draws water out of each board, and the board answers by narrowing across its full 14 cm. A shrink of 1.4% takes about 2 mm from one board, which shows as a dark line along its edge. Any oak board kept in a heated room does the same.
Laid tight in summer, 30 boards across the 4.2 m wall give 30 such lines, spaced like comb teeth. When the gaps between floorboards open up in this pattern, the timber is working normally, and a humid July closes most of the lines again.
Confirm Which Version of the Gaps You Have
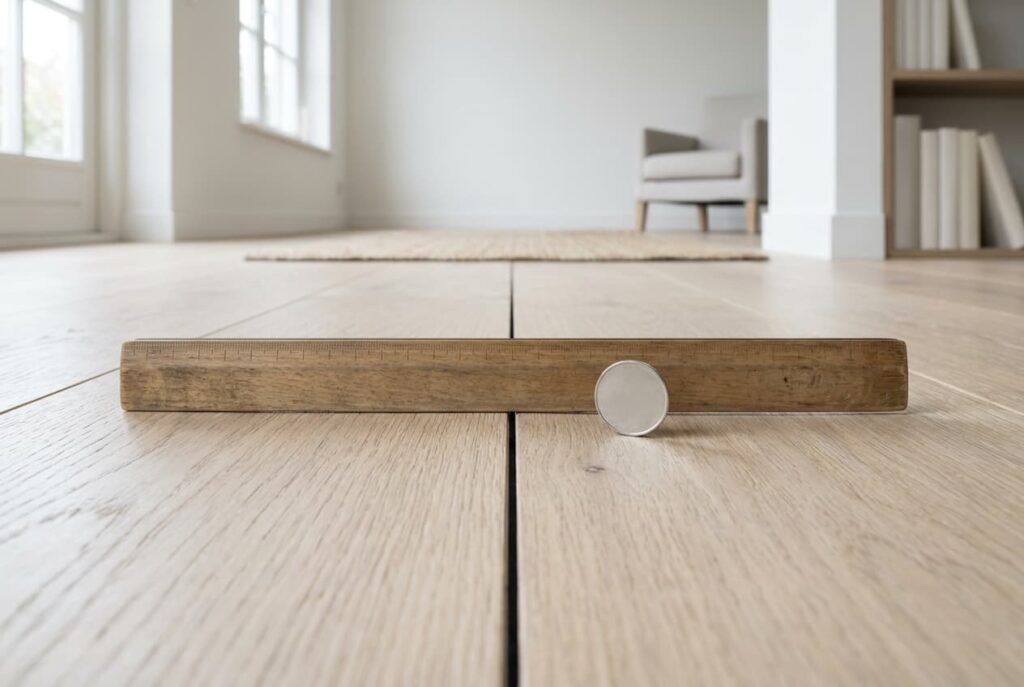
Three different faults leave the same dark lines, and a ruler with a coin tells them apart. A one-euro coin is about 2.3 mm thick, which makes it a convenient gauge. Pick six joints: three within a metre of the heat source and three along the far wall.
Take every reading at the same hour, early in the morning. Matching conditions keep the six numbers comparable.
Write each reading beside its joint on a note.
Joints all near 2 mm, with the coin just refusing to enter, mean the ordinary winter shrink. Joints of 4 to 5 mm in the strip next to the radiator, with the far wall still at 2 mm, mean local drying. A single wide joint where the board bounces or creaks underfoot means loose nails. Slide a thin card along each joint too. If it returns grey with grit, dust is packing the gap, and a packed gap can’t close in summer. When the gaps between floorboards open up in only one patch, that patch shows which cause you’re dealing with.
Four Fixes for Floorboards Where Gaps Open Up Between Them
Vacuuming the grit out of every joint in October comes first because a gap packed with dust has nowhere to go when the boards swell in summer. The floor then ends each year a little wider. Run a crevice nozzle down all 30 joints, then pull a card through any that still look grey. Do it with the heating on, when the boards are at their narrowest and the joints give the nozzle most room. Fifteen minutes is enough and the cost is nothing. It stops permanent widening, though a gap that has already seized stays as it is.
Turning the thermostat down by 2°C works through the humidity itself, because air at 18°C holds less water at saturation than air at 20°C and therefore reads wetter. Using the earlier figures, the room moves from about 43% to roughly 49%. In this sample that trims a 2 mm line by about 0.6 mm, a difference visible only with a ruler. A hygrometer, if you own one, confirms the new reading. It costs nothing. Where it falls short: it softens the gaps without closing any, and the room feels cooler for it.
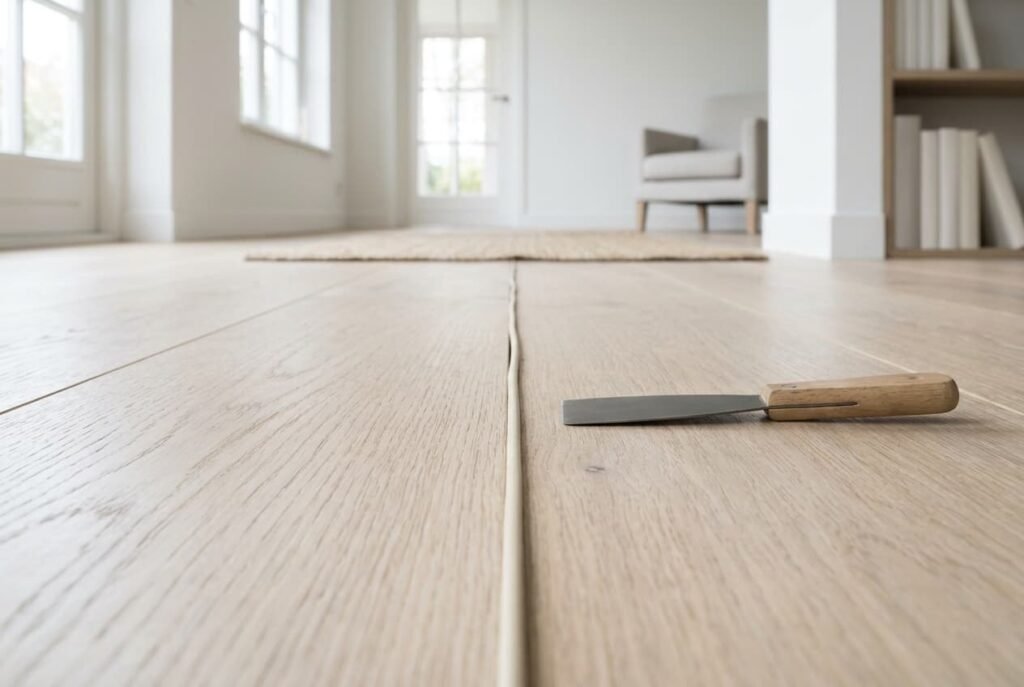
Pressing a flexible filler cord into the widest joints suits the 4 to 5 mm lines beside the radiator, because a soft cord squeezes when the boards swell and springs back when they narrow. It follows the movement instead of resisting it. A reel and a blunt filling knife make a modest purchase. Cut each length a few centimetres long and tuck the ends under the skirting board. Joints under 3 mm are best left empty, since the cord would show as a pale stripe, and a cord forced in too hard may push the edges apart in July.
Booking a floor fitter to lift one section and pull it together with a cramp is the dearest route, because the cramp closes the accumulated gaps by force and each board is then fixed to the joists again. Expect a day of labour for a section of this size. It earns its fee when ten or more joints measure over 4 mm, and it’s too much for a handful of thin lines. Lines can return next winter if the air stays as dry, and the fitter has to leave a 1 cm margin along the wall.

How This Room’s Fixed Features Change the Fixes
Nobody renting can move the radiator, and it stands beneath the window, along the longer wall. Seven boards lie within 1 m of it. If each joint measures 4 mm where the far wall measures 2 mm, that strip opens 14 mm wider in total, which is why the worst lines gather along one wall.
This limits the thermostat fix. Turning the room down 2°C helps every board a little, yet it can’t undo the extra drying beside a heat source you aren’t allowed to move.
The joists and the margin behind the skirting board belong to the building and stay as they are.
Here the cord suits the radiator strip, and the October clean suits every other joint. Where the gaps between floorboards open up beside the heat, the cord is the fix that fits.
The Fix That Doesn’t Work
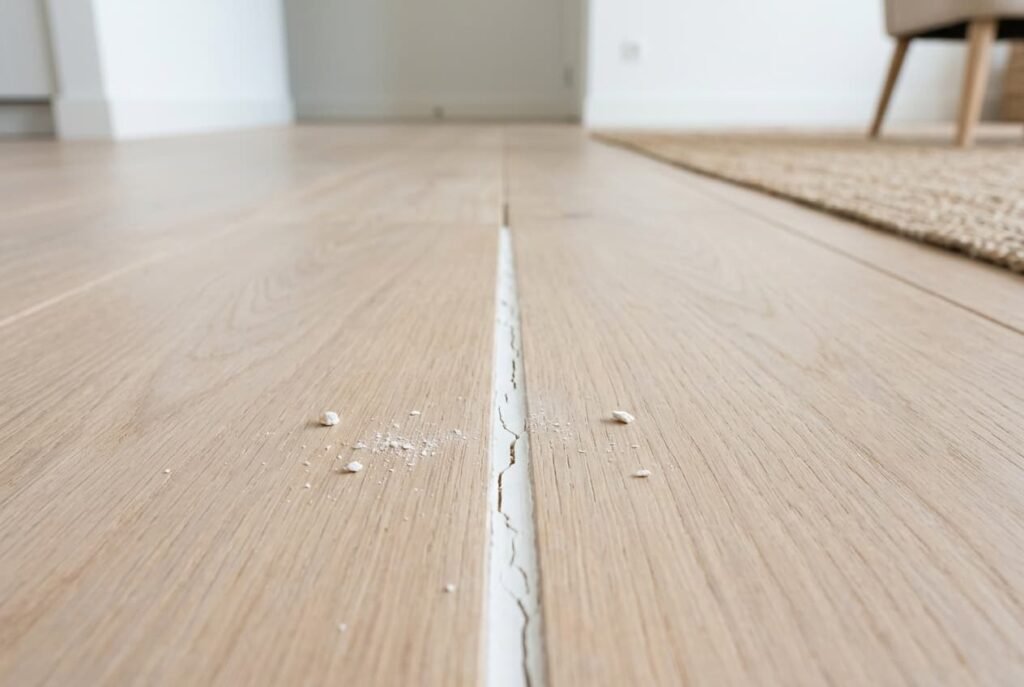
Pushing a rigid filler into the joints, whether wood filler or a hard sealant, looks tidy at first. It fails by the next summer. The material doesn’t compress, and 30 joints at 2 mm carry 60 mm of movement across the room, far more than any stiff substance can absorb. When the boards swell again, their edges press against it, and something has to yield: the filler cracks and drops out, or the board edge crushes a little.
The gap then returns with a ragged outline, and the floor looks worse than it did. Rigid filler also hides the movement that shows whether the cause is moisture or loose nails, which removes the one clue you had. A line that measured 2 mm in January and 0.5 mm in July is behaving normally, and stuffing it with something stiff trades a small, harmless line for a damaged edge.
Match the fix to the cause your six readings pointed to, then measure the same six joints with the coin next January. A line that has narrowed by half a millimetre means the fix is working. One that hasn’t moved is packed or loose. The clean or the fitter comes next. Skip the rigid filler, and keep the sheet with your readings for comparison.
Questions Readers Keep Asking
Can the gaps be closed for good?
Not entirely, because timber keeps moving with the seasons. You can stop them widening, soften them with a cooler room and fill the widest ones with a flexible cord. A fitter can pull a section together, yet some gap will always return when the air is dry.
How much does it cost to sort out?
The October clean and a lower thermostat cost nothing. A filler cord adds a little spending, and it handles the widest lines. A floor fitter is the biggest outlay by a wide margin, which is why that fix comes last and only makes sense when many joints are wide.
Why are the gaps widest next to the radiator?
Heat from the radiator dries the air and the boards closest to it faster than the far side. Those boards lose more moisture, and each one narrows further. The strip within a metre of the radiator often shows gaps 1 or 2 mm wider than the far wall.