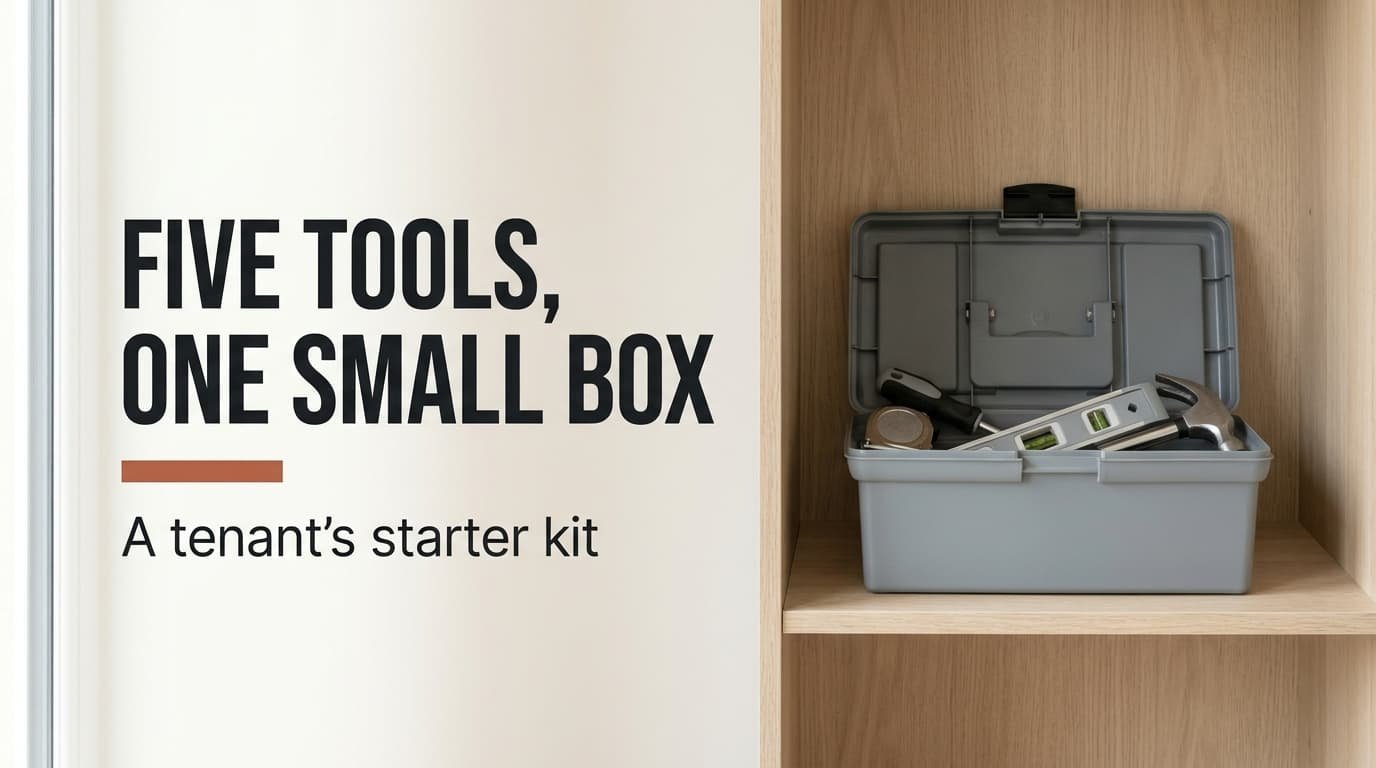
Building a first tool kit for a tenant’s small flat takes only five purchases, and the order you make them in saves more money than any single choice. Our example is a 36 m² flat in Rotterdam where the lease forbids drilling and any hole needs the landlord’s approval. The renter owns nothing heavier than a kitchen knife. Follow the list in sequence, and pause on the day a flat-pack wardrobe goes together without a trip to a neighbour. Every figure is invented, so read your own lease before you spend anything.
Building a First Tool Kit Starts With the Jobs You Have
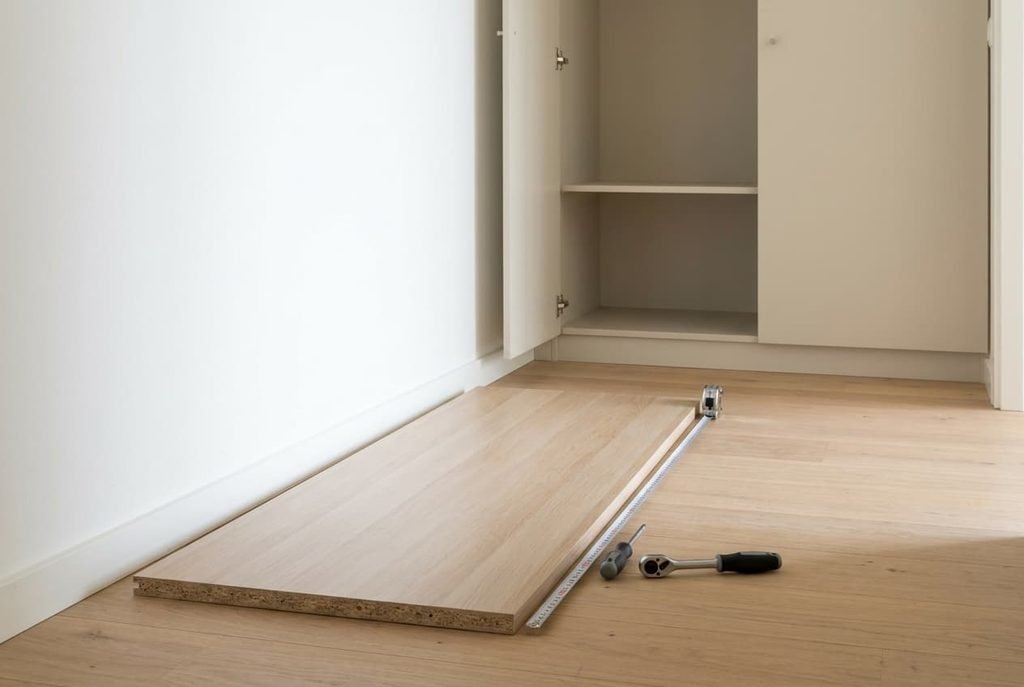
Tenants meet a short list of jobs. Over a year our Rotterdam renter expects to assemble three pieces of flat-pack furniture and hang six pictures. Two loose door handles need tightening, and two new purchases need measuring against their gaps. That makes about a dozen jobs, and each one needs either a turn or a measurement. Tools that serve none of those jobs are clutter.
Write down the jobs you expect this year before spending on any tool, because the list shows which of the five items can wait. A person who only measures and assembles can stop after three purchases.
The lease sets the second limit. Our renter may fit small picture nails but may not drill into walls, so every purchase has to work inside that rule. Get the landlord’s answer in writing, since a spoken yes is easy to forget.
Space sets the third. The kit has to live in a gap of 30 × 20 × 15 cm on the shelf of the hall cupboard, which holds 9 litres. A kit that outgrows the gap gets dumped on a bedroom floor, where a tool is lost within a month.
Five Purchases for a First Tool Kit, Dearest Mistake First
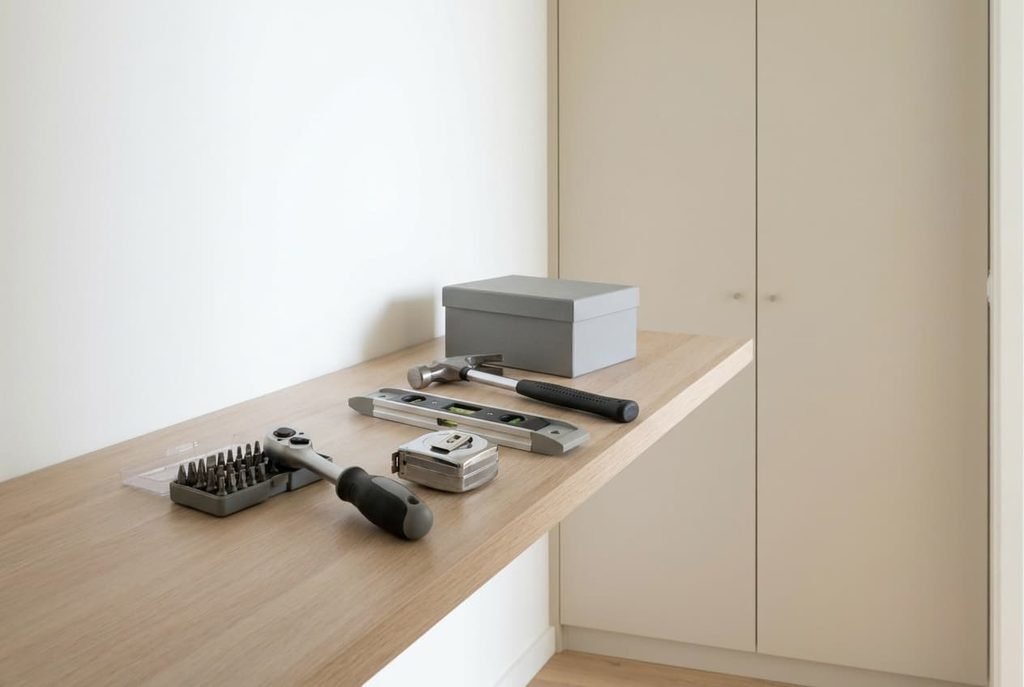
1. A ratcheting driver with a set of 30 bits comes first because turning is the core of most jobs on the list. Tier: BUY ONCE. Bits of hardened steel with a snug hex shank keep their grip, whereas soft bits round off after about 20 screws and strip the head. In the shop, rock a cross bit inside a screw head. Reject any set where the bit wobbles or the ratchet slips under a firm push.
2. A 5 m tape measure with a 25 mm blade comes second, because measurement decides whether a wardrobe fits through the door. Tier: MID. A wide blade stays rigid for 1.5 m when held out, while a narrow one folds at 80 cm. The hook should slide by about 1 mm to allow for its own thickness. Press it against a wall and pull the blade out to see whether the lock holds.
3. A 25 cm spirit level with three vials takes third place. It shows whether a shelf sits straight, and a crooked shelf nags the eye every day. Tier: MID. A machined aluminium body keeps its edges true, whereas a plastic one warps in a warm room. Test it on a flat table: note where the bubble sits, turn the level end for end and compare. The two readings must match.
4. A 450 g claw hammer ranks fourth for picture nails and the odd bent pin. Tier: BUY ONCE. A head forged in one piece with its neck can’t work loose, but a head wedged onto a wooden shaft rattles free within a year. Shake it beside your ear and listen at the neck. Any click means the head will move.
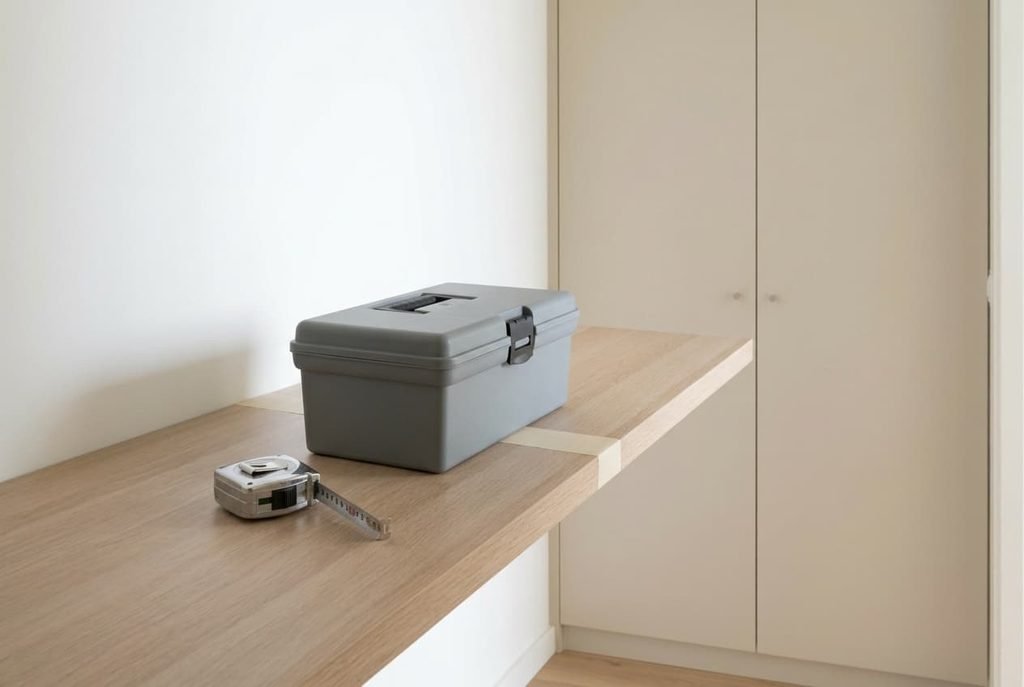
5. A lidded toolbox of 9 litres closes the list. Tier: BUY CHEAP. A one-piece plastic shell with simple latches costs little, and nothing inside can wear it out. Check that the lid shuts with the hammer inside and that the latches click twice. A box that fits the cupboard gap keeps the other four items where you left them.
Why the Hammer Is the Item to Scale Down
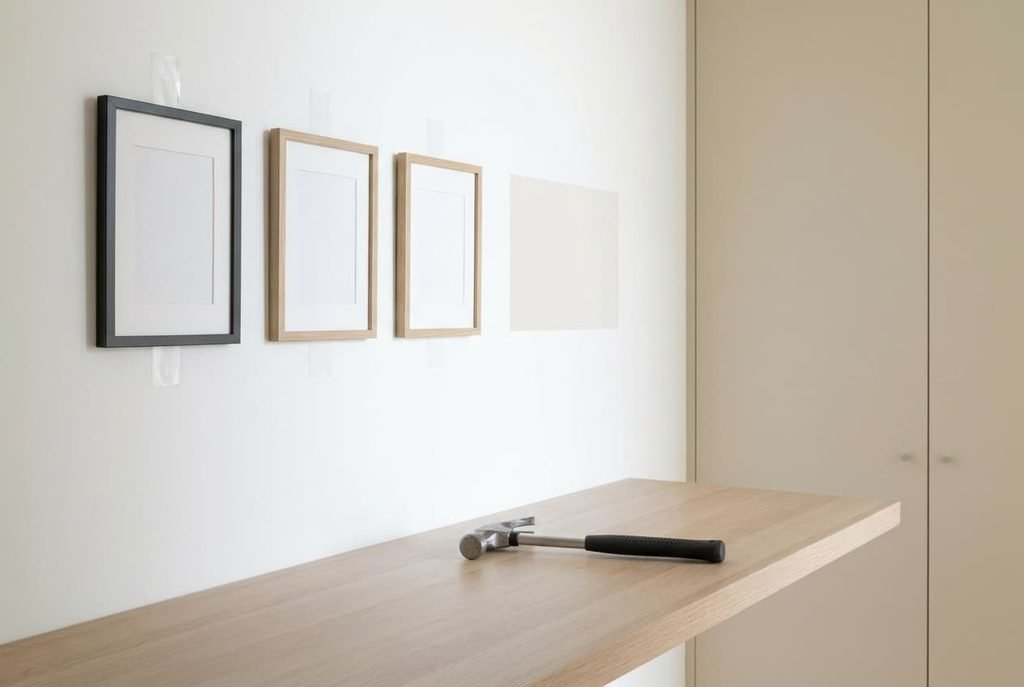
When building a first tool kit, the hammer is the item you can most easily drop. Adhesive picture strips rated for 2 kg hold six ordinary frames with no nail at all, and they cost a fraction of what a good hammer does. Our renter’s frames weigh between 0.4 kg and 1.2 kg each, so every one sits well inside the rating.
Nails add a risk the lease already warns about. A hole left behind may be charged to you when the flat is handed back, and filling it takes a tub of filler and a drying day. A strip leaves a clean wall if you peel it slowly along its tab.
The hammer earns its place only where the landlord has agreed to nails in writing. Even then it sees a handful of uses a year, and it adds 450 g to the weight of the box. Wait a month and count how many frames the strips couldn’t hold. If the number is zero, the money goes to a better driver or a longer tape.
Habits That Keep the Kit Small
Building a first tool kit pays off only while the kit stays together. Put each tool back in the box within 30 seconds of finishing a job, because a driver left among the cushions gets bought twice. Keep the bits in their holder in the same order, so you find the cross bit by touch.
Wipe the tape blade after use and let it wind in slowly, since a fast snap bends the hook. Store the level flat in the box, never leaning against the wall where it can fall.
Borrow what you’ll use twice a year. A neighbour’s drill for one wardrobe costs a favour, and it keeps a bulky battery tool out of your cupboard. Label the shelf edge with a band of masking tape, so the box returns to the same 30 cm gap each time. Keep the receipt of the driver inside the lid for a year.
Check the box every spring, and take out anything you didn’t touch.
What to Skip
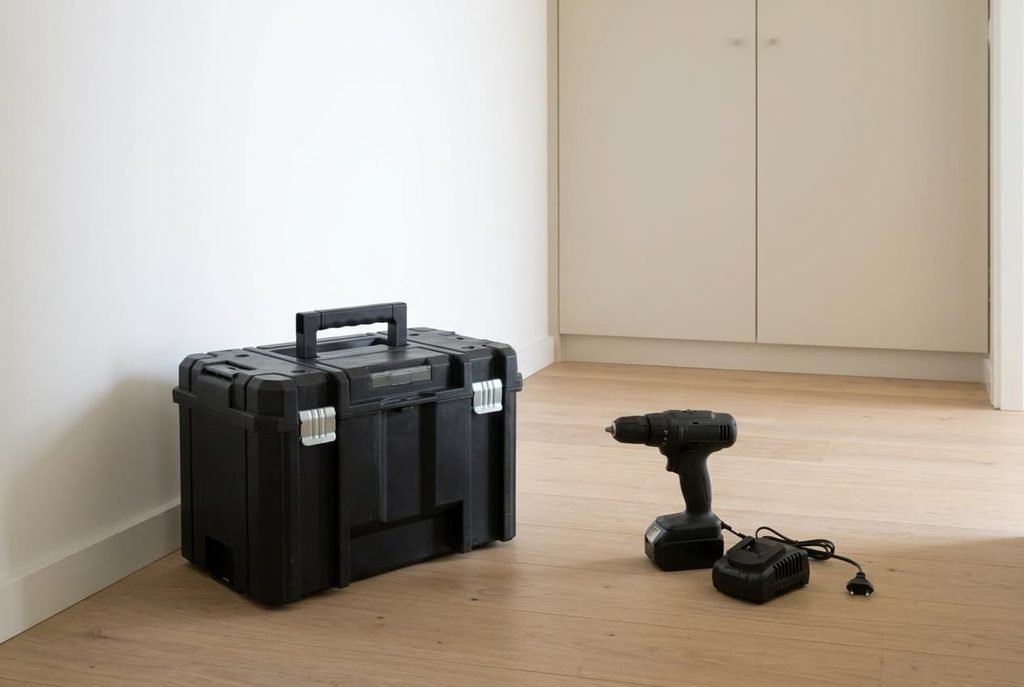
Skip the 100-piece set in a carry case, because sixty of its pieces fit no job a tenant does. You pay for sockets and a tiny saw that stay in their slots, and the case fills a cupboard shelf 30 cm by 40 cm. You buy the whole case and use perhaps six pieces.
A cordless drill tempts too. The lease forbids drilling, so its main use is saving about 8 minutes on each flat-pack assembly, which adds up to 24 minutes a year for three. Its battery also loses charge while it waits in the cupboard. A saw is the same story, because a rented flat gives it nothing to cut.
Leave out a stud finder and a set of spanners as well, since neither serves a job on your list.
The test of building a first tool kit is how little notice the finished kit asks for. Stop buying once five items cover the dozen jobs on your list, and spend the savings on a driver that spares your screw heads. Take the box out of the cupboard once a month, and put it back within a minute. Mark next spring in the calendar to run the check again, because jobs change when a lease or a sofa does.
Questions Readers Keep Asking
How many items do I need before I start?
Two: the driver and the tape. They cover assembly and measuring, which are most of a tenant’s jobs. Everything else answers a rarer job, so add it when one turns up. Start there, then watch which job slows you down before buying more.
In what order should I buy them?
By what a wrong choice costs you later. A weak driver chews screw heads on every job, so it leads the list. The level follows once you hang a shelf. The hammer and the box wait until the others have proved useful.
How do I judge a tape measure in a shop?
Pull out 1.5 m of blade and hold it level. A good blade stays straight at that length. Lock it, tap the hook against a counter and check that it slides about a millimetre. Look at the markings too, because blurred numbers cost you a second look every time.