By the end, your phone will treat the controller as its own. It reconnects within seconds, and every button does what the on-screen prompt says. Allow about 15 minutes. You can connect a Bluetooth controller to a phone by pairing it in the layout the phone expects, or by plugging in a cable and skipping the pairing altogether. This guide takes the Bluetooth route and sticks to it. The mode you pick before pairing decides whether the buttons land where the prompts say. Our example is a pocket-size controller with four face buttons, used with a phone in a flat in Leeds.
Before You Connect a Bluetooth Controller to a Phone
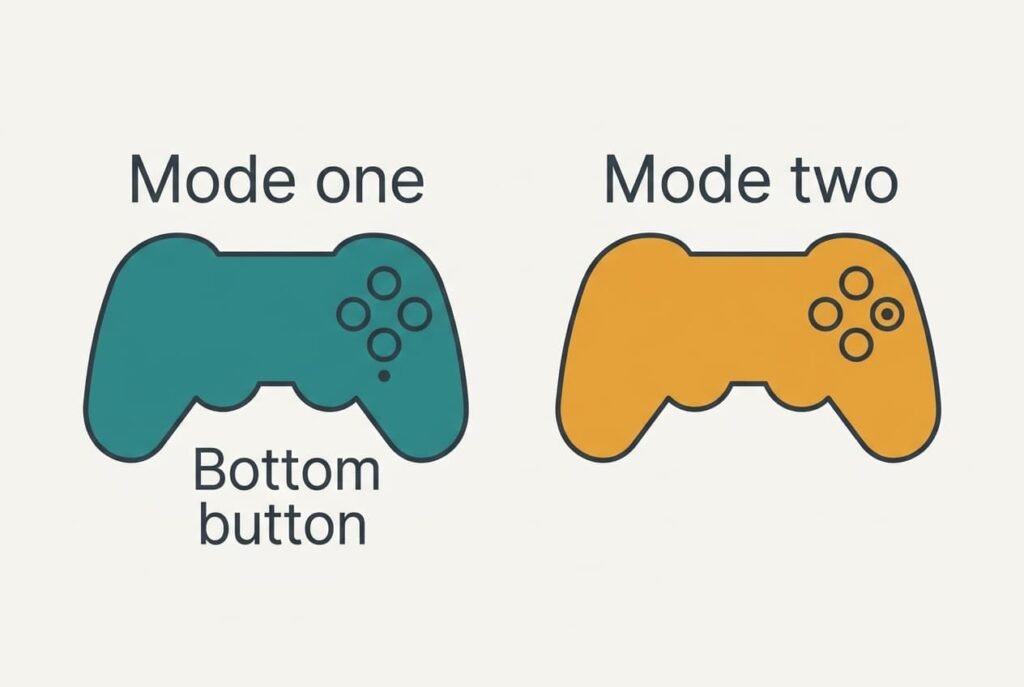
Anyone about to connect a Bluetooth controller to a phone should know that a controller with several modes keeps a separate pairing for each one. Each mode presents itself to the phone as a different device, and each mode names the face buttons in its own way. In one layout the bottom button is called A. In the other it’s the right-hand button, and the pairs swap: A with B, and X with Y. Pair in the wrong mode and every prompt in a game points to the wrong button.
Most people skip the charge, and it matters.
Charge the controller to at least half and stand next to the phone, because a weak battery lets the radio connect and then drop within a minute, which looks like a pairing fault. Bluetooth reaches about 10 m in open air, but a wall cuts that sharply. Close range therefore removes one suspect. Switch off any nearby console too. A controller that’s still paired to a console tries that console first and ignores the phone. Nothing later works if these two checks are missed. Five minutes spent here saves twenty afterwards.
Six Steps to Connect a Bluetooth Controller With Your Phone
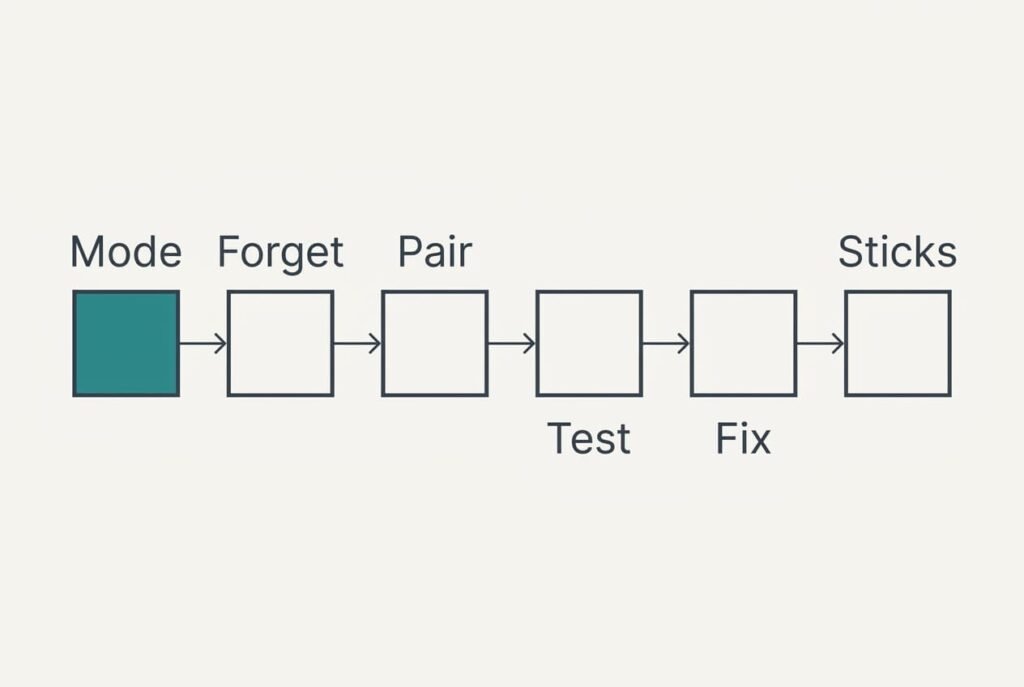
1. Choose the mode before you touch the phone. Hold the power button together with the mode combination, which is printed in the manual or under the casing, until the light settles into its pattern. Each mode is a separate pairing. The phone must therefore meet the controller in the layout you want to keep. Proof you’re in pairing: the light blinks about twice every second and doesn’t glow steadily.
2. Open the phone’s list of saved Bluetooth devices and look for an old entry for this controller. Remove it, accepting one extra pairing later because the phone forgets the link. A stale entry from a different mode makes the new connection fail without any message, and the failure looks like a faulty controller. You know the entry is gone when the controller’s name no longer appears in the saved list.
3. Search for new devices while the light is still blinking. A controller named only by a model code is normal. Pick the entry that appears as soon as the light blinks and vanishes when you switch the controller off. Confirmation: the light turns steady, the phone lists the controller as connected and a small notice usually appears for a moment.
4. Open a screen that shows button prompts, such as the controls page of a game. Press the four face buttons singly, in the order bottom, right, left, top. The prompt that lights should match the button you pressed. If the first two trade places, or the last two do, the layout is swapped. That’s the whole symptom, and spotting it takes seconds.
5. Fix a swap by repeating steps 1 to 3 in the other mode, and not by mapping buttons by hand. Switch the controller off. Hold the other combination, then forget the entry again before pairing, paying for it with another pairing. Hand-mapping would patch one game only. The same four presses now light the matching prompts, which shows the swap is gone.
6. Move both sticks to every edge and then let go. The on-screen marker should return to the centre and stay there for 10 seconds. Squeeze each trigger slowly from rest to the end, and watch the bar rise without jumping. A marker that creeps at rest points to a worn stick, and no setting in the phone cures that.
How to Test That the Controller Is Really Connected
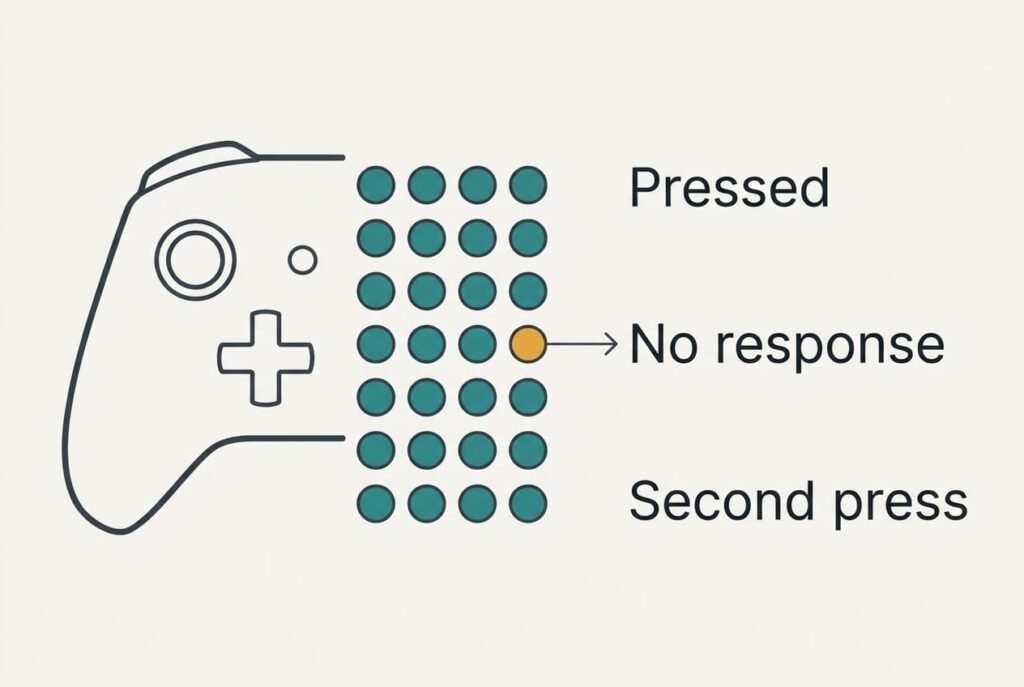
The proof is one full pass: press all 14 inputs once in a fixed order, then read each result against the prompt. Our controller has four face buttons and four directions on the pad. Beyond those sit two bumpers and two triggers. Two stick clicks complete the 14. Any input that does nothing gets a second press before you judge it. That costs two minutes. The check is part of the job every time you connect a Bluetooth controller to a phone.
Then switch the controller off and on. It should find the phone again within about five seconds, with no pairing screen. Carry it into the next room and back, about 5 m through one wall, and check that the marker still moves. If the link survived both, it should last an evening of play. Repeat the restart test a day later, once the controller has stood unused overnight.
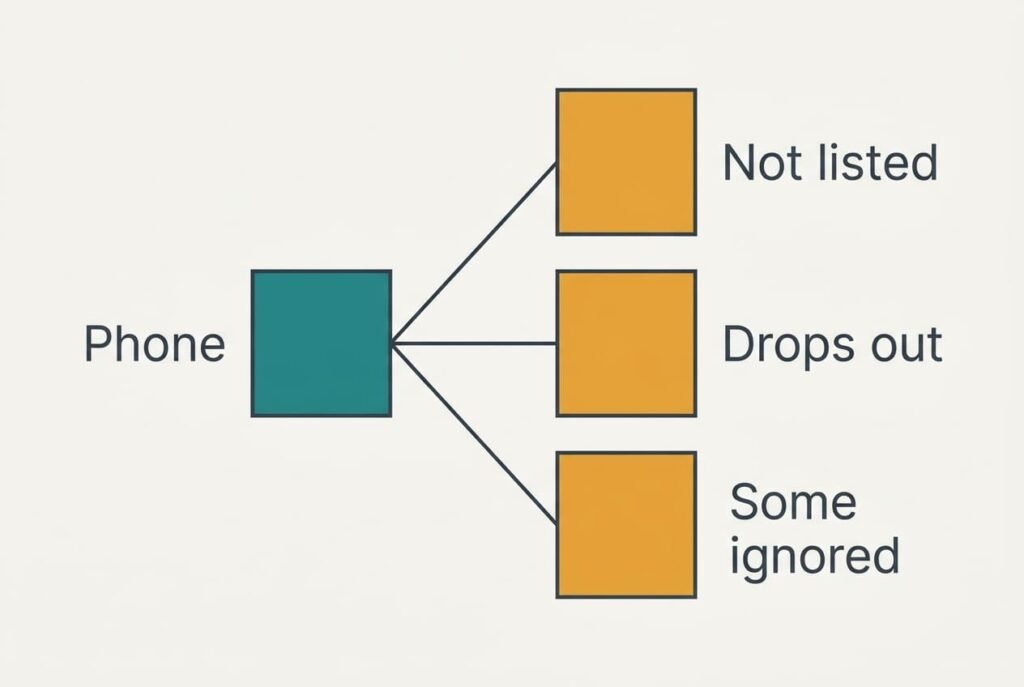
Where the Steps Stall
Stalls come in three kinds. The first is a phone that never lists the controller. Either the light isn’t blinking or the controller is still paired to a console nearby. Switch the console off, hold the power button until the light blinks again and search a second time.
The second is a link that drops after a few seconds. A battery below the half mark is the usual cause. A phone left in another room is the other. Charge the controller and bring the phone nearer, then run steps 3 to 6 again.
The third stall is quieter.
The buttons work but the game ignores some of them. Many games read only the layout they were built for. A game might call the right-hand button B while the controller labels it A. Check the game’s own controls page before you blame the pairing.
The Step Not Worth Taking
Plenty of guides suggest installing a button-remapping app, a detour that rarely repays the effort. It feels thorough, since every button can be reassigned. The app asks for permissions the phone would otherwise never grant, and it adds a layer between the controller and the game. In our example it needs three permissions and a map of 14 inputs, and after each phone update you rebuild that map at about 40 seconds an input, or roughly 10 minutes. A layout swap is a mode problem. Anyone who wants to connect a Bluetooth controller to a phone cleanly fixes it at the source, with the mode switch in step 5.
One exception exists: a controller with no mode switch at all. There the game’s own remap page is the better tool, because it changes only that game. A remapping app also hides the real cause. A later fault in the controller can then be mistaken for an app problem.
The whole job comes down to one order: choose the mode before pairing, forget the old entry, then test every input. Write the mode combination on a card kept with the controller, since the light patterns are easy to forget after a month. Add the date of the last test to the card, and keep the card where you keep the charging cable. A glance at it tells you when the pairing has been left alone long enough to deserve another quick check.
Questions Readers Keep Asking
How long does it take?
The first phone takes about 15 minutes, most of it spent finding the mode combination and removing the old entry. A second phone takes about 5, since you already know the combination. The restart test adds two minutes. It’s worth doing every time.
Does pairing erase anything on the controller?
Pairing with the phone replaces the previous host in that one mode. A console paired in the same mode needs pairing again. Your game saves and settings stay where they are. Use a different mode for the phone if you want the console link to survive.
Does it work on a tablet or a laptop?
On a tablet the steps stay the same, and a laptop only changes where the saved list lives. Keep one mode per device, because each mode remembers just one host. Test the face buttons again on each new device, since layouts differ between systems.