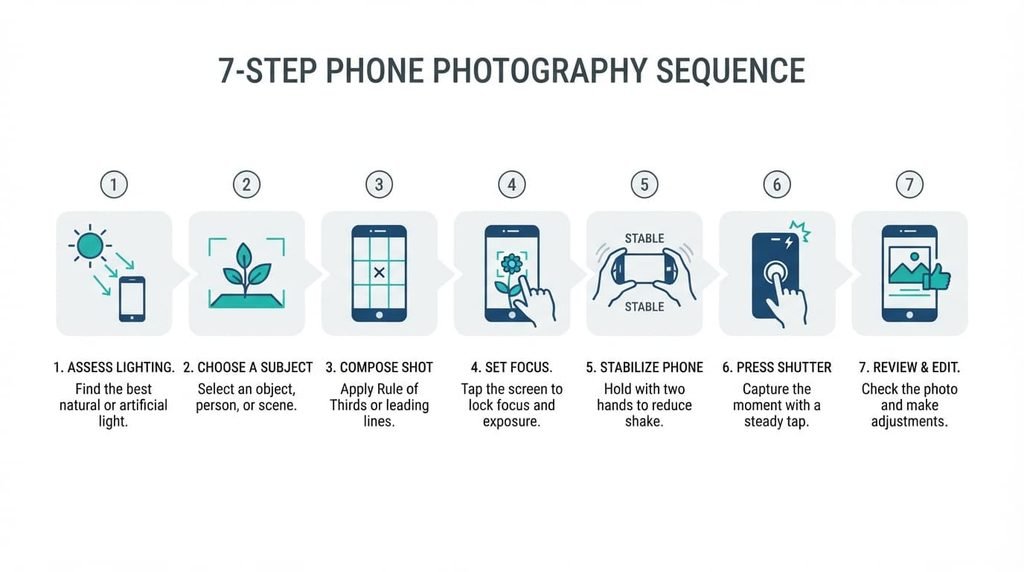
Taking genuinely better phone photos works best as a sequence of specific habits addressing the most common limiting factors first, rather than randomly adjusting settings hoping something improves the result. This guide covers the steps in the order that typically delivers the most improvement for the least effort, building each habit on top of the previous one.
Before you start
Clean your phone’s lens with a genuinely soft, lint-free cloth before beginning anything else, since a smudged lens undermines every other improvement covered below and is one of the most overlooked, easily fixed factors affecting photo quality.
Take a few test photos of a consistent subject before making any other changes, so you have a genuine baseline to compare against as you work through the following steps, rather than relying on a vague impression of whether things have actually improved.

Step one: pay attention to your light source
Position yourself so your main light source is genuinely in front of or beside your subject, rather than directly behind it, since backlighting is one of the most common causes of disappointing phone photos, creating a silhouette effect or forcing your camera to compromise between exposing for the background or the actual subject.
Avoid harsh, direct overhead lighting when possible, since this specific lighting angle tends to create unflattering shadows, particularly for photos of people – softer, more diffused light generally produces more genuinely pleasing results across most typical subjects.
Step two: stabilise your shot
Brace your arms against your body or a stable surface when taking a photo, rather than holding your phone at full arm’s length unsupported, since this simple habit reduces the camera shake that’s a genuinely common cause of subtle, easily overlooked blur.
Use your phone’s timer function for shots where you genuinely need maximum stability, since the act of pressing the shutter button itself can introduce a small amount of movement that a timer delay avoids entirely.
Step three: think about composition before shooting
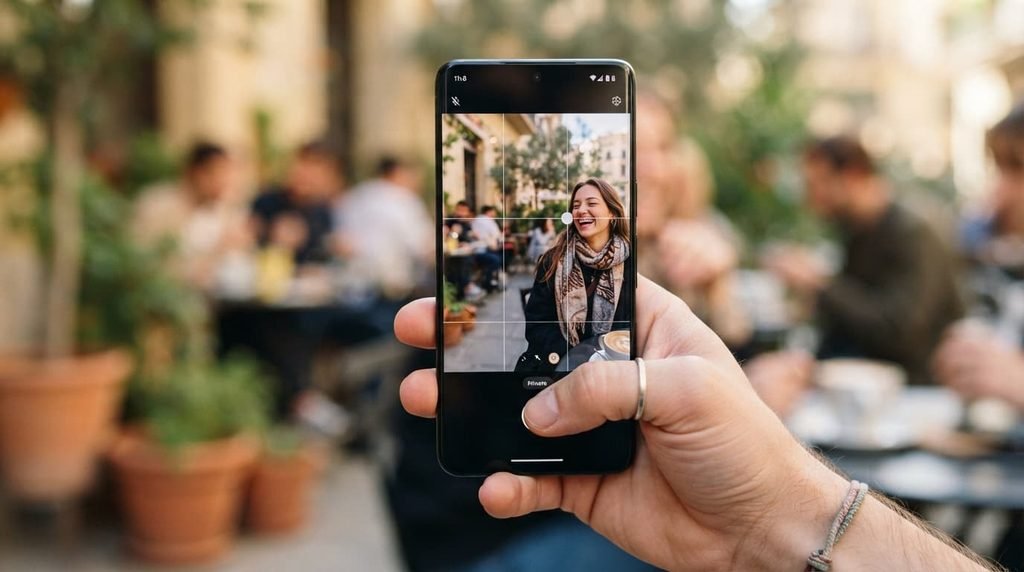
Enable your camera’s grid lines if it offers them, then position your main subject along one of the grid’s intersection points rather than dead centre, since this simple compositional habit, sometimes called the rule of thirds, tends to produce more visually engaging results than centring every subject by default.
Move around your subject before settling on a final framing, rather than shooting from the first position you happened to be standing in, since a slightly different angle or distance often reveals a noticeably stronger composition than your initial, default position provided.
Step four: use your camera’s specific tools deliberately
Tap on your actual subject on the screen before capturing, if your camera app supports this, since this typically adjusts both focus and exposure specifically for that point, rather than leaving the camera to guess which part of the scene should be correctly exposed.
Try your camera’s HDR mode specifically for scenes with both bright and dark areas, since this mode is genuinely designed to better balance detail across that wider brightness range than a standard exposure setting manages on its own.
Step five: review and adjust before you’re done shooting
Actually look at your captured photo immediately after taking it, rather than assuming it turned out well and moving on, since checking in the moment lets you retake a shot while your subject and lighting conditions are still genuinely available to you.
Try a few variations of the same shot – different angles, slightly different framing – when the situation allows, since having several genuine options to choose from afterward typically produces a better final result than committing to a single attempt.
Step six: pay attention to your background
Scan your frame’s background before capturing, rather than focusing only on your main subject, since a genuinely cluttered or distracting background can undermine an otherwise well-composed shot in a way that’s easy to overlook while concentrating primarily on your subject itself.
Reposition slightly, or wait for a moment, if your background contains a distraction that would meaningfully improve the shot by its absence, since this small adjustment often costs nothing but a few seconds while noticeably improving your final result.

Step seven: get physically closer when it genuinely helps
Move physically closer to your subject rather than relying on zoom, when getting closer is practical, since this captures genuinely more detail than digital zoom specifically provides, producing a noticeably sharper result for the same final framing.
Fill more of your frame with your actual subject when the situation allows, rather than leaving excessive empty space around it, since a subject that’s too small within the overall frame often reads as less impactful than the same subject captured with more deliberate, confident framing.
What isn’t worth doing
Relying entirely on heavy post-capture editing to fix a poorly composed or poorly lit photo, rather than addressing these factors during the actual capture, isn’t worth it as your primary strategy.
Editing can genuinely enhance an already reasonably good photo, but it can’t fully compensate for fundamental issues like severe backlighting or significant blur the way getting these basics right during capture does, meaning the habits above matter more than editing skill for most typical improvement.
If you’ve only adopted some of these habits
If you’ve started stabilising your shots and paying attention to lighting but haven’t yet focused on composition, this is genuinely solid progress worth building on, rather than needing to master every step simultaneously before seeing meaningful improvement in your actual photos.

Making the lighting step genuinely intuitive
Lighting awareness, covered in step one, is genuinely the habit worth internalising most deeply, since nearly every other step in this sequence works better once lighting is already reasonably good, while even perfect composition and stabilisation can’t fully rescue a photo taken in genuinely poor lighting conditions. Spending a few extra seconds actively noticing where your light source is, before you even raise your phone to shoot, tends to pay off more than any other single habit covered in this entire sequence.
This is worth practising specifically in situations where you’re not under time pressure to capture something fleeting, since building this awareness gradually, in low-stakes everyday moments, makes it considerably more likely to genuinely kick in automatically later when you’re photographing something you actually care about capturing well.
Questions readers keep asking
Which single habit makes the biggest difference for typical everyday phone photos?
Paying attention to your light source specifically tends to produce the most noticeable improvement for the effort involved, since lighting affects nearly every aspect of a photo’s final quality more fundamentally than composition or stabilisation alone.
Do these habits apply equally to photos of people versus photos of objects or scenery?
The core principles apply broadly, though lighting angle specifically matters even more for photos of people, since harsh or backlit conditions affect how flattering a portrait looks in a way that matters less for many object or landscape photos.
Is it worth practising these habits deliberately, or do they eventually become automatic?
Most people find these habits genuinely become more automatic with consistent practice, though deliberately checking each one consciously in the early stages helps build the underlying awareness that eventually makes the whole sequence feel considerably more natural and quicker to execute.
How long does it typically take to notice genuine improvement from practising these habits?
Many people notice a difference within their very first few attempts specifically at addressing lighting and stabilisation, since these two factors alone address some of the most common, easily overlooked issues affecting typical everyday phone photos.