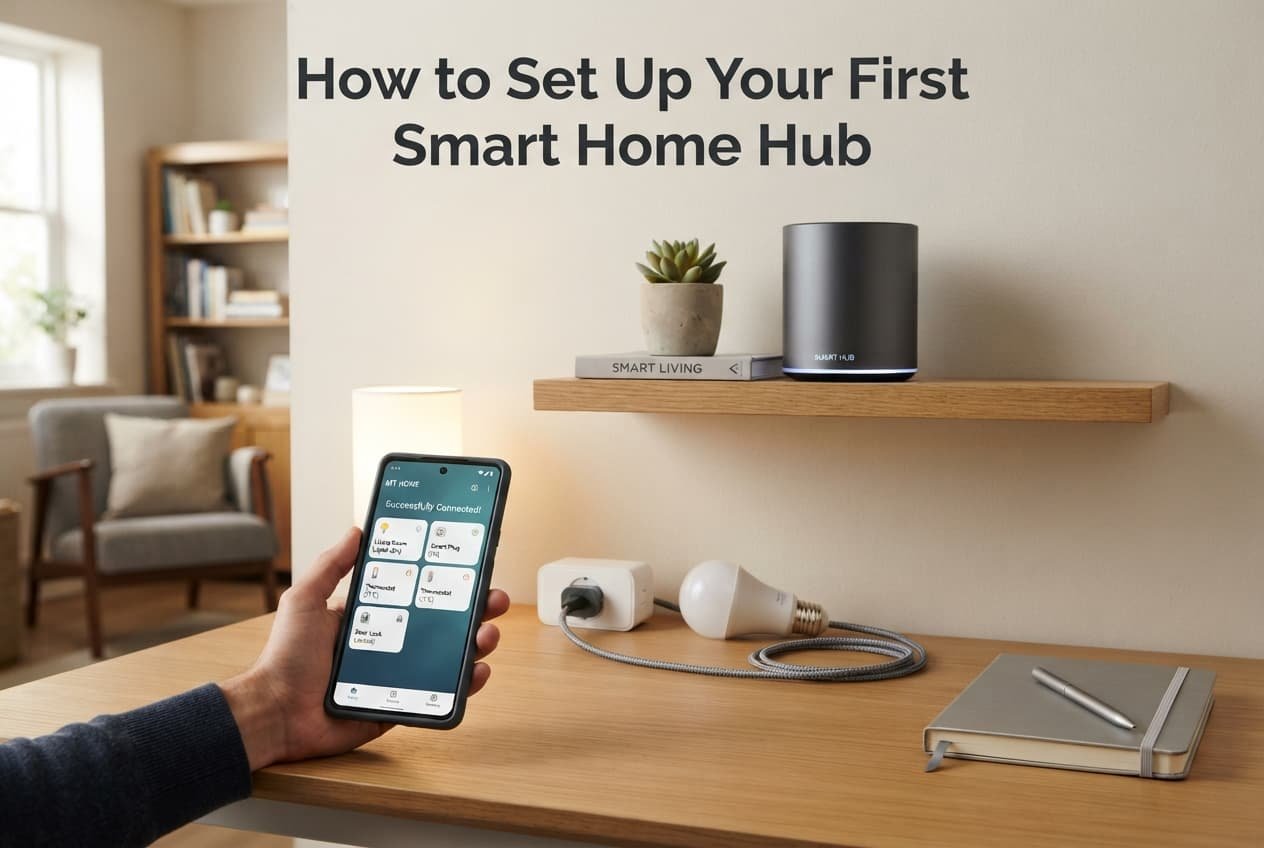
Setting up a smart home hub properly takes genuine planning and thought upfront – deciding what you actually want to connect before buying anything at all – rather than purchasing a hub first and figuring out compatibility only afterward. This guide covers the setup steps and verification checks that make a first hub genuinely functional, not just technically installed.
Before you start
Identify quite carefully which specific devices you actually want to control through this hub, and check each one’s own stated compatible protocols before purchasing the hub itself, since a hub is genuinely only useful for devices whose specific protocol it actually genuinely supports. Buying a hub first and simply hoping your existing or planned devices happen to genuinely be compatible risks a genuine, costly mismatch discovered only well after purchase.
Decide carefully on your hub’s physical location within your home before setup genuinely begins, prioritising a central position relative to the devices you’re planning to connect, since many hub protocols have genuinely meaningful range limitations that affect how reliably distant devices actually communicate with it in practice.
Setting up the hub itself
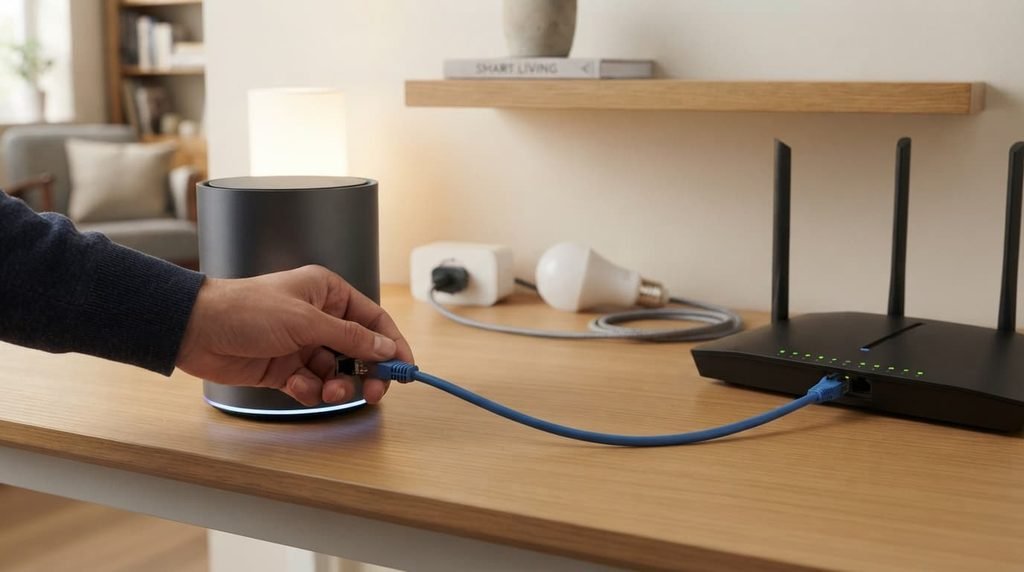
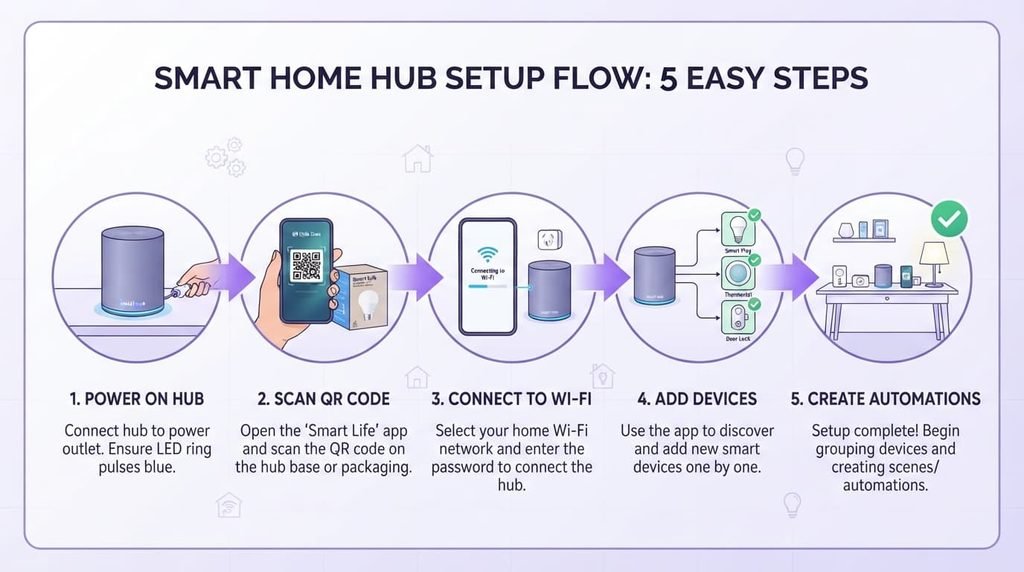
Connect the hub to your home network first, following the manufacturer’s specific initial setup process, which typically involves connecting it to your router directly during this first step before it can operate wirelessly with your other devices.
Complete the hub’s account creation and app pairing process next, ensuring you’re using a genuinely secure password for this account specifically, since this account will genuinely have control over every single device you connect to the hub going forward.
Update the hub’s firmware to the latest available version before adding any devices, if the setup process doesn’t do this automatically, since starting with current firmware reduces the chance of running into a compatibility bug that’s already been fixed in a newer release.
Enable genuine two-factor authentication on the hub’s own account, if the option is offered, since this account genuinely controls physical devices throughout your home, making it a meaningfully higher-value target to protect than many other accounts you might not think to secure with the same level of care.
Adding your first devices
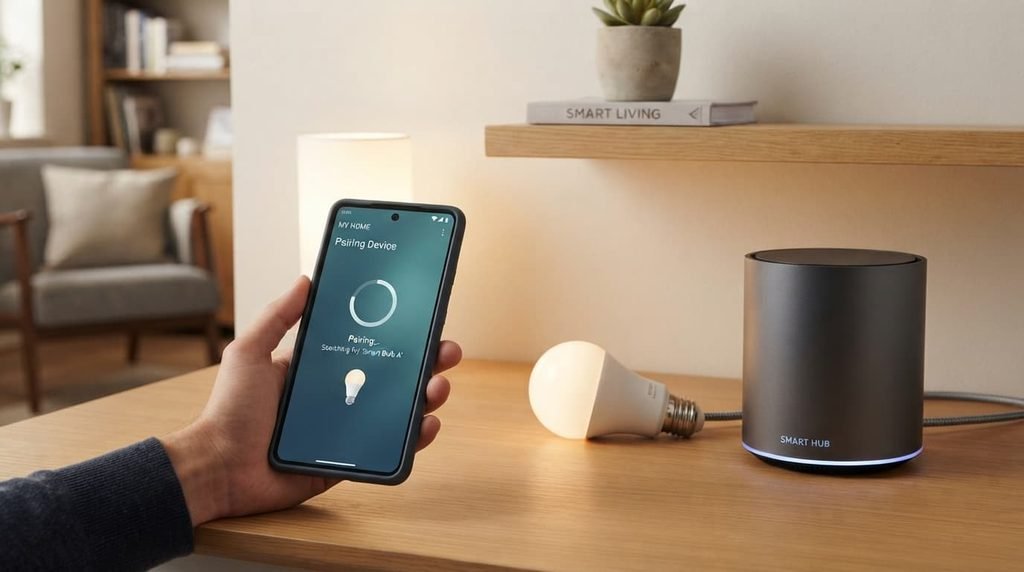
Add devices one at a time rather than attempting to pair several simultaneously, since this makes troubleshooting considerably easier if a specific device doesn’t pair correctly – you’ll know immediately which one caused the issue rather than needing to isolate it from a batch of several.
Follow each specific device’s own pairing instructions precisely, since pairing processes genuinely vary between device types and manufacturers even when they’re all connecting through the same hub – a lighting device and a sensor from different manufacturers may require meaningfully different pairing steps despite both ultimately joining the same system.
Test each device’s basic function immediately after pairing, before moving on to add the next one, since confirming basic control works at this stage catches a pairing problem early rather than discovering it later once several more devices have already been added.
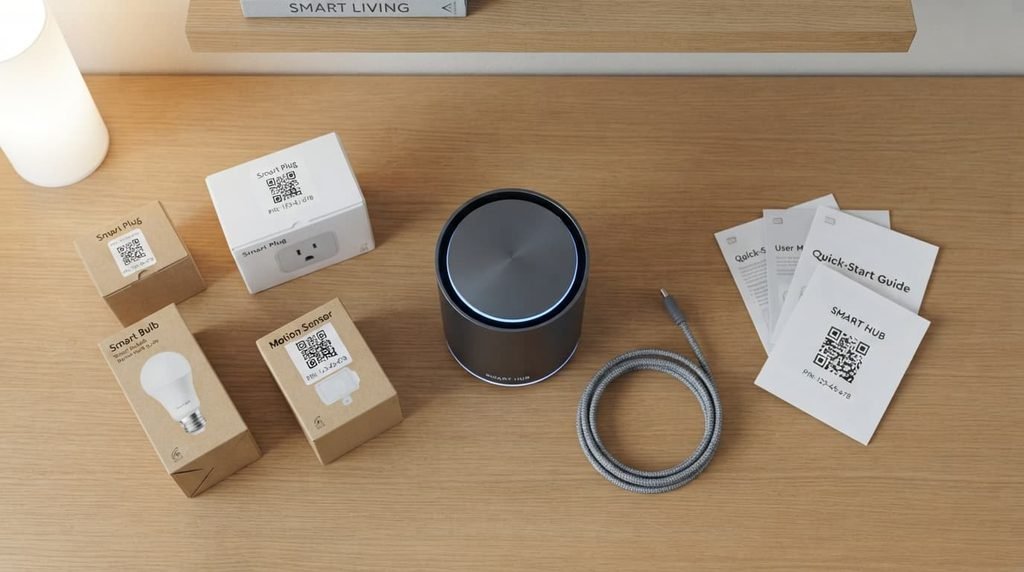
Keep the original packaging or documentation for each device during this initial setup phase quite specifically, since many devices include a unique pairing code or identifier printed only on the packaging itself, which becomes considerably harder to locate later on if you genuinely need to re-pair or troubleshoot that specific device after the original packaging has already been discarded.
Setting up your first automation
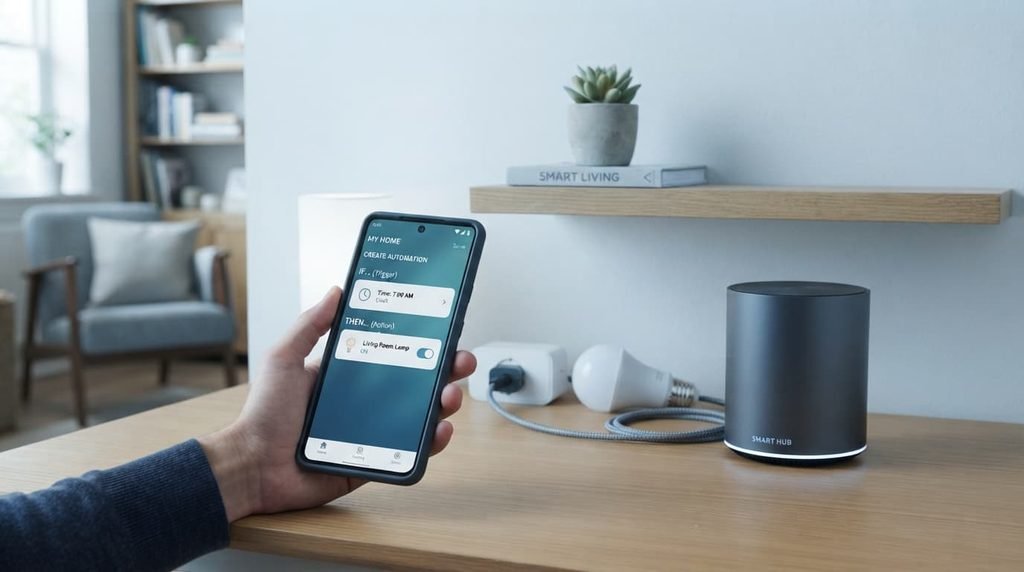
Start with just one genuinely simple automation – a light turning on at a specific set time, for instance – rather than attempting a complex multi-device automation immediately, since a simple starting point genuinely lets you confirm the automation system itself works correctly before building more complicated rules on top of it later.
Test the automation manually if the hub’s app genuinely allows triggering it on demand, rather than only passively waiting for its scheduled or triggered condition to occur naturally, since this confirms the automation logic itself functions genuinely correctly without needing to wait for the actual triggering condition to eventually happen.
What isn’t worth doing
Adding every device you own to the hub immediately during initial setup, before confirming the hub and your core devices work reliably together, isn’t worth the troubleshooting complexity it creates.
If something goes wrong during a large initial batch addition, identifying which specific device or step caused the problem becomes considerably harder than it would be with a smaller, incremental approach. Confirming reliability with a handful of core devices first, then gradually expanding, produces a more stable foundation than attempting everything at once.
Skipping the manual pairing verification step entirely to save a little time, trusting that a device paired successfully purely because the app didn’t display any error message, is similarly not worth doing at all. An app’s simple lack of an error message doesn’t always genuinely guarantee the device is actually responding correctly to real commands, and this specific gap between “no error shown” and “genuinely actually working” is exactly what the manual verification step is specifically designed to catch before you move on further.
If you’ve delayed setting up automations
If you’ve genuinely successfully connected your devices but haven’t yet configured any automations at all, this partial-completion state is genuinely quite common and not something to feel behind on specifically – manual control through the app already provides genuinely meaningful value on its own, and automations can be added gradually over time as you identify which specific routines would actually be genuinely useful for your particular household.
This genuinely matters because automations configured purely because they simply seem technically possible, rather than because they address an actual real daily need, often go entirely unused regardless of how sophisticated they genuinely are, making a genuinely gradual, needs-based approach to automation considerably more valuable than rushing to configure everything immediately during initial setup itself.
Questions readers keep asking
How many devices can a typical smart home hub support?
This varies quite considerably by specific hub model, so checking the manufacturer’s own stated device limit before planning your full setup is genuinely worth doing, particularly if you’re planning a large number of devices spanning multiple rooms or device categories entirely.
What happens if I add a device that turns out to be incompatible with my hub?
The device typically simply won’t appear or genuinely respond during the pairing process at all, rather than causing any broader problem for your hub or other already-connected devices, so attempting to add an incompatible device carries genuinely minimal risk beyond the time spent troubleshooting the failed pairing attempt itself.
Is it worth setting up voice assistant integration during initial hub setup?
This can be added at any point once basic hub and device setup is complete, so it’s reasonable to defer voice integration until after you’ve confirmed your core devices and any planned automations work reliably through the app alone first.
Should I label devices with their room or location during setup?
Yes, absolutely genuinely worth doing immediately during initial setup rather than leaving it for later on – clear, consistent naming makes both manual control and automation configuration considerably easier as your system genuinely grows over time, and retroactively renaming many devices later is far more tedious than establishing a clear naming convention from the very start.
Choosing where devices connect within your home
Position devices you’re genuinely planning to connect within a reasonable range of the hub itself, checking the specific protocol’s typical range limitations carefully before finalising device placement, since a device installed too far from the hub may pair successfully during initial setup but then experience genuinely unreliable performance once installed in its actual permanent final location.
Consider your home’s specific construction materials carefully when planning device placement too, since thick walls or certain building materials can genuinely reduce a wireless signal’s effective range considerably compared to open floor plans, meaning a device that would work reliably at a given distance in one home might genuinely struggle at that exact same distance in another home with different construction.