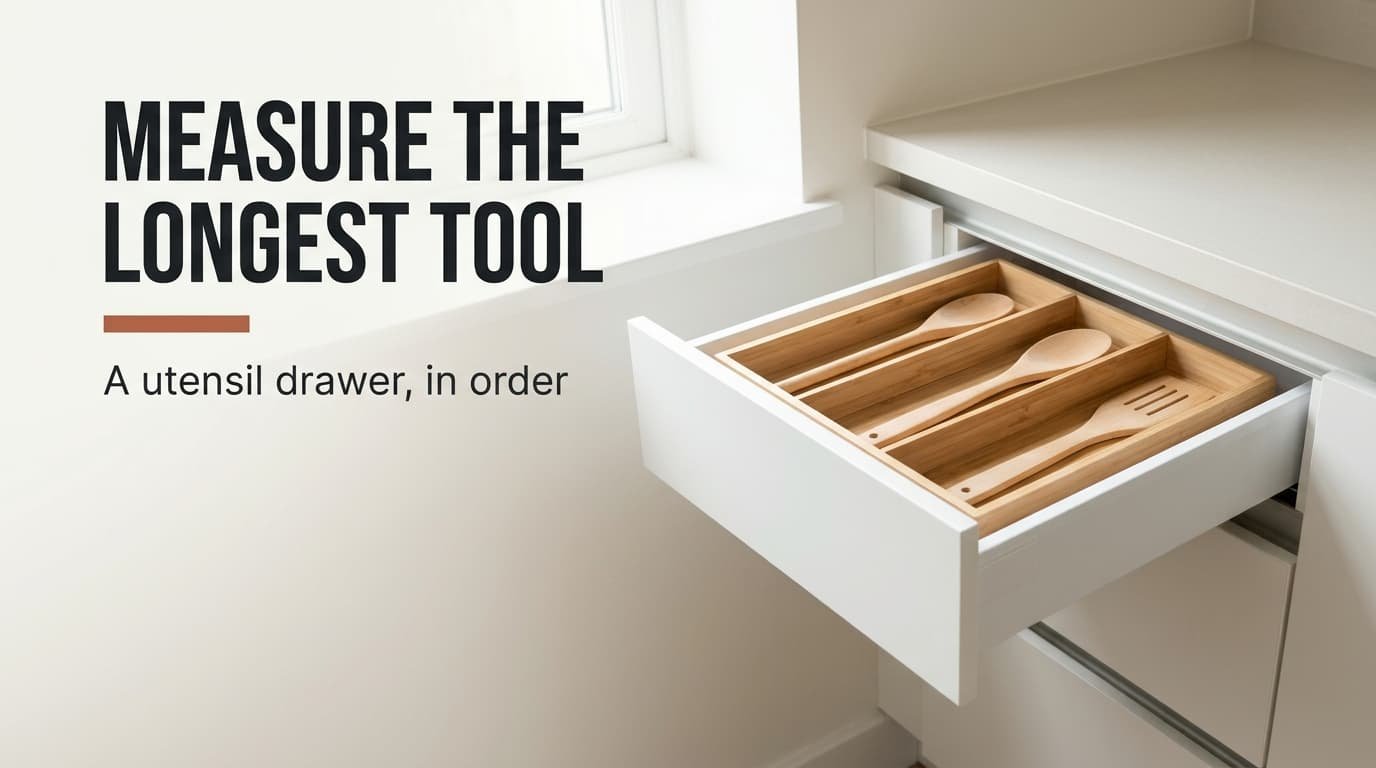
A utensil drawer fails the moment two tools cross. Here is how to organise a utensil drawer with five purchases, made in an order that spares you any returns. Our drawer is 56 cm across and 46 cm deep, with 7 cm of height inside. It holds fifteen tools today, and three of them will leave. Every purchase comes with sizes and a spending tier. The build flaw to look for follows each one. Prices stay out of it, because effort is the fairer yardstick when shelves and shops differ so much.
Why Length Decides How You Organise a Utensil Drawer
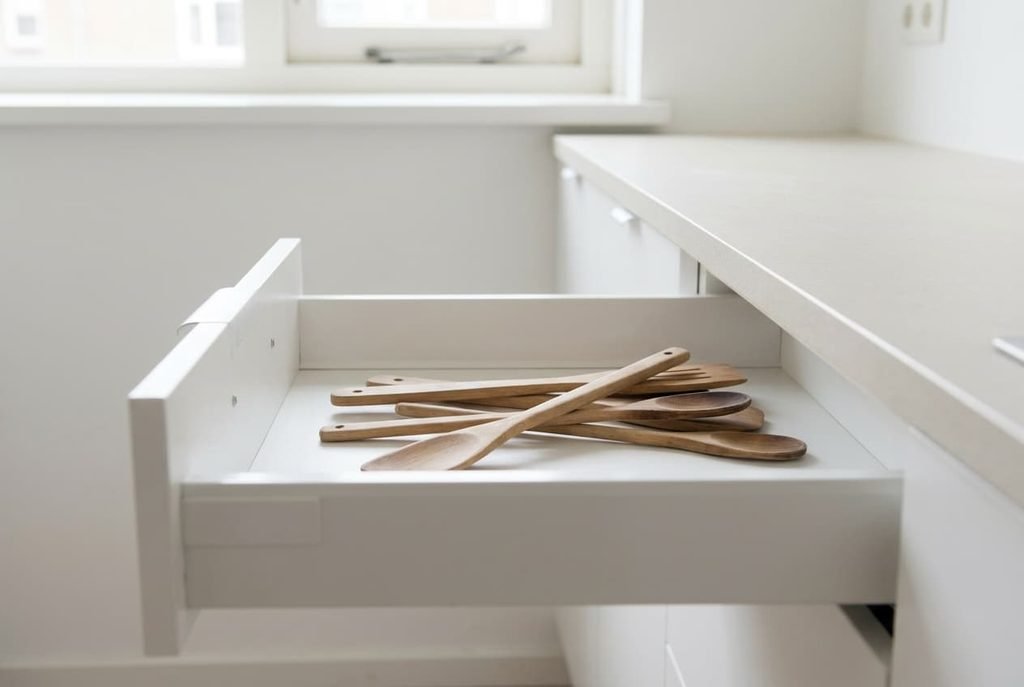
Most advice on how to organise a utensil drawer opens with a tray set, but the geometry opens with length. The floor is 56 × 46 cm, which is 2,576 cm², and 7 cm of height is all you get. Our longest tool, a ladle, measures 32 cm. Three spatulas and two wooden spoons reach 30 cm, and the tongs reach 28 cm. Six smaller tools stay under 20 cm.
Length sets the column widths before anything else does, because a tool longer than its lane ends up lying across the next one. Long tools lie sideways in a column 31 cm wide inside. Short ones lie along the depth, two end to end, in a column about 22 cm wide. Together the columns use 55.5 of the 56 cm.
Three bulky tools break this plan. The ladle bowl is 9 cm wide, the masher head 8.5 cm and the whisk 7 cm. Each would claim a lane of 9 cm, so the trio would take 27 cm of the 46 cm depth, or 59%. They’ll need another home, and the fourth purchase supplies it.
Length comes first, and the trays follow.
Fitting Out a Utensil Drawer in the Right Order
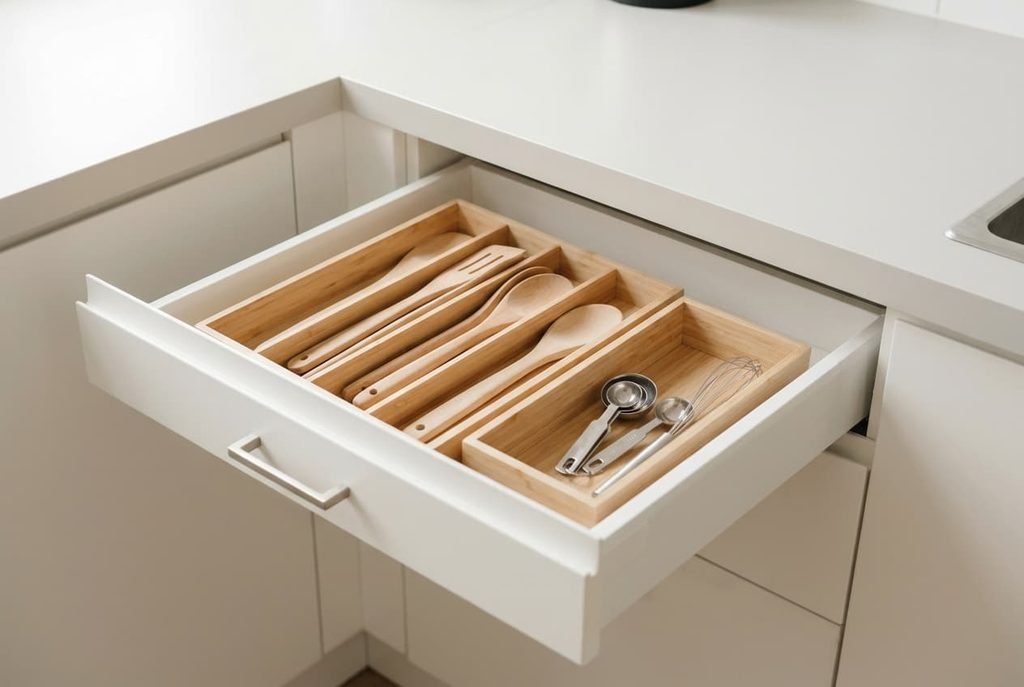
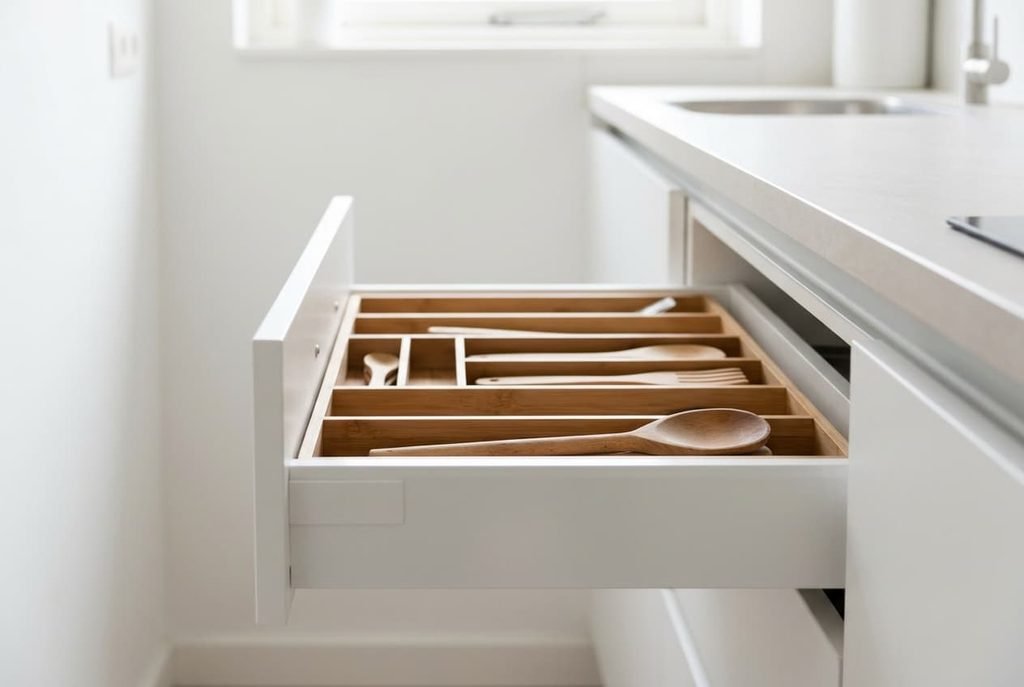
1. A lane tray for long tools, 32 × 45.5 × 5 cm outside, with six lanes of 7 cm and 31 cm of inner length. It leads because the other pieces are cut to whatever width it leaves. Buy once, since replacing it would mean remeasuring the drawer. Look for one-piece walls of about 3 mm. Walls under 2 mm are the flaw, as they bow outward whenever a spatula leans on them.
2. Open tray for short tools, 23.5 × 45.5 × 5 cm outside, with no lanes. It follows because it takes the width that remains, 56 − 32 = 24 cm, less 0.5 cm of slack. Buy cheap, for the reasons in the next section. A rim above 6 cm is the flaw. It leaves under 1 cm for a tool that stands proud, so the drawer front catches it.
3. Non-slip liner cut to 55.5 × 45.5 cm, which covers 2,525 cm², or 98% of the floor. Third in line, since you’ll only need it when the trays creep as the drawer opens. Buy cheap at 1.5 mm thick. A raised grid pattern is the flaw, since it rocks a tray on its bumps. A flat weave grips better.
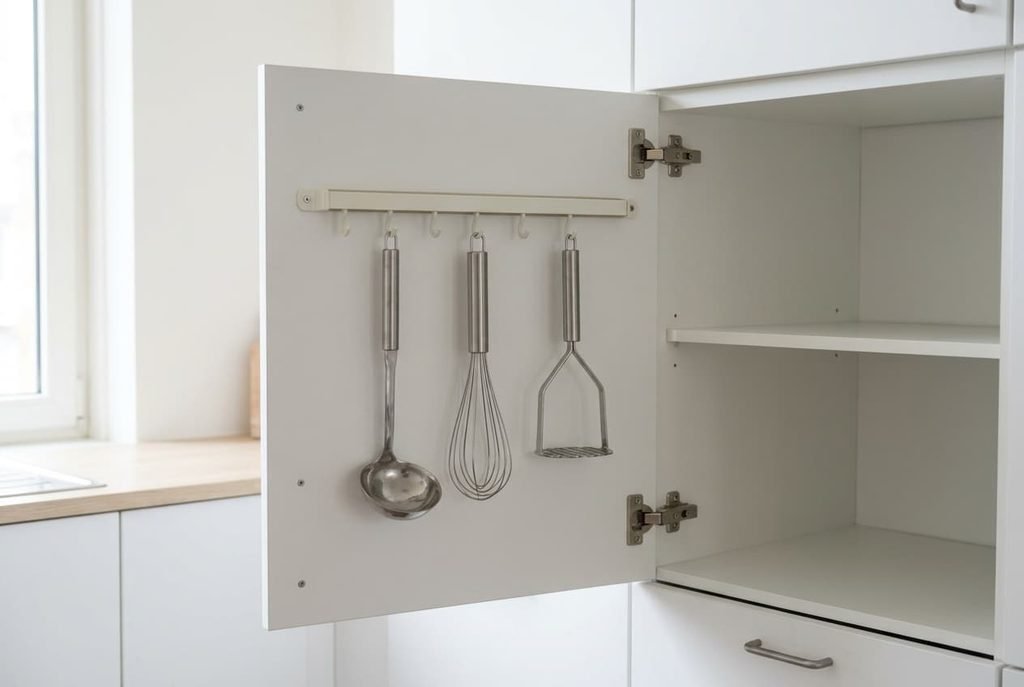
4. Hook rail 40 cm long with three hooks, fixed inside the nearest cupboard door for the three bulky tools. It comes fourth, because only a full pair of trays shows which tools are left over. Buy cheap. Together the three weigh 0.2 + 0.15 + 0.25 = 0.6 kg, which a light rail carries. The flaw is a hook with less than a full J curve, which lets a tool slip when the door swings. Wooden handles aren’t magnetic, so a magnetic strip is no help.
5. Blade guard for the scissors, about 21 cm long. It goes last, because you can only judge where the scissors rest once everything else is placed. Buy cheap. A guard with a slot 3 mm too wide is the flaw, since it slides off the first time the drawer jolts.
Where to Spend Less: the Short-Tool Tray
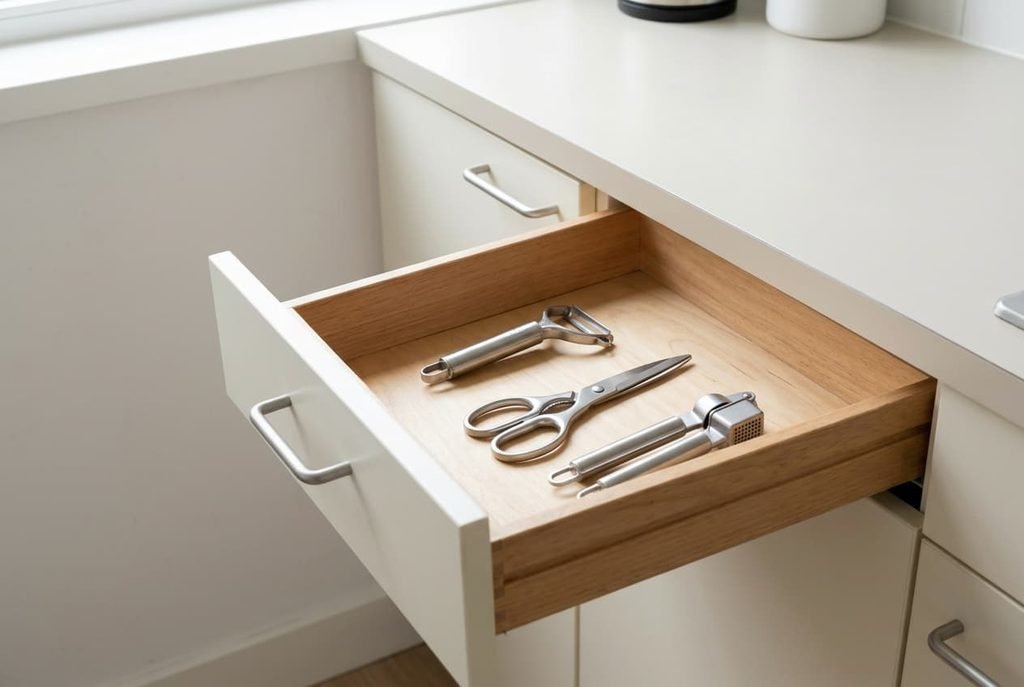
Matching sets usually come with lanes for every tool, and the lanes cost more. For short tools they buy nothing. Add up the footprints. The peeler takes 17 × 3 cm and the opener 18 × 6. Scissors need 20 × 8 and the corkscrew 15 × 4. The measuring spoons use 15 × 4 and the garlic press 17 × 5. That makes 51 + 108 + 160 + 60 + 60 + 85 = 524 cm².
Our open tray measures 22.5 × 44.5 cm inside, or 1,001 cm². The short tools fill only 52% of it, so they never pile up and an open tray is enough.
The long tray tells another story. Its six tools cover 585 + 360 + 140 = 1,085 cm² of a 31 × 45.5 cm floor, which is 1,411 cm², so the fill is 77%. At that level lanes stop tools from tangling.
Each short tool covers about 87 cm². Lanes become worth the money once a tray passes 70% filled, and that happens at eight short tools. Until you reach it, move the saving into the lane tray, where the money does real work.
How to Judge the Drawer After a Month
Run three checks after four weeks. Open and shut the drawer ten times at normal speed. If any tool has crossed a lane wall, that lane is looser than its head needs, so swap in a narrower tool. Our spatula head is 6.5 cm in a 7 cm lane, which leaves 5 mm of play and works well. Play of 3 to 10 mm is a good target when you organise a utensil drawer. Then reach in without looking and pull out the tongs. Three seconds or less means the layout works.
Next, press the middle of each tray floor. It should give no more than 1 mm. A tray that dips further was too thin for its load, and the lanes will slowly drift. Move the tool you reach for most into the lane nearest the front edge, since that’s where your hand arrives first.
Last, count the tools stranded outside the drawer. If more than three sit on the worktop, extend the rail, which has room for four hooks.
A slow tool is often a misplaced tool.
What to Skip
Start by dropping an expandable all-in-one organiser, because its compartments share one width. Five equal slots of 10.5 cm for twelve tools give 2.4 tools a slot, and the long ones stick out over the short ones. A worktop crock is another loss. A round one of 16 cm takes π × 8² ≈ 201 cm² of counter that a small flat can’t spare, and it collects splashes.
Duplicates also go. A second spatula identical to the first fills one lane of six, or 17% of the tray, and does the same job.
A label printer isn’t needed either. Colour-coded handles don’t help, since the lane already tells you which tool is which. Twelve tools need no names when each lane holds one shape.
The job is mostly arithmetic. To organise a utensil drawer, measure the longest tool, buy the lane tray once and fit the cheap pieces around it. With one free hour, lay every tool on the table in order of length and count how many pass 30 cm. That count tells you how many lanes you need. Buy the trays with care and the other three without fuss, since they’re cheap to change later.
Questions Readers Keep Asking
How many pieces does a utensil drawer need?
Four purchases cover most drawers. Two of them are trays, and the others are a liner and a hook rail. The blade guard is optional. Count your tools before buying anything, because a drawer holding eight tools needs far less than ours, which holds twelve.
What should I buy first if I can only buy one thing?
The lane tray for long tools. It fixes the column width, and every other piece is sized to what remains. Once it’s in, the short tools can sit in a shoebox lid for a month while you decide, and you’ve lost nothing.
How can I tell a good tray from a poor one in a shop?
Press a lane wall with your thumb. It should give by less than 1 or 2 mm. Look for one-piece walls with no glued corners, and measure the outside against your drawer with a tape, allowing 0.5 cm of slack. A rim over 6 cm is too tall.