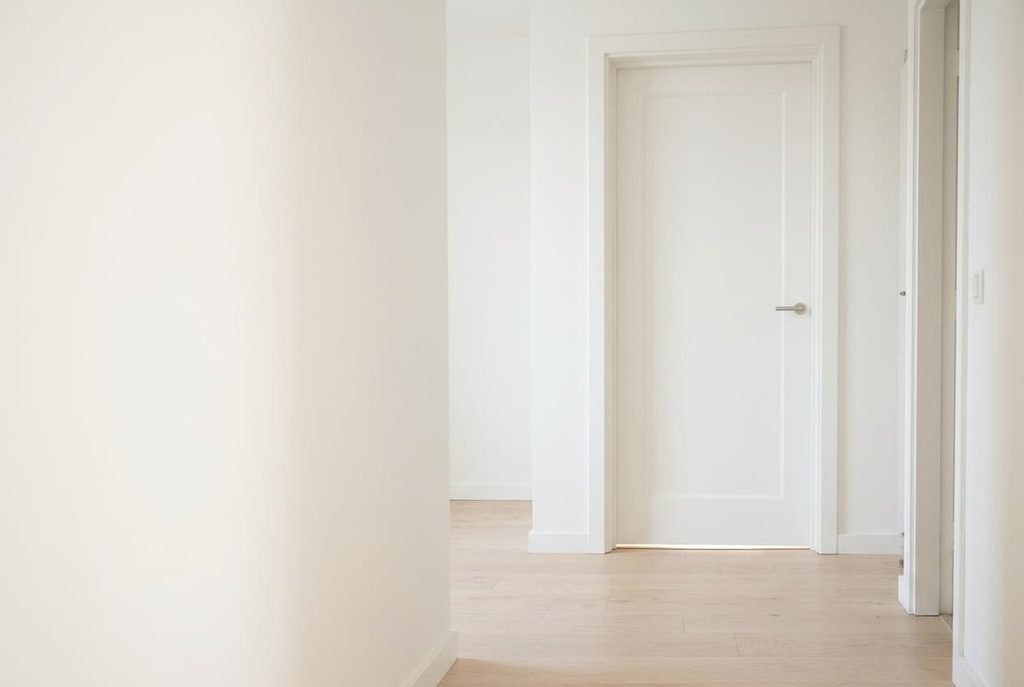
A draught is a hole, and every hole has an area you can add up. Our example is a 1930s flat in Haarlem with three timber windows and one front door. To stop draughts in an old Dutch flat, close the biggest openings per minute of work first. That’s the ordering that decides what to buy. The prices of the parts matter less than the order you fit them in. These figures are all approximate. Check your own gaps by measuring with a ruler plus a plastic card before you spend anything.
How to Stop Draughts in an Old Dutch Flat Without Guessing
Cold air moves wherever wind and warm air push it, and the amount that passes grows with the size of the opening. So area is the figure to weigh. A plastic bank card is about 0.8 mm thick, so a gap that swallows ten cards is 8 mm.
Each window spans 120 cm across and 140 cm up, leaving a 2 mm gap around its sash. The perimeter is 520 cm, so each window leaks 104 cm² and the three together 312 cm². The front door has a 3 mm gap along its sides and top, 486 cm in all, giving 146 cm². Under the door is an 8 mm gap 83 cm wide, or 66 cm². The letterbox adds 7 cm² and the keyhole 1 cm².
The total is 532 cm², a hole 23 cm on each side. Windows hold 59% of it and door edges 27%. The door foot holds 12%, while the letterbox and the keyhole share the last 2%.
Effort differs too. Closing the door foot takes 10 minutes and the door edges 30. The three windows take 75 minutes between them. The letterbox takes 5 and the keyhole 2. So the area closed per minute of work sets the buying order, and it ranks the door foot first at 6.6 cm² a minute and the keyhole last at 0.5.
Five Purchases in Buying Order
Together these five purchases stop draughts in an old Dutch flat, each justified by the area it closes.
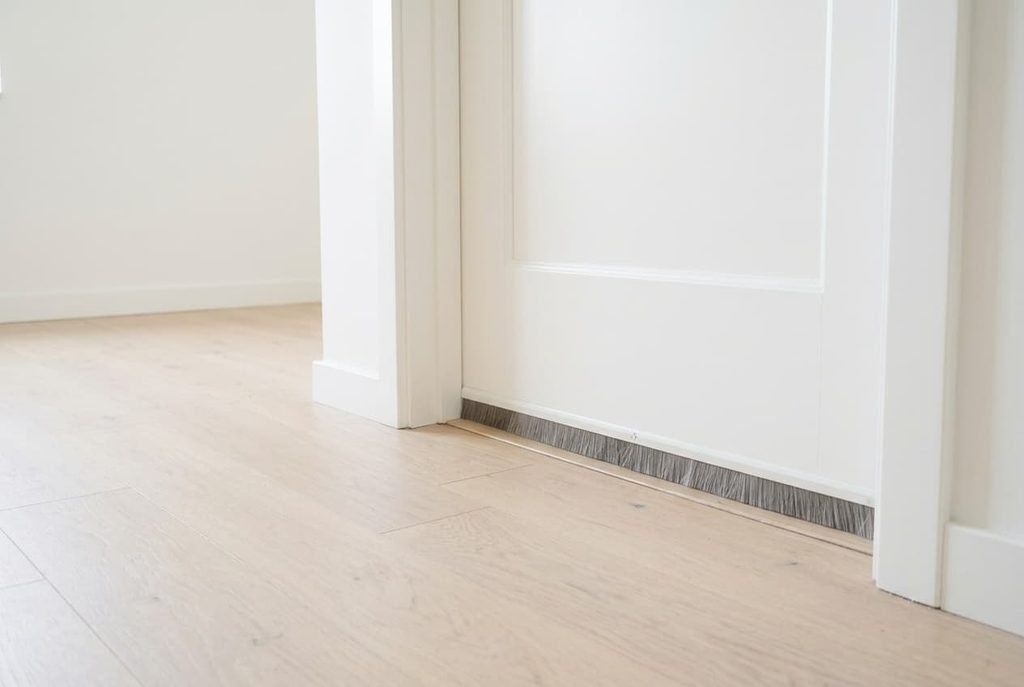
1. A brush strip for the door foot. Spec: 83 cm long, with bristles 20 mm long so they bridge the 8 mm gap and bend against the floor. Why here: it closes 66 cm² in 10 minutes, the best return on the list. Tier: mid, as a rigid carrier keeps the bristles straight along the whole width. Fault: a thin flexible carrier lifts at an end, which leaves a slot you can’t miss with a card.
2. A compression seal for the sides and top of the door. Spec: a profile about a third taller than the 3 mm gap, 486 cm in all. Why here: it removes 146 cm² in 30 minutes. Tier: buy once, because silicone springs back every winter while foam stays flattened after the first. Fault: the adhesive fails on flaking paint, so scrape the edge back to sound wood before you stick anything on.
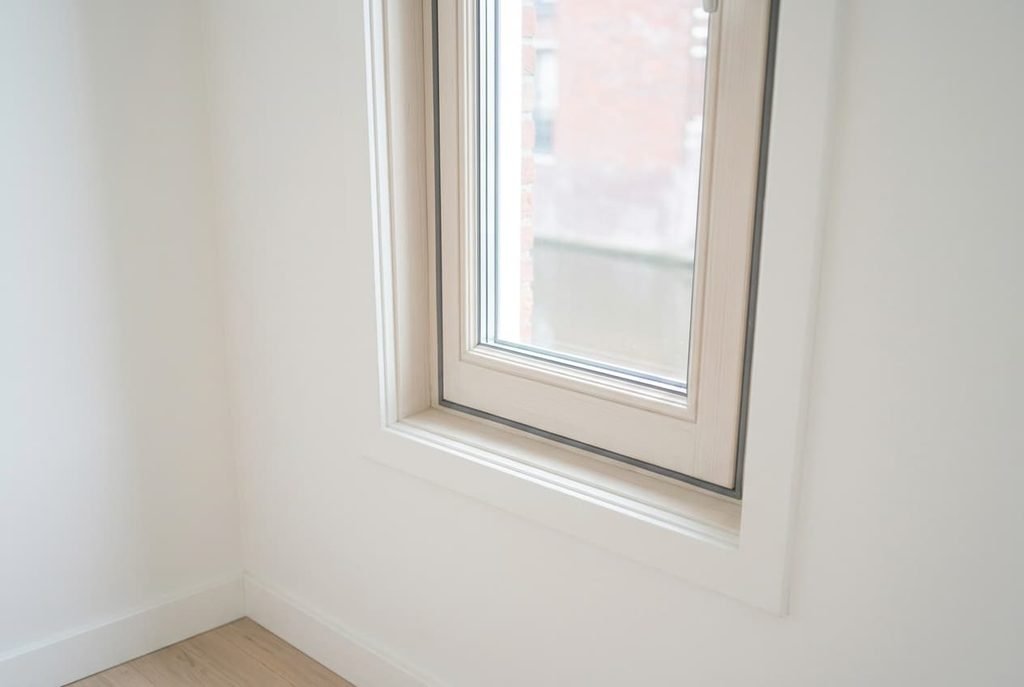
3. A rubber seal for each window sash. Spec: 520 cm per window, with a profile that squeezes by about 40% of its height in a 2 mm gap. Why here: it covers 312 cm² across the three windows. Tier: mid, because timber frames shift with the seasons and any seal gets crushed. Fault: a profile that is too thick stops the sash closing, so test one corner first.
4. A bristle ring for the letterbox. Spec: a ring sized to the 32 by 3 cm slot, with a flap that returns by itself. Why here: it shuts 7 cm² in 5 minutes. Tier: buy cheap; the gain is small. Fault: stiff bristles scuff the post, so choose soft ones.
5. A cover for the keyhole. Spec: a swing disc about 2 cm wide that screws to the lock plate. Why here: it shuts 1 cm², the last item. Tier: buy cheap, as paying more adds nothing. Fault: a slack pivot allows the disc to hang open, which defeats the cover.
An Old Dutch Flat: Where Draughts Stop and Spending Should Too
Windows hold 59% of the leakage, so by area alone they would come first. I’d put them third and give them the middle tier rather than the top one. Three sashes cost 75 minutes of work, while the door foot closes 66 cm² in 10.
Hours of work for the same gain is a poor start.
Timber windows also move. A frame swells in wet seasons and shrinks in dry ones, so a rubber profile gets squeezed and released by 1 mm or more each year. A mid-tier rubber seal replaced after three winters can cost less overall than a silicone one that peels off a flexing frame. In a rented place a stick-on seal that lifts cleanly is easier to defend than a screwed one.
The door is different. It opens and shuts hundreds of times a year, yet its frame stays put and its gap is wide, so the pricier silicone earns its place there, and the window seal doesn’t need the top tier. Spend the extra on item two and settle for the middle tier on item three. Once the door foot and edges are done, 212 cm² is closed, which is 40% of the total, for about 40 minutes of effort.
Checking the Result With a Strip of Tissue and a Card
Check every fix before you buy the next. On a windy evening, dangle a thin tissue just 2 cm off each seam and watch for a flutter. If the tissue doesn’t move, the seam is closed. A torch shone from outside in a dark hall reveals light at any gap that remains.
For the door foot, run a plastic card along the floor beneath the door. It should meet bristles all the way across, which means they bridge the 8 mm. A card that slips through anywhere shows the carrier sits too high or has lifted at that point.
Repeat the tissue test after each purchase and write down which seam still flutters. When you stop draughts in an old Dutch flat one fix at a time, the notebook tells you where the next one pays off. If every seam holds, the last 2% of the area can wait until a calmer afternoon.
What to Skip
Never block a vent or an air brick, whatever a guide to sealing says. Gas appliances and cooking need fresh air, and a sealed flat stops the air from changing. Closing the visible gaps leaves these deliberate openings alone.
Skip cheap plastic film kits on timber frames. They can lift paint when removed and seal only the glass, leaving the 104 cm² around each sash open. Fabric snakes make a poor main fix. They sit loose and leave gaps at both ends. Filler in a sash gap would stop the window opening, so leave it out.
One question helps you stop draughts in an old Dutch flat without harm: does the fix leave the room able to breathe? If it doesn’t, put it back.
Closing a 532 cm² hole is a modest project that needs a ruler and an evening. Start at the door foot and finish at the keyhole. Let the tissue decide whether any later purchase is needed at all. The most expensive item on the list is the one you didn’t need, and you’ll know which that is by the third test. Keep the list on the fridge door until the last tick.
Questions Readers Keep Asking
How many pieces do I need to buy?
Five types cover the whole list, though a flat with more openings needs more of each. Our example needs a door brush and a door-edge seal, plus three window seals. A letterbox ring and a keyhole cover finish the set. Count your own windows and doors first, then multiply by their perimeters.
In what order should I fit them?
Fit the door foot first and the door edges second. The windows come third, following the area closed per minute. Test each with a tissue before moving on. The letterbox and keyhole come last, because together they close less than 2% of the total.
How do I judge whether a seal is good quality?
Press it with a thumbnail. A good rubber or silicone profile springs back at once, while a foam one stays dented. Look for a profile that squeezes by about 40% in your gap, and check that the adhesive backing covers the full width. A seal that fails the thumbnail test fails the first winter.